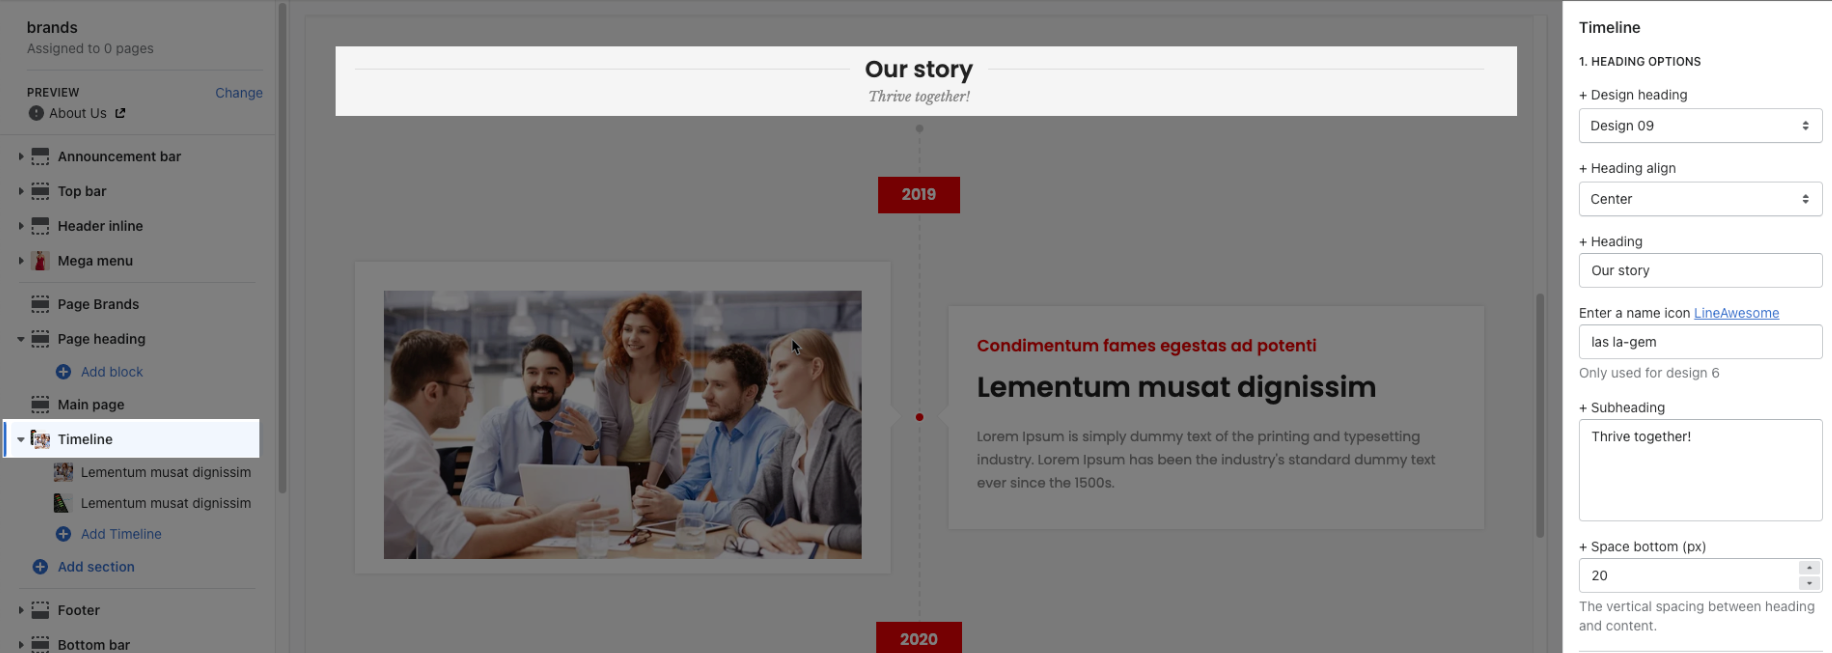
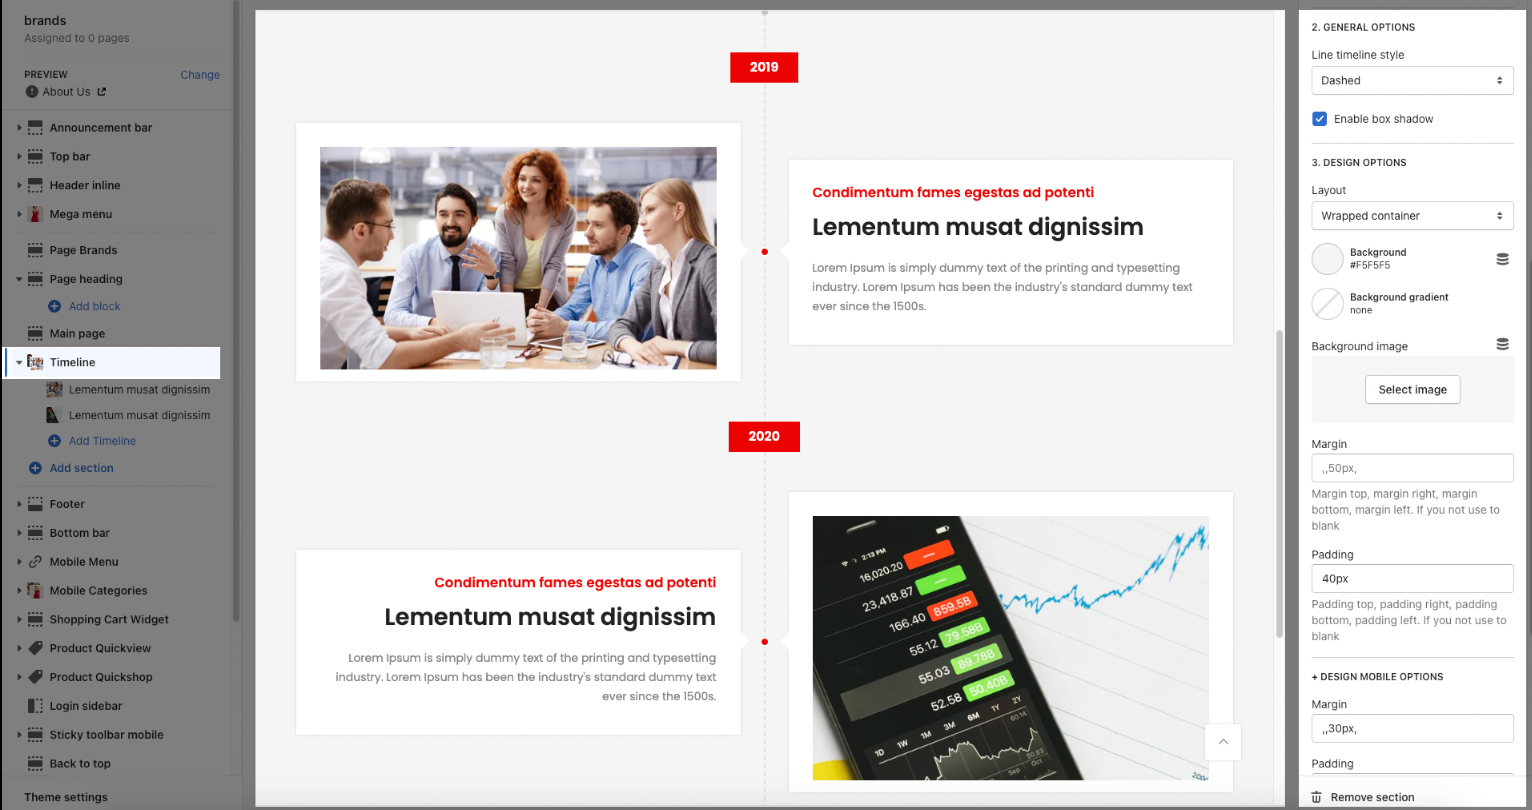
You can use Brand Page to create an "Our Story" page separately or can easily integrate into available other pages.
If you use a brand page template, you can add two special sections, including Page Brands and Time line. The other part of the page are Page heading, Main page the same as a normal page.
1. Create a brand page
Go to Shopify > Pages > create a new page and assign it to "brands" template.

2. Page Brands section
Go to "brands" template to config it. Please follow this video:
Source brands: You can choose between Linklist (Insert a menu) or Vendor (Show all Product Vendor).
To use Linklist source, go to Themes > Navigation > create a menu Brands:
The handle: t4_brands_page
Show all button: #*
Enter the link to collection vendor for each menu item
Please follow this video:
Moreover, you can also change the Layout, Background Color, Background Image for this section
Margin, Padding: You can adjust these parts for both Mobile and Desktop.

3. Timeline section
3.1. Timeline item
You can add a maximum of 50 timeline blocks.
Image: upload an image and customize it regarding Position, Ratio, Size, Hover Effect
Content: You are allowed to enter Steps label, Heading, Subheading, Description, Link and even change styles for buttons.
3.2. Timeline Settings
HEADING OPTIONS
You are allowed to change Design, Align, Text, Icon, Subheading, Bottom Space.

GENERAL OPTIONS
Line timeline style: You can choose between many other available styles.
Enable box-shadow: They will contain each image and text of the timeline.

DESIGN OPTIONS
Please follow this guideline to config Layout, Background, Margin/Padding for the section.


