


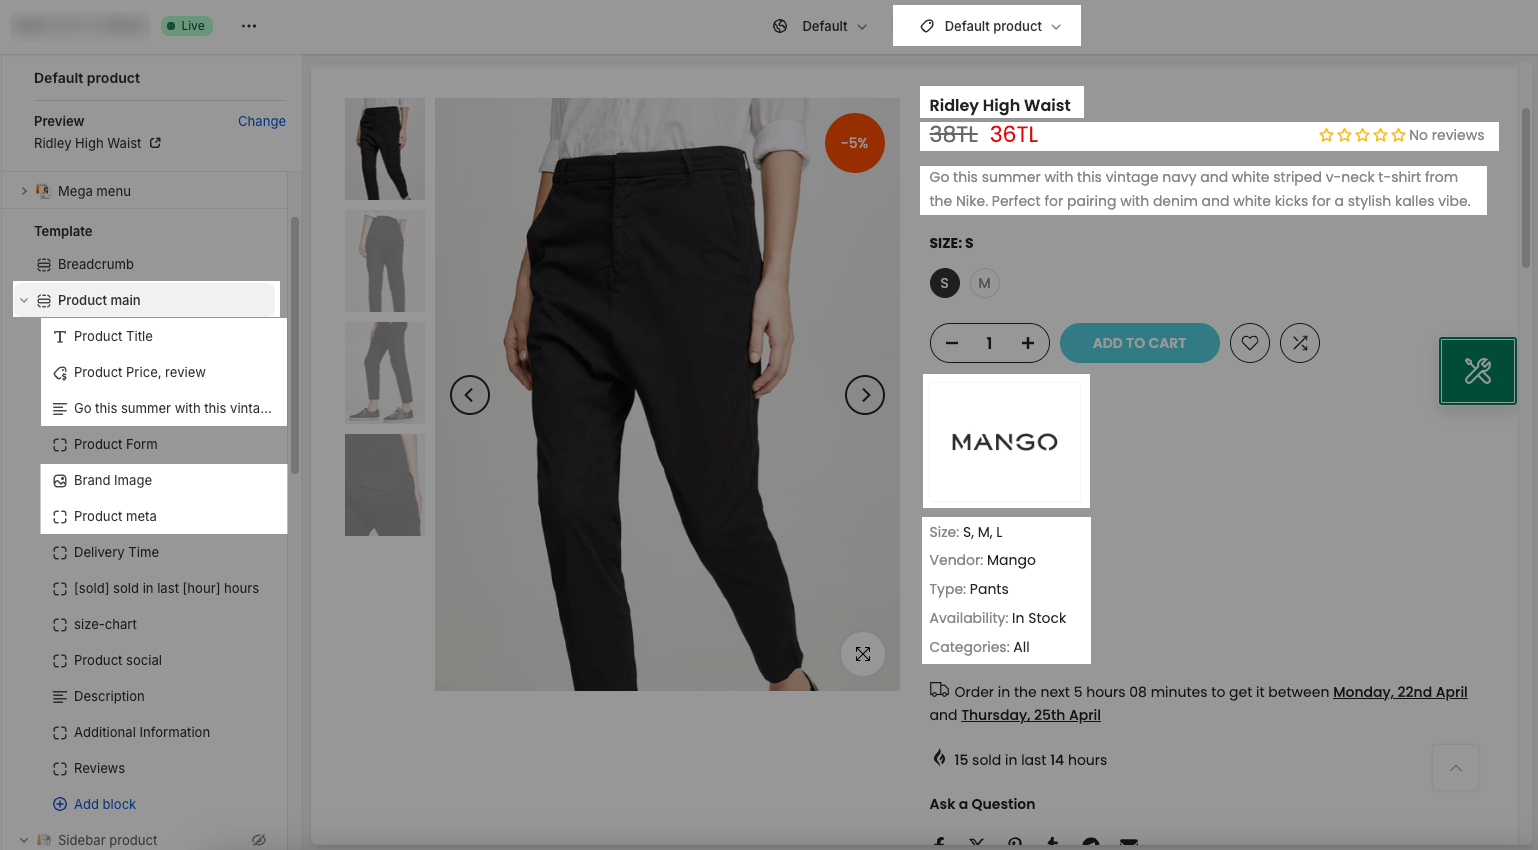
There are 5 blocks for Product information on product page: product title, product price and review, product description, product meta, and brand image. With these blocks, it helps you display basic information about the product, giving customers an overview.
Step: Go to Theme Customize > Product page (Default product) > Product Main > Add block > choose block you want to add.
You can drag to sort the position of these blocks.
1. Product title
It shows the title of product. You can configure some options:
Style: Uppercase, Lowercase and Capitalize. You can choose None, so the Product title will show exactly as the way you set the product title in the Shopify backend.
Font Family, Font size, Font weight, Line height, Letter spacing, Color: adjust the style for Product Title. Font Family will follow the option in the Theme Settings.
2. Product Price, Review
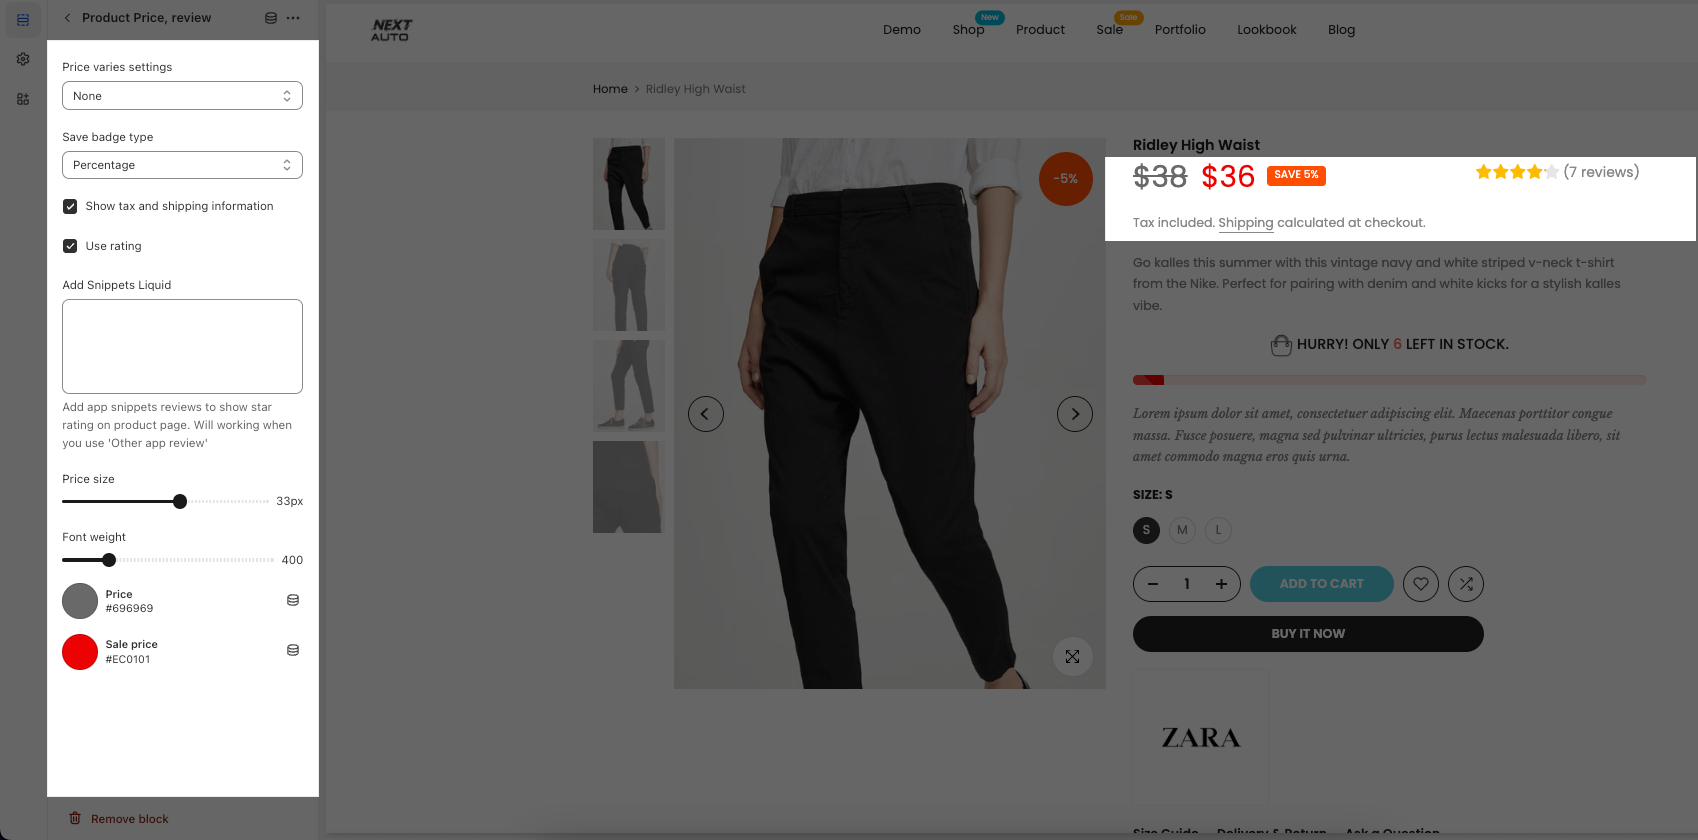
Price varies settings: You can choose a style for the Price varies here: from lowest price to highest price ($39 - $59) and from lowest price (from $39). You also can choose None if you wanna show the product price normally.
This setting can be seen very clearly on a Variant product. You can see the example below to see the difference in the price settings:
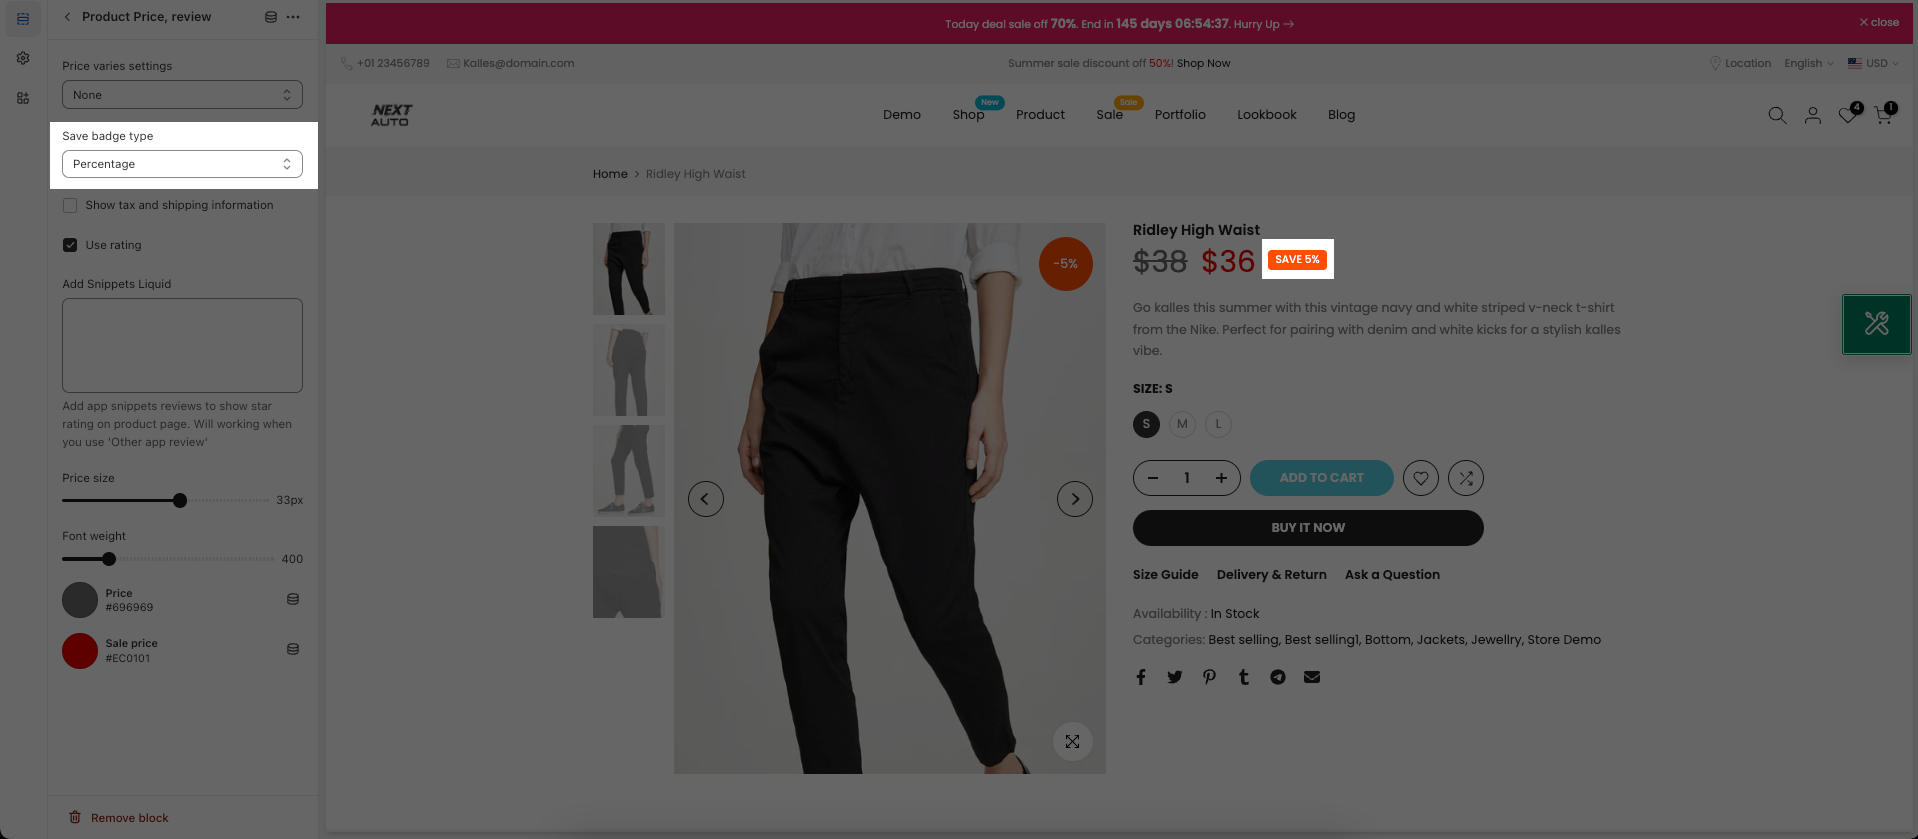
Save badge type: If your product has compared price, you can choose to show Percentage or Fixed amount here. You can choose None if don't wanna show the discount amount badge next to the price.
Save badge type: Percentage
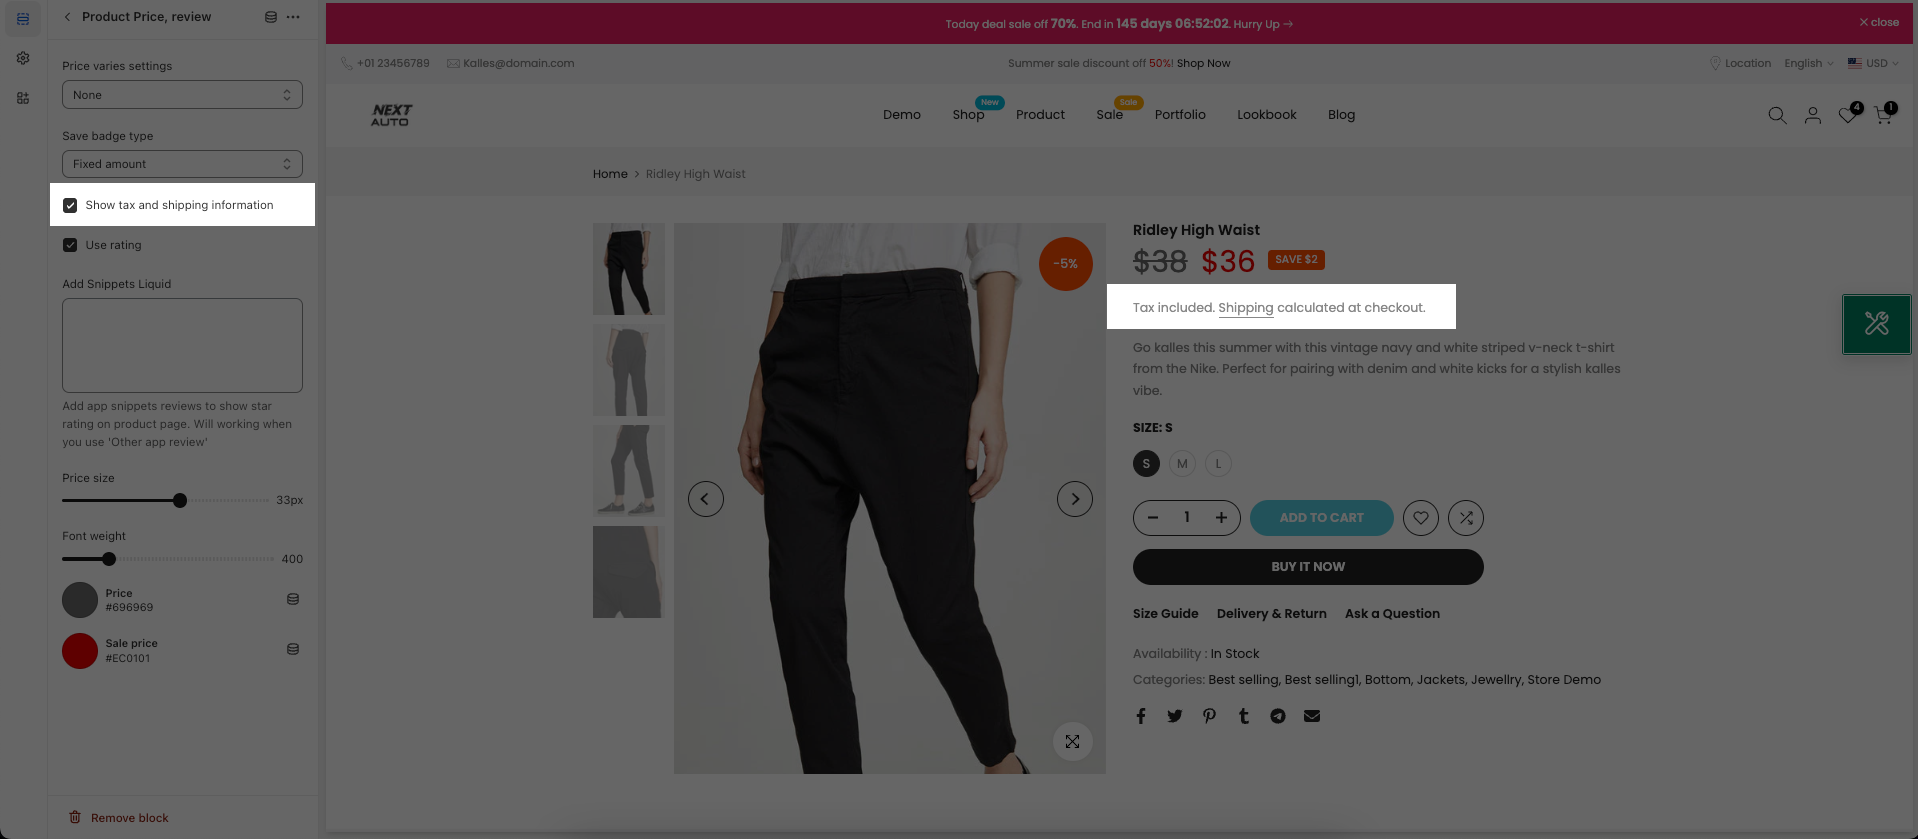
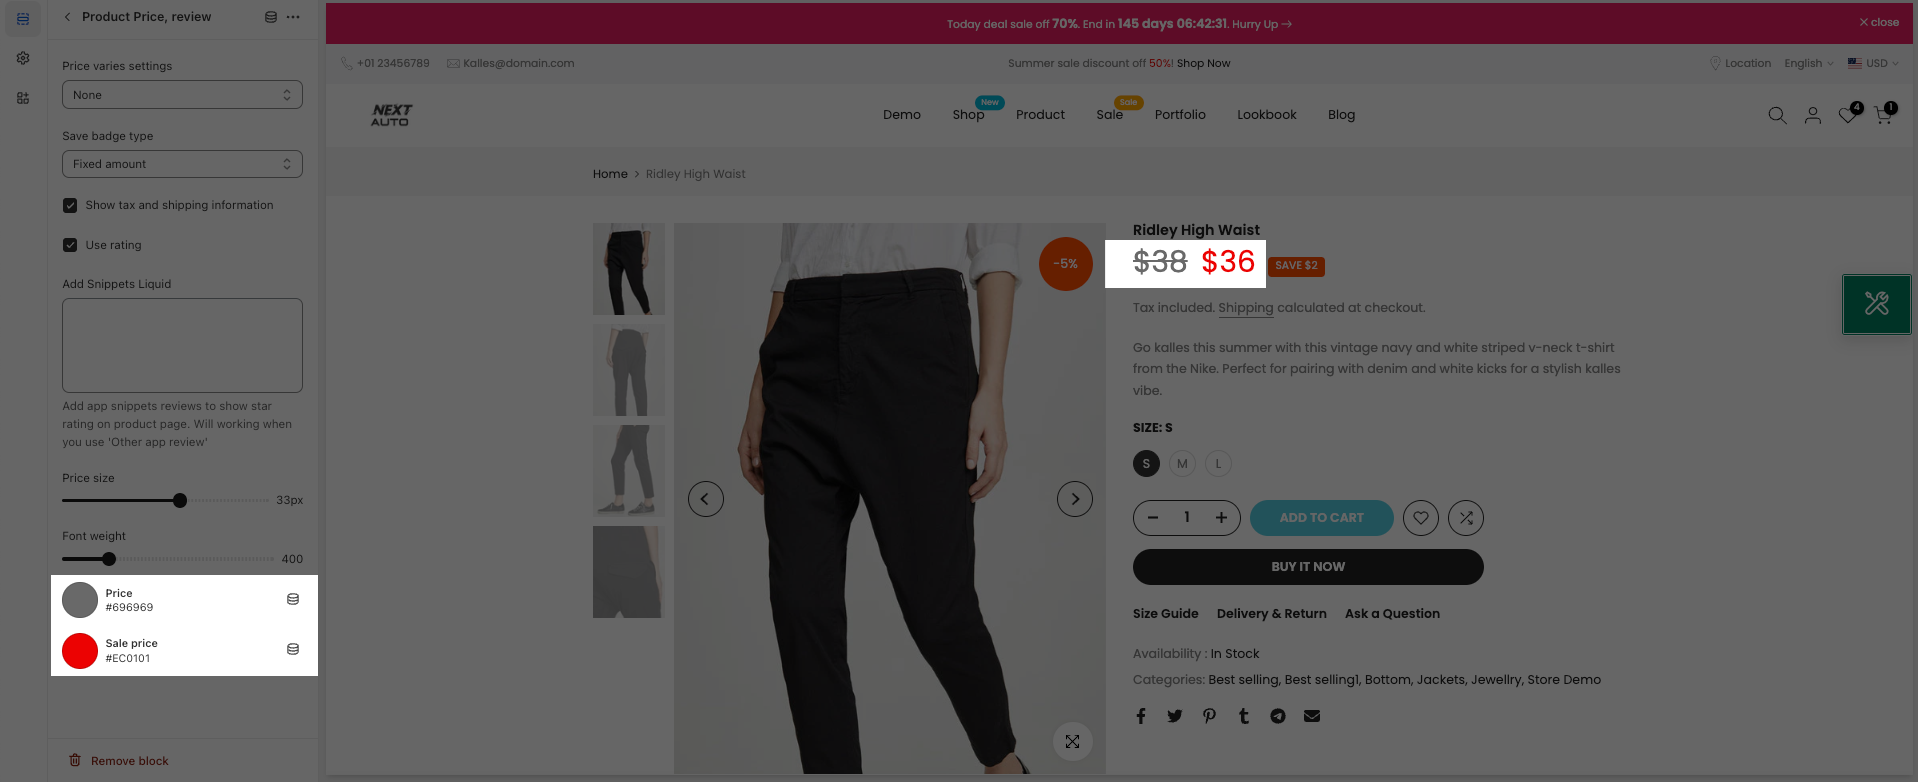
Save badge type: Fixed amount

Show tax and shipping information checkbox: Tick on this checkbox to show the tax and shipping information below the price option.
But first, you have to go to Shopify backend > Settings > Taxes and duties option > Tick on the All prices include tax checkbox:

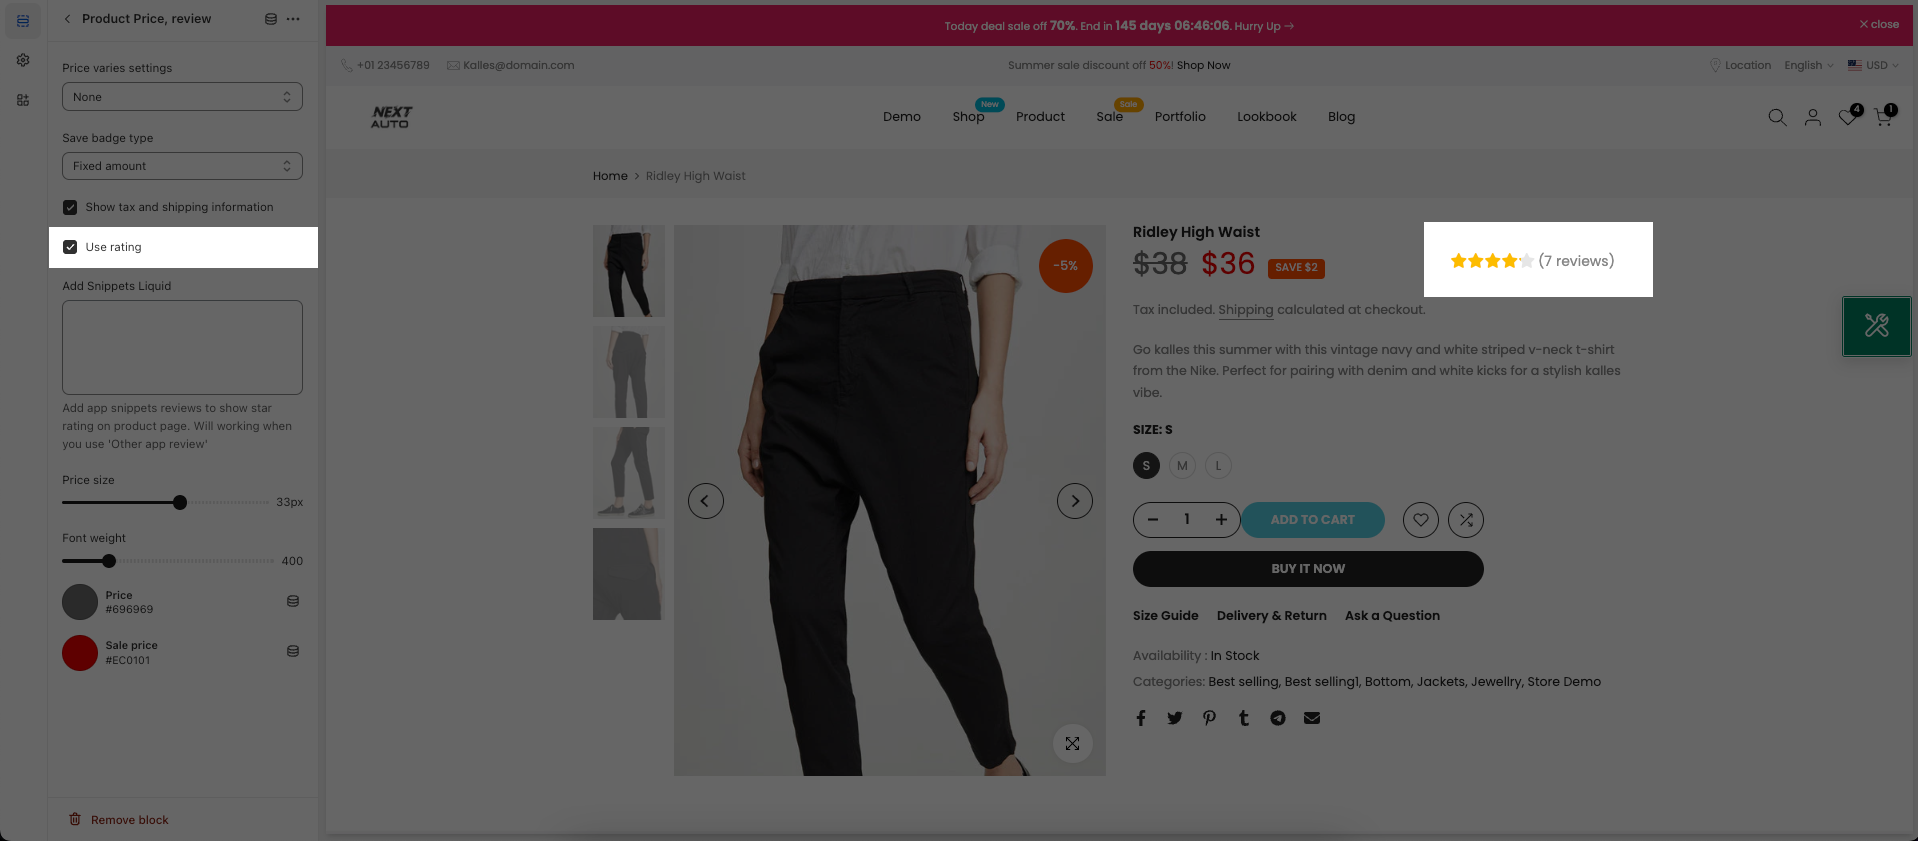
Use rating checkbox: Please tick on this checkbox to enable Review stars next to the product price. To set up review app, you follow this guide.
Price size, Font weight: You can configure the style for the Product Price
Price/ Sale price color: You can configure the color for the Product price here. Th ese options also support configuring Metafield, so you can change the price color for every single product.
3. Product description
This block allows you to show the Description on the Product page.
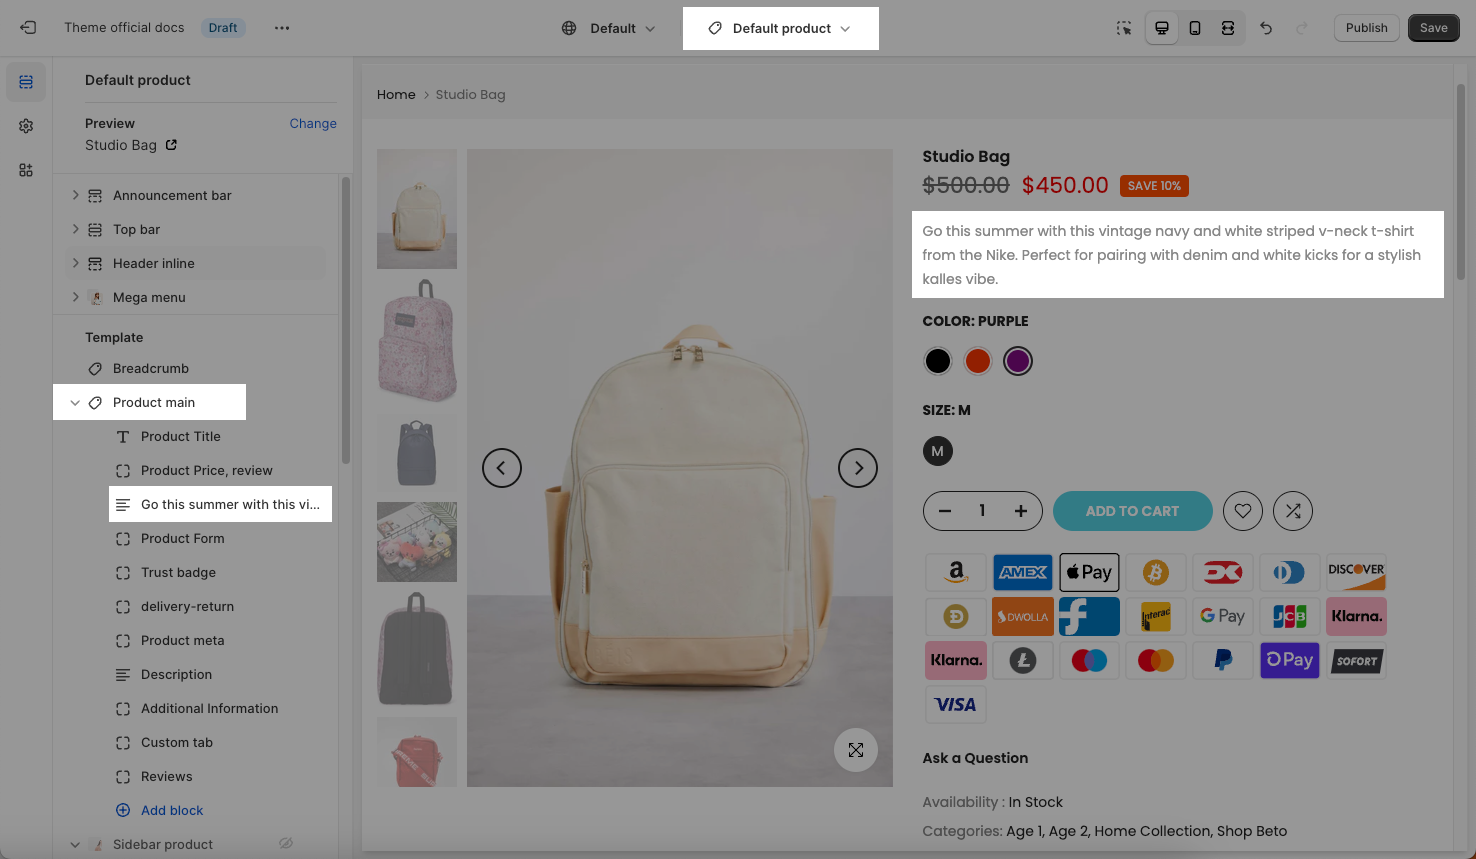
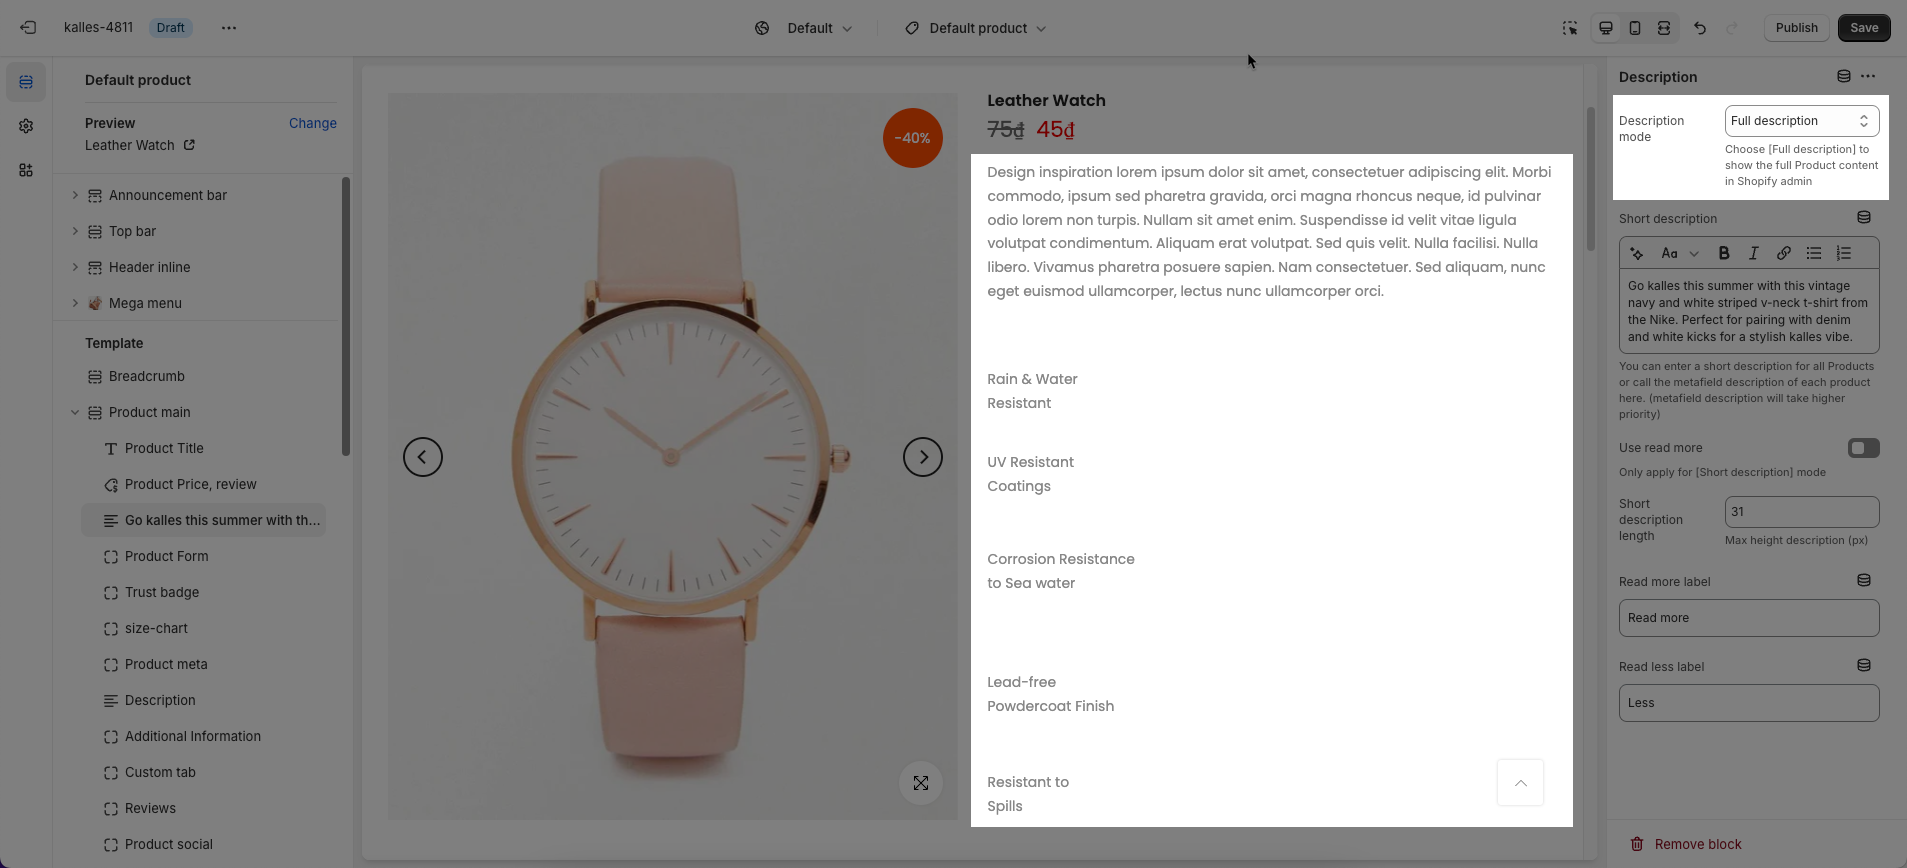
Description mode: You can choose Description mode here, our theme allows you to choose Full Description and Short Description
3.1. Full description
When you choose Full description, all the content of the product description will show here:
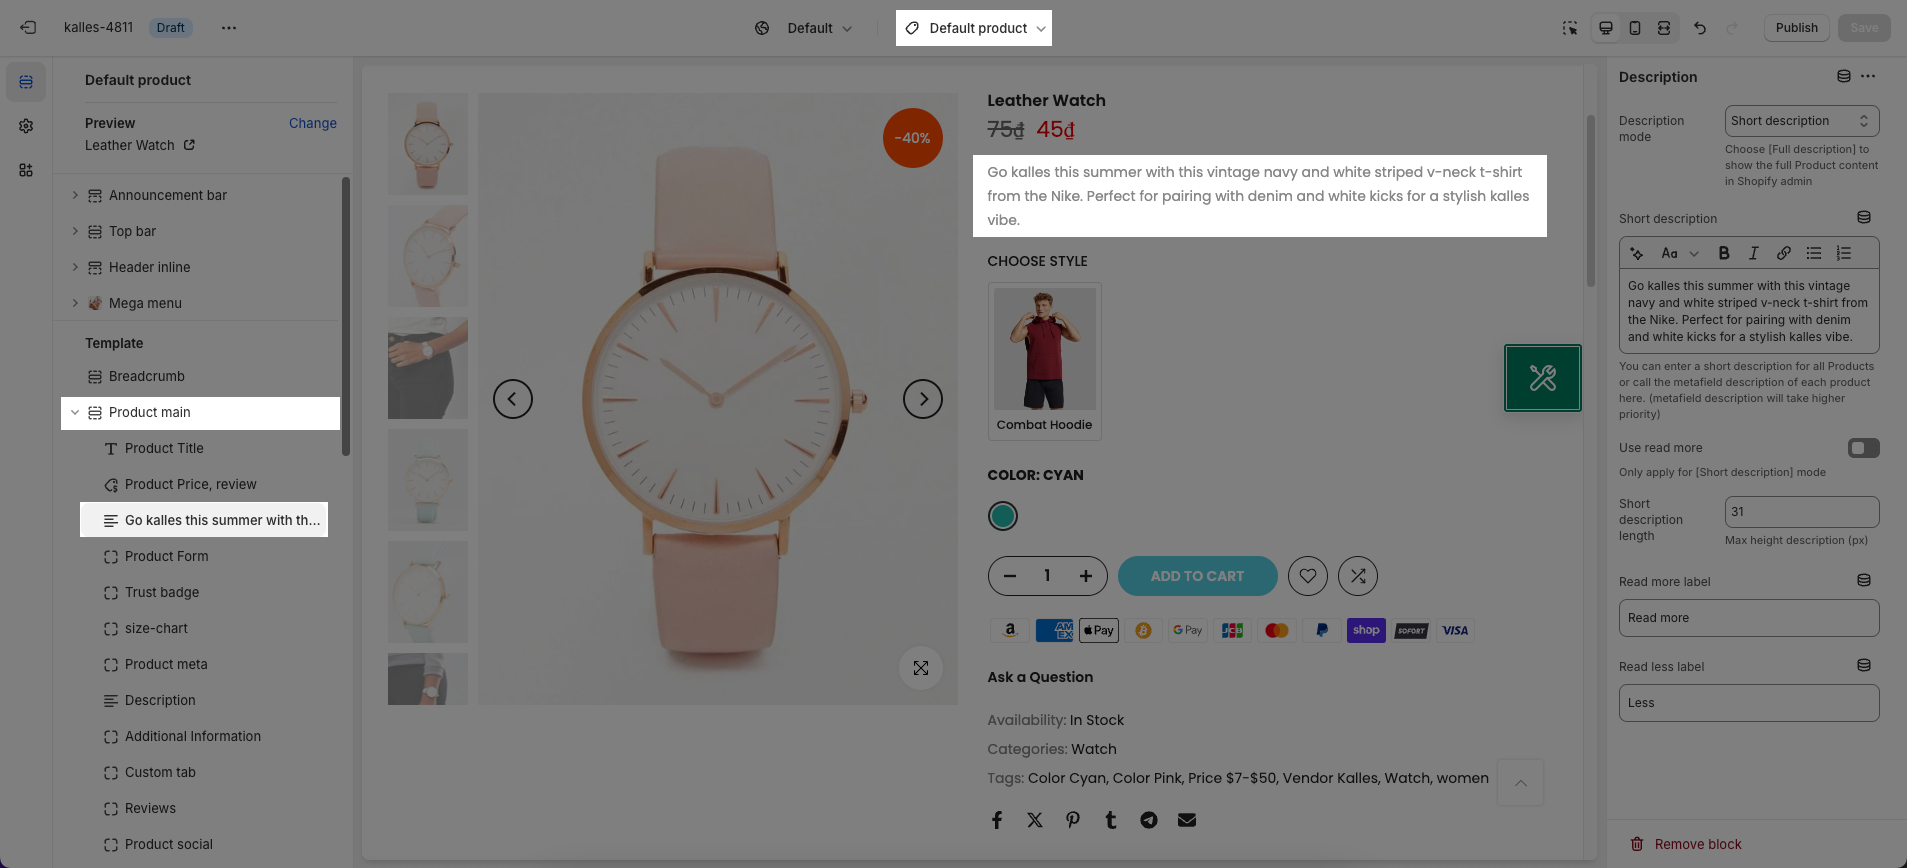
3.2. Short description
If you choose Short description mode, you can paste the content of the short description here, and this content will be applied to all products.
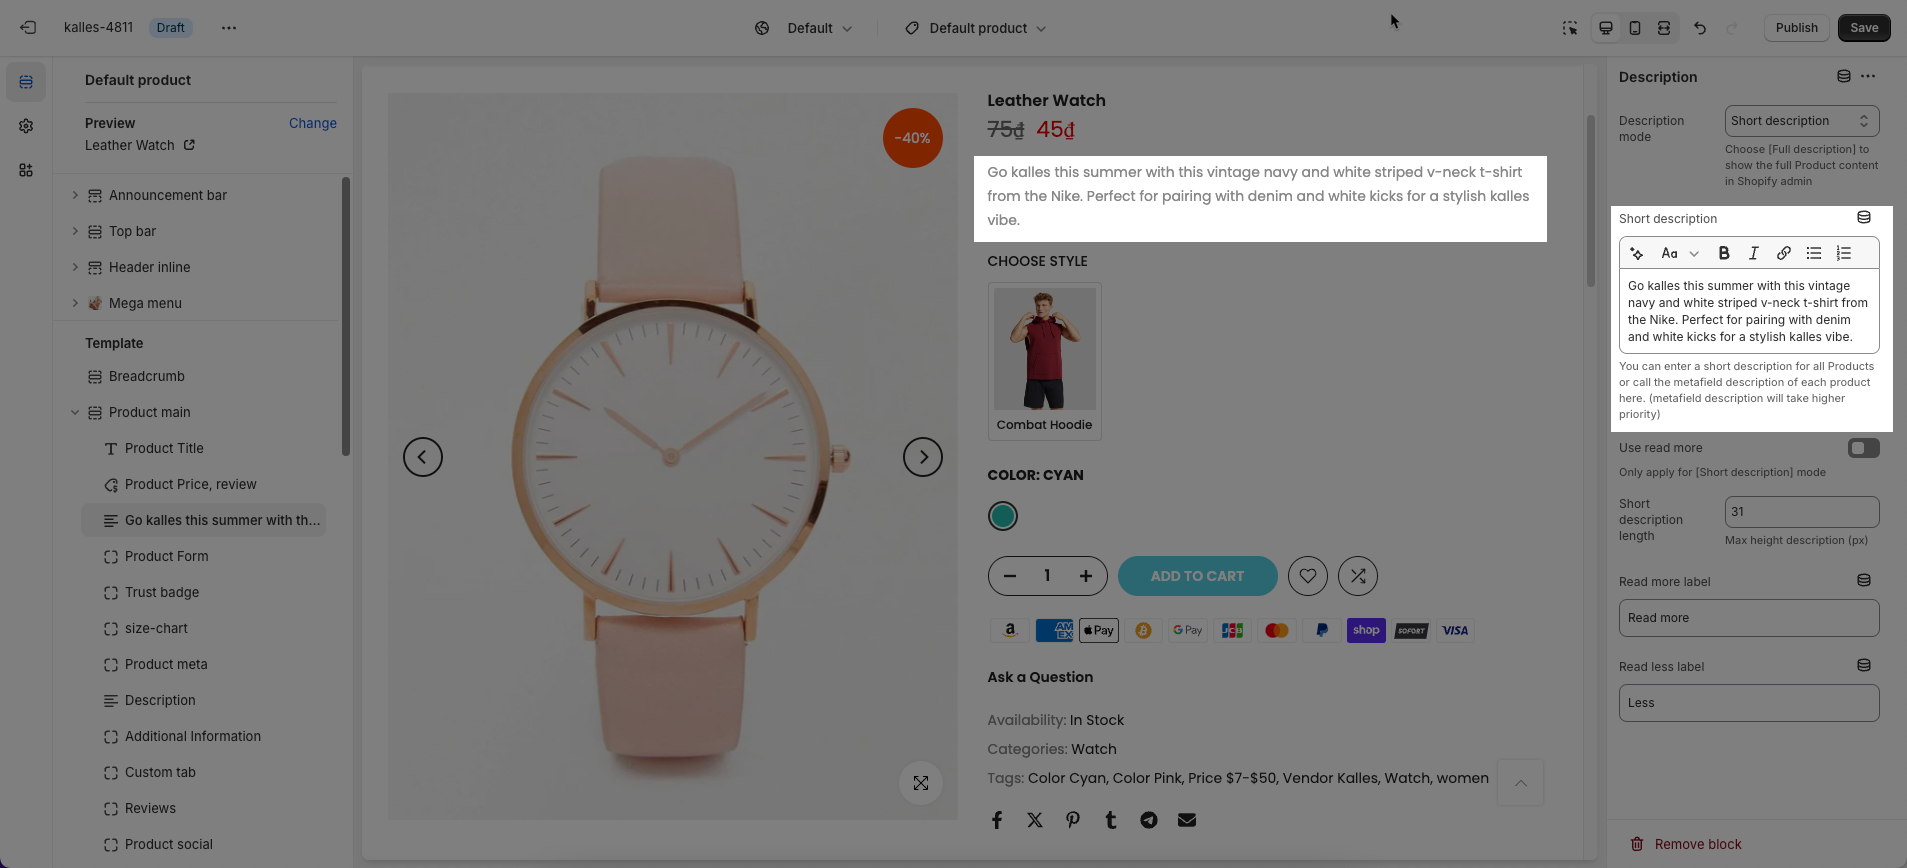
If you don't paste any content in the short description box, the short description will show follow the full description.
With Short desciption mode, the length of the short description will depend on the Use read more and Short description length option.
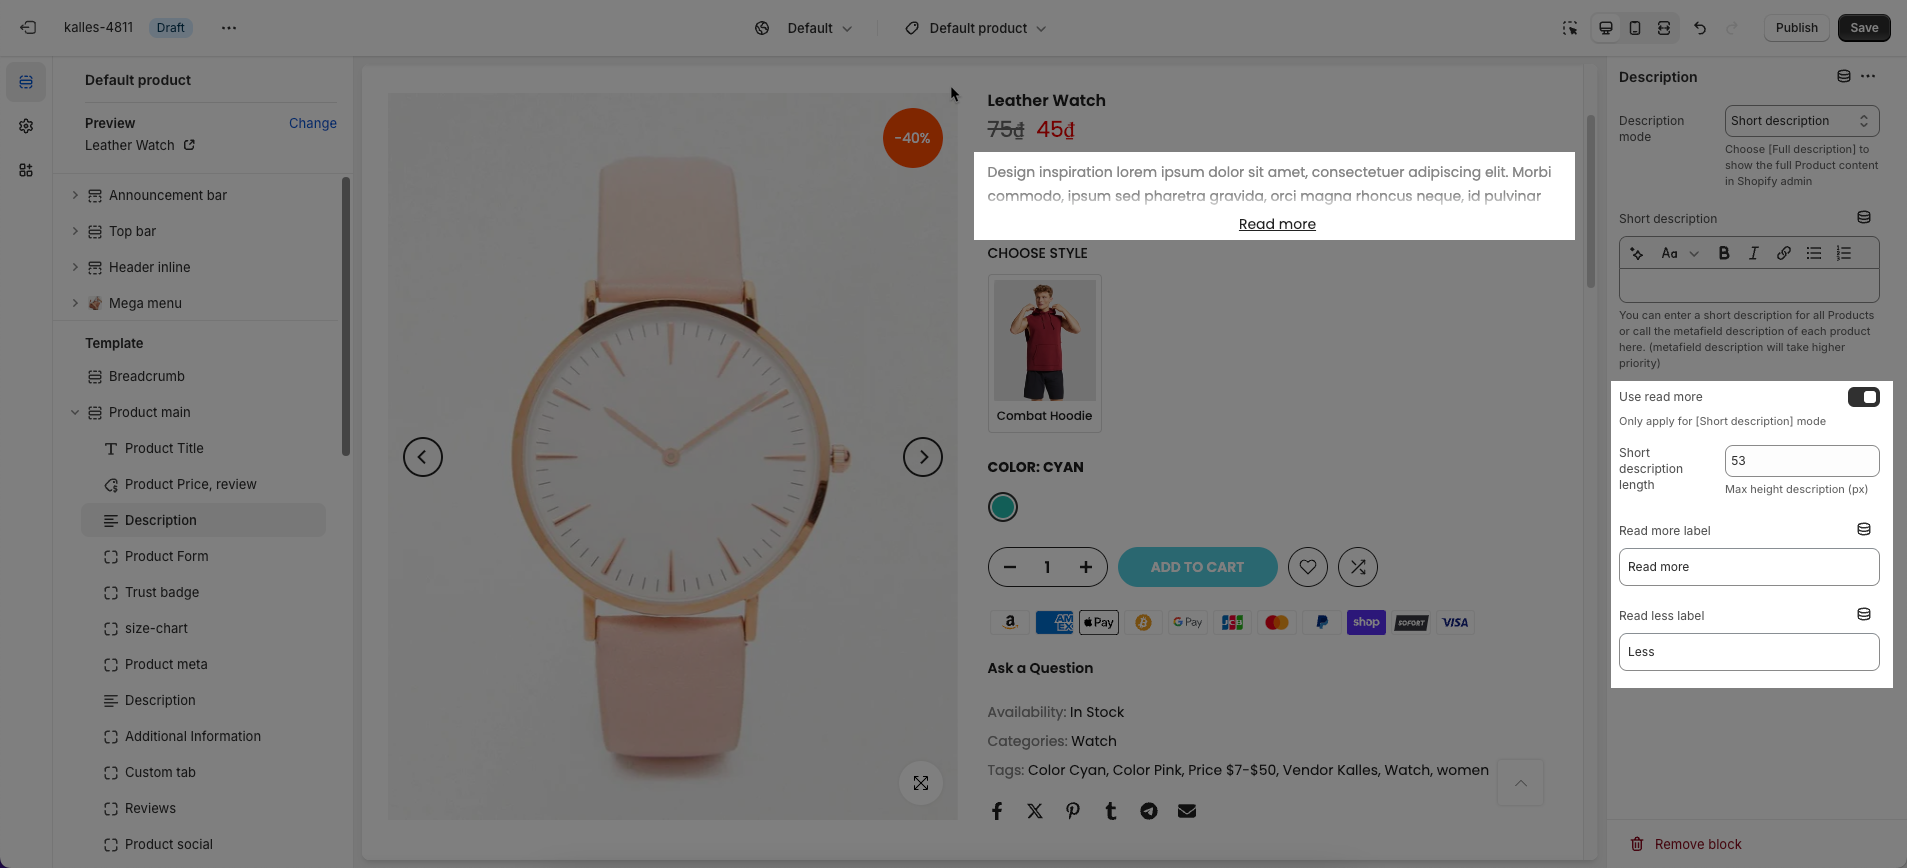
Use read more: enable the “Read more” button for the description.
Short description length: adjust the length of the description, enter max height description (px)
Read more label: You can enter the string that you wanna show on the Read more button here.
Read less label: You can enter the string that you wanna show on the Read less button here.
You can use Metafield to configure the content in Short description for a specific product. Please follow this guideline.
4. Product meta
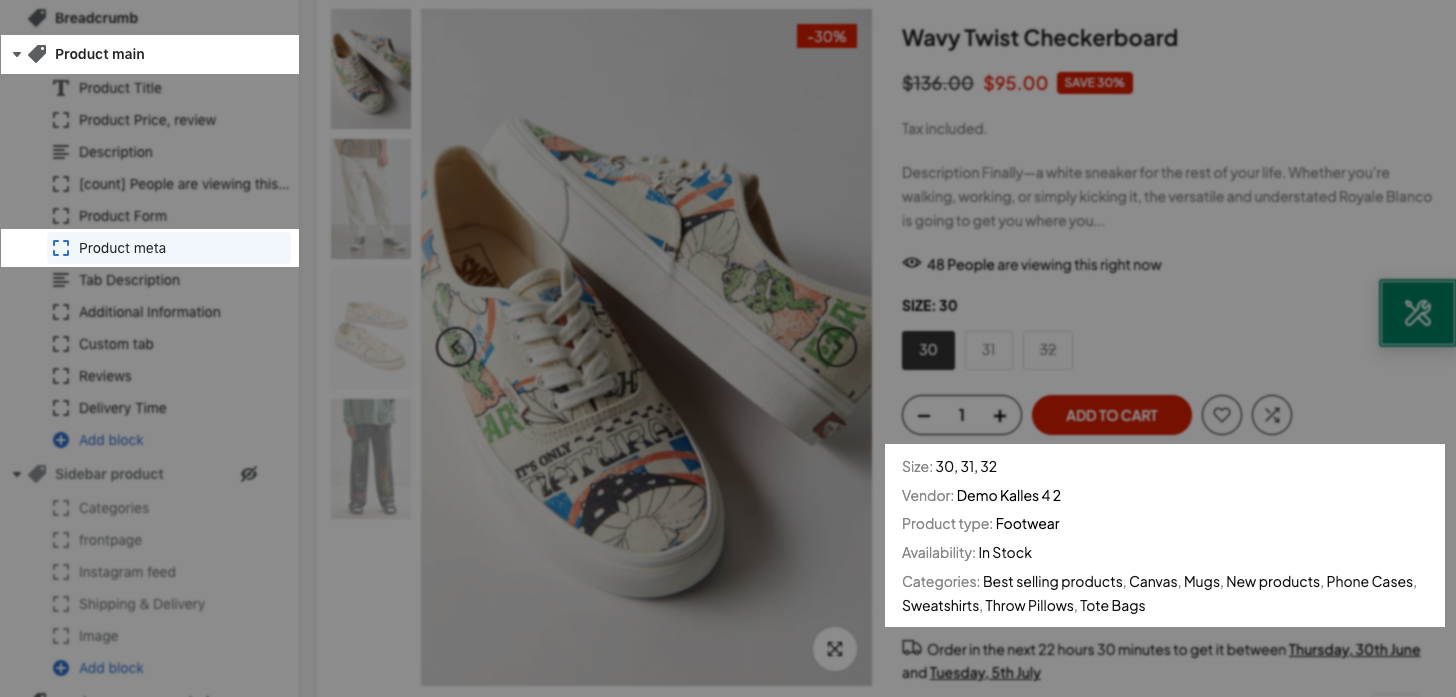
Click on the Product Meta block, the settings sidebar will open and you guys can configure some options below:
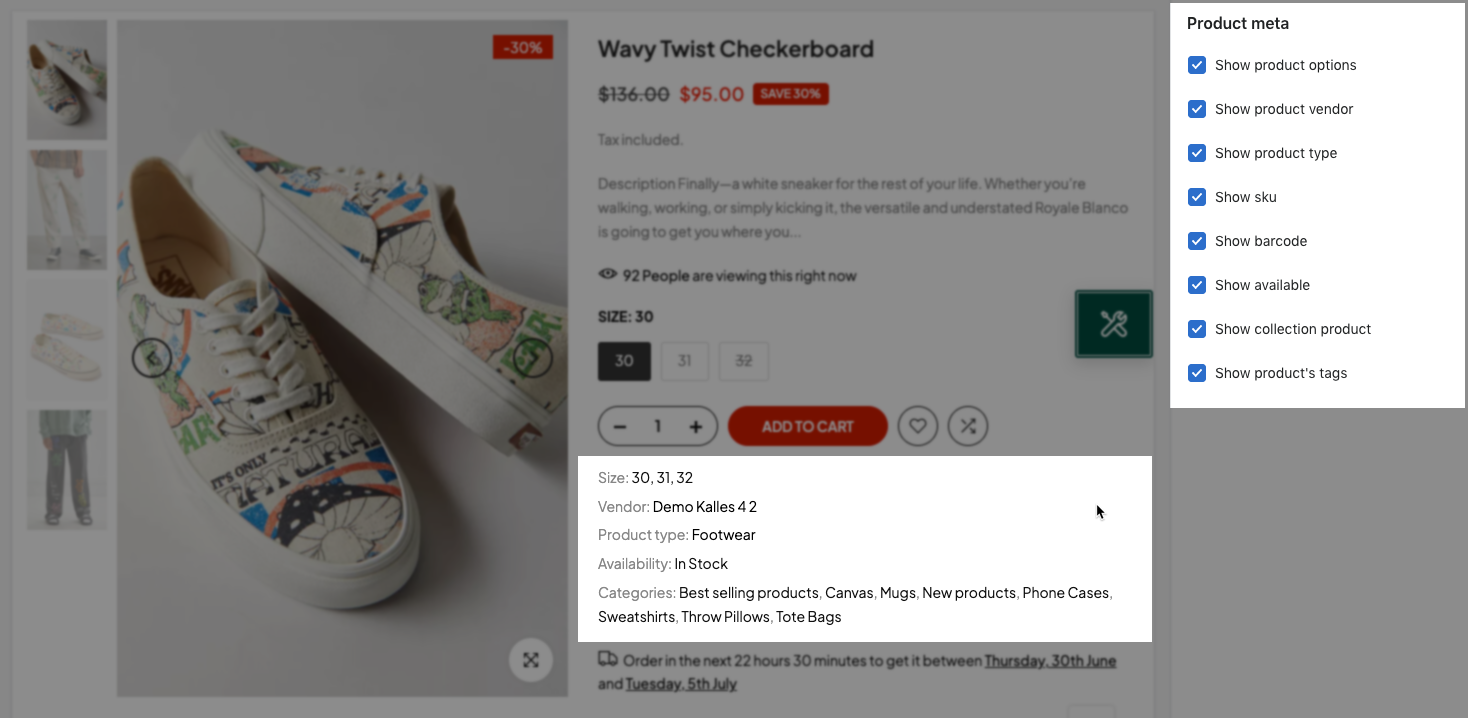
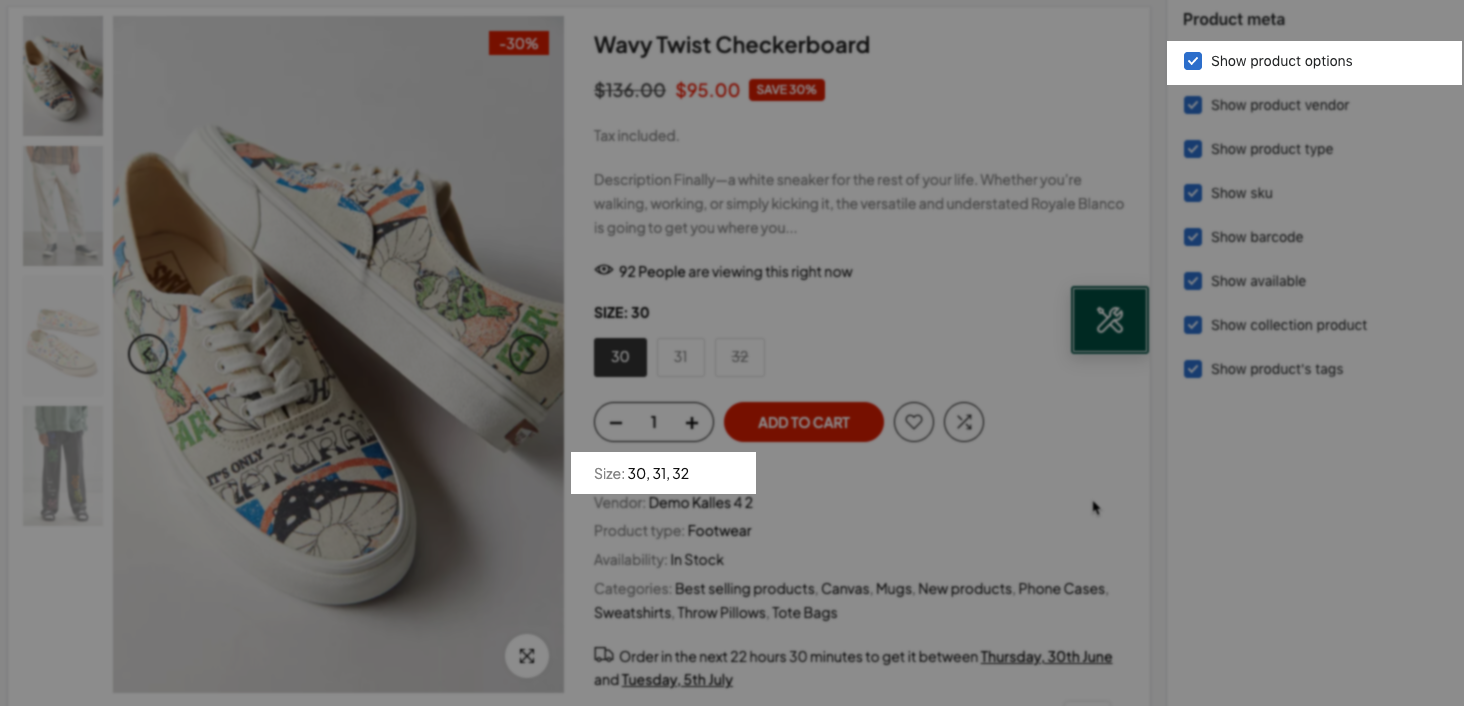
Show product options checkbox: show the Product variant options
Show product vendor:
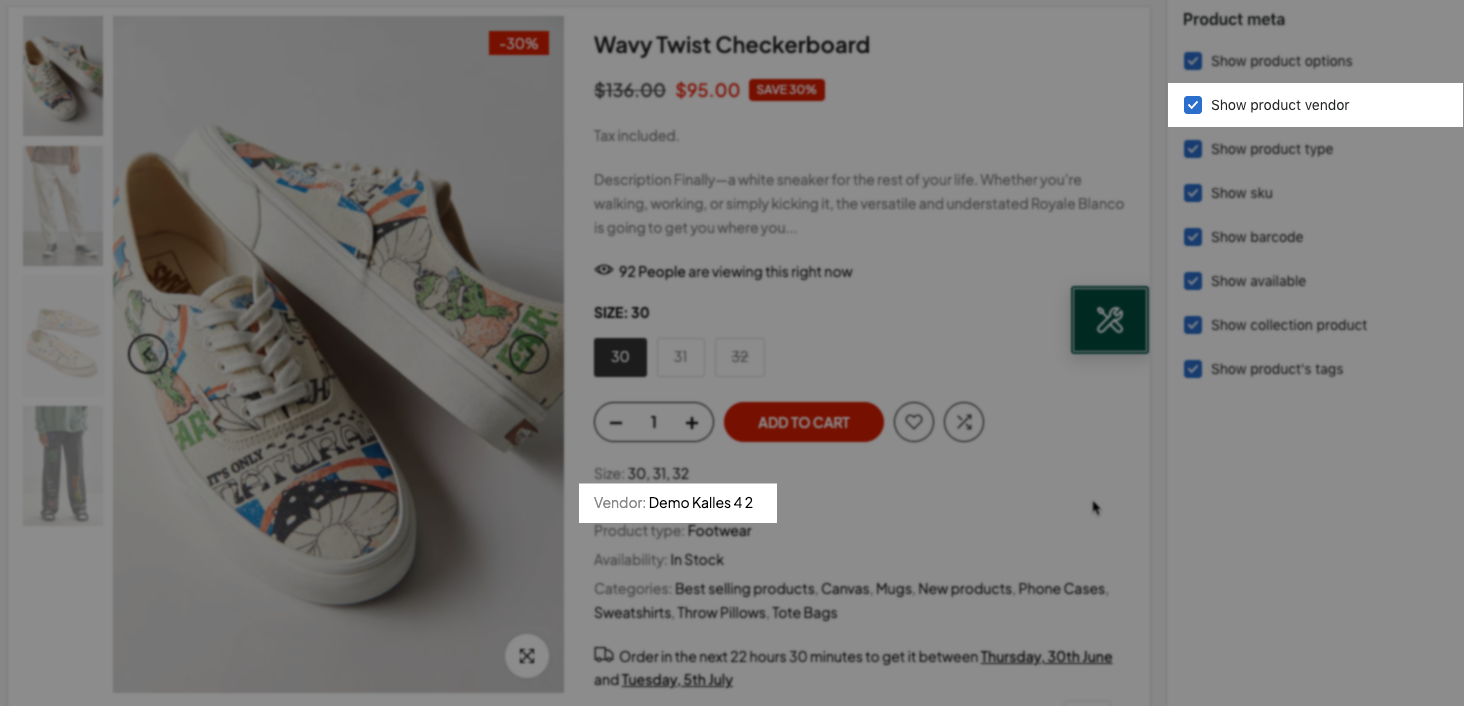
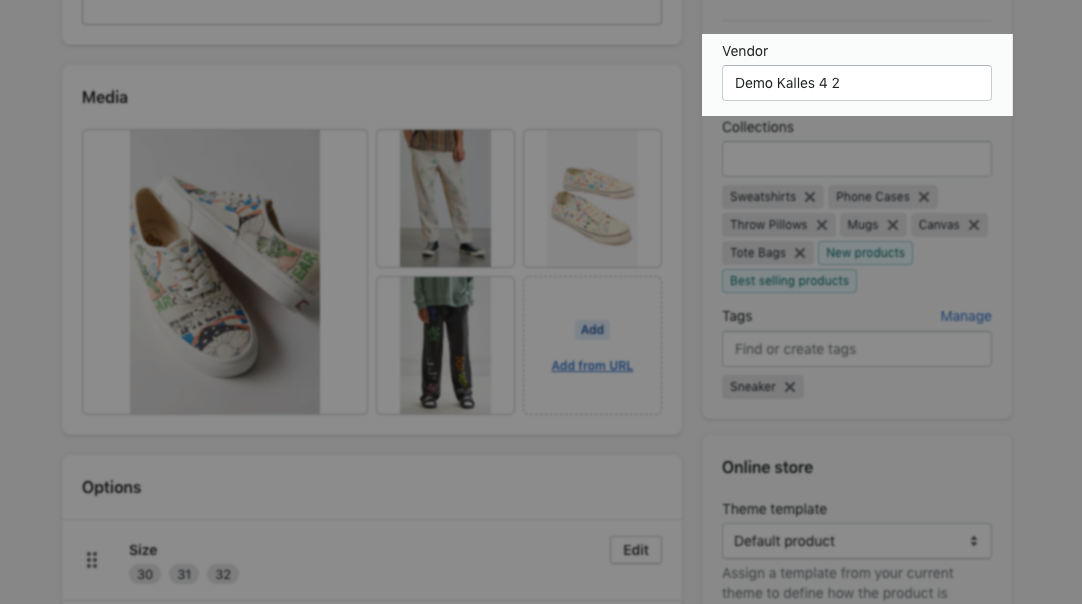
But you need to configure the Vendor for the Product in Shopify backend here:
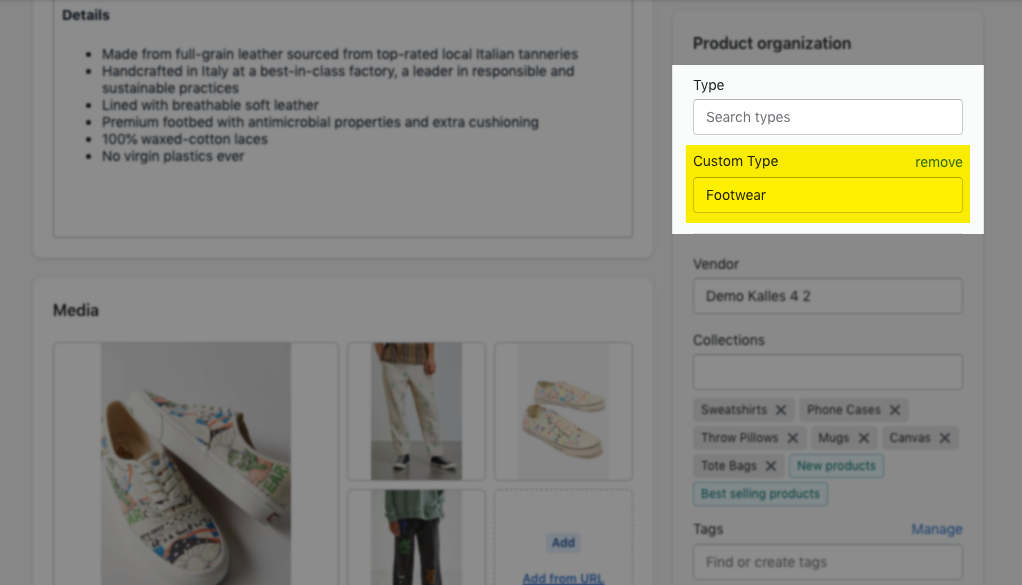
Show product type:
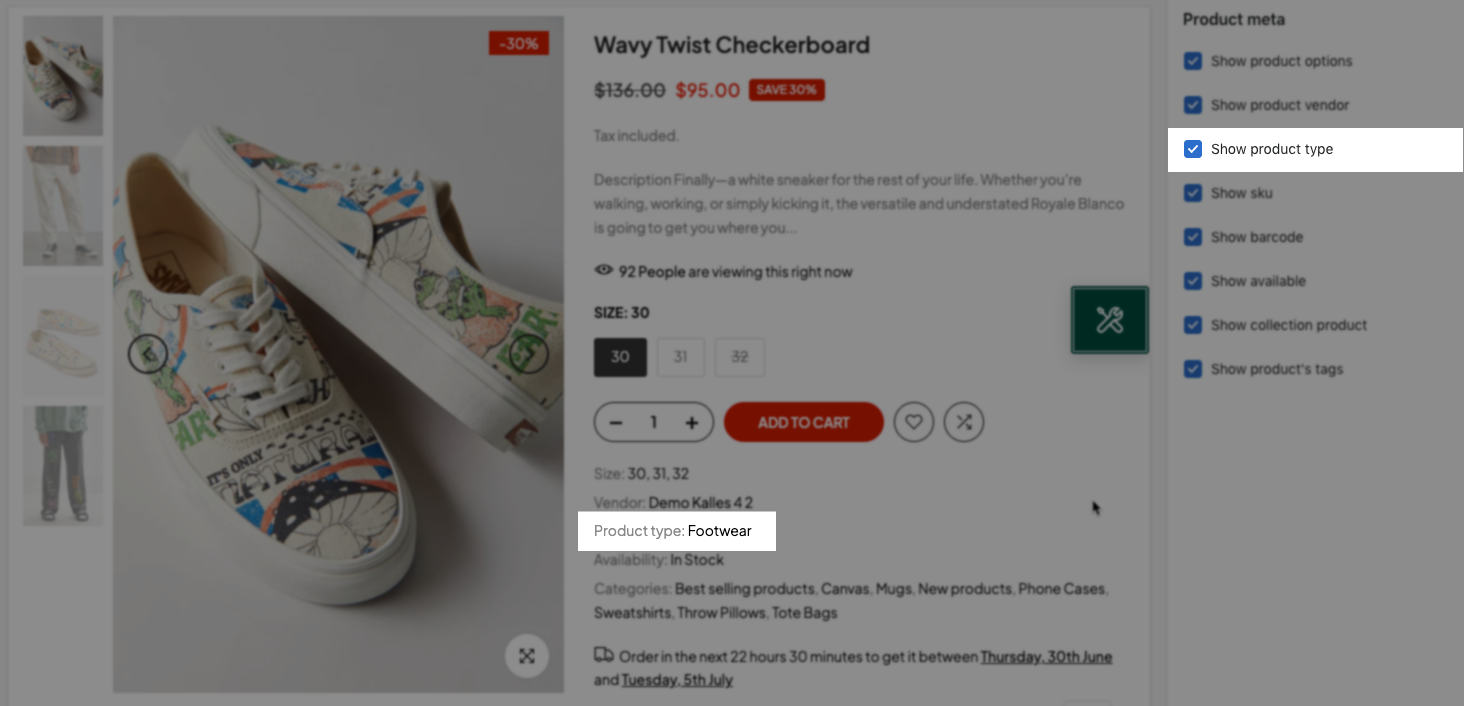
But you need to configure the Product type for the Product in Shopify backend here:
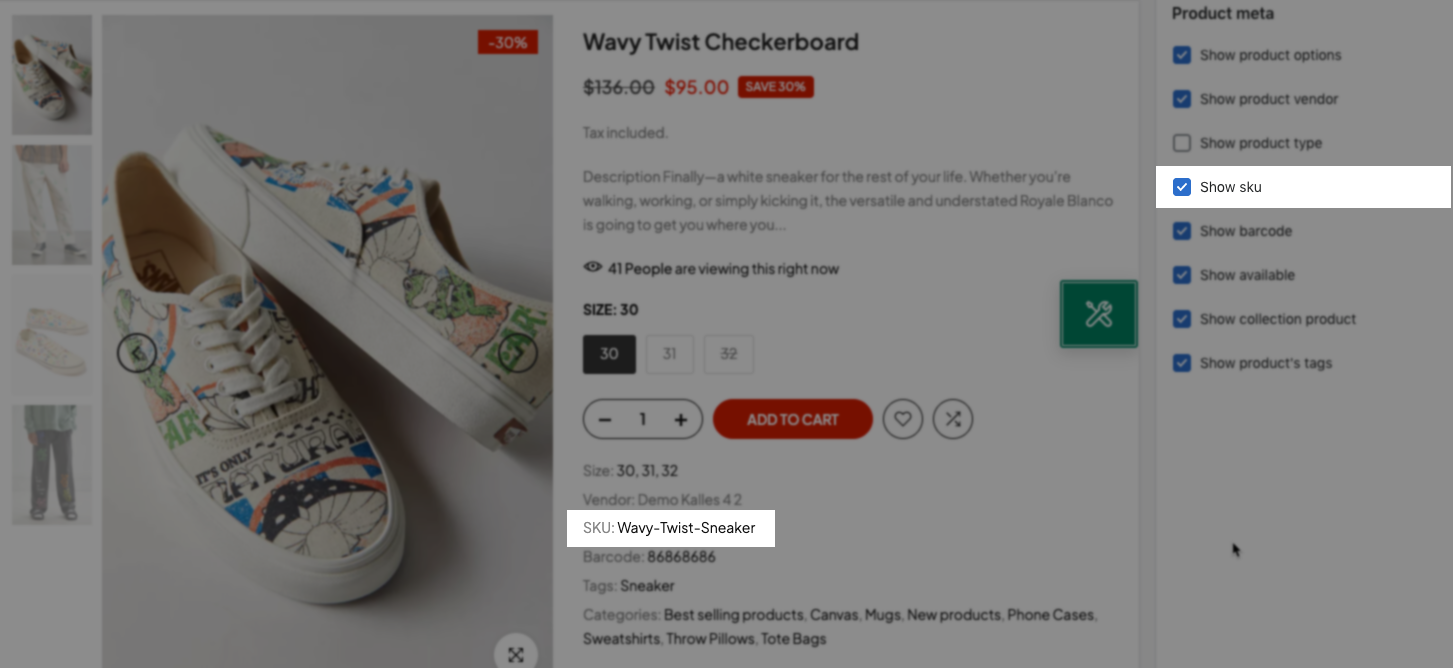
Show SKU:
Show barcode:
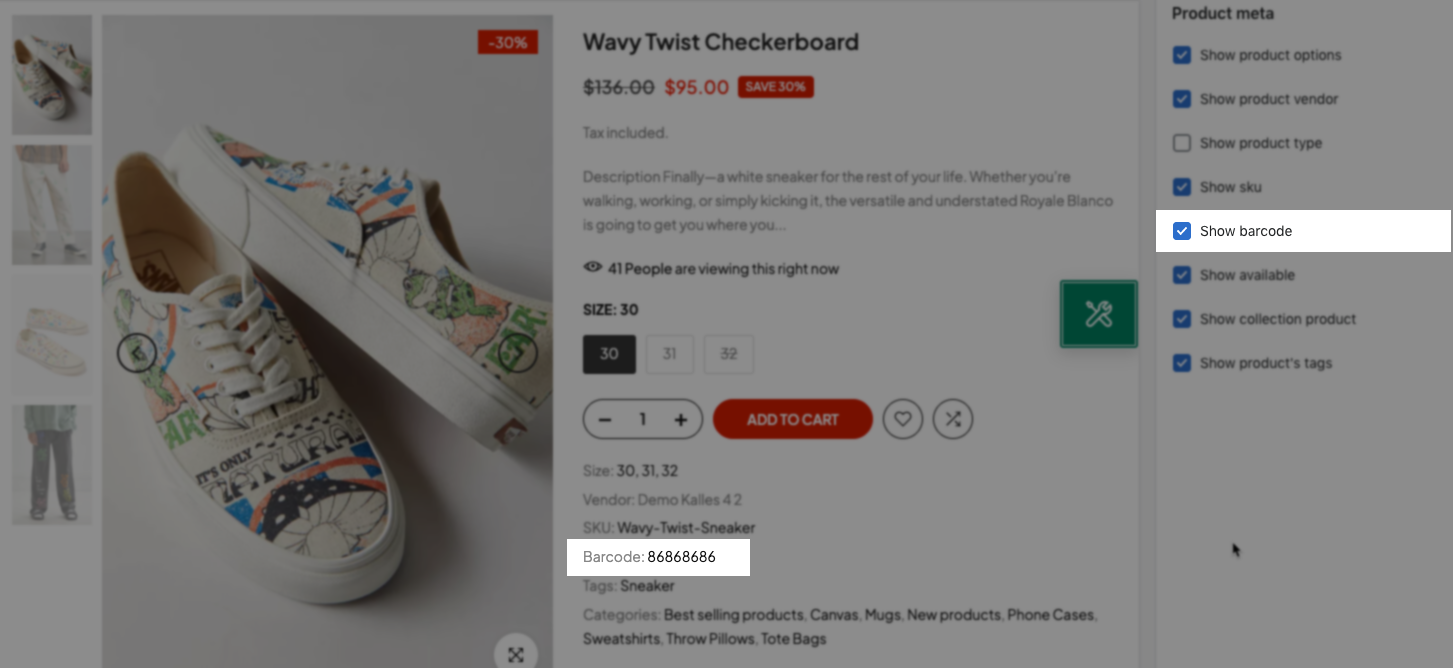
But you need to configure the Product SKU and Barcode for the Product in Shopify backend here:

Show available: show the availability of product (In stock, Out-of-stock, Pre order)
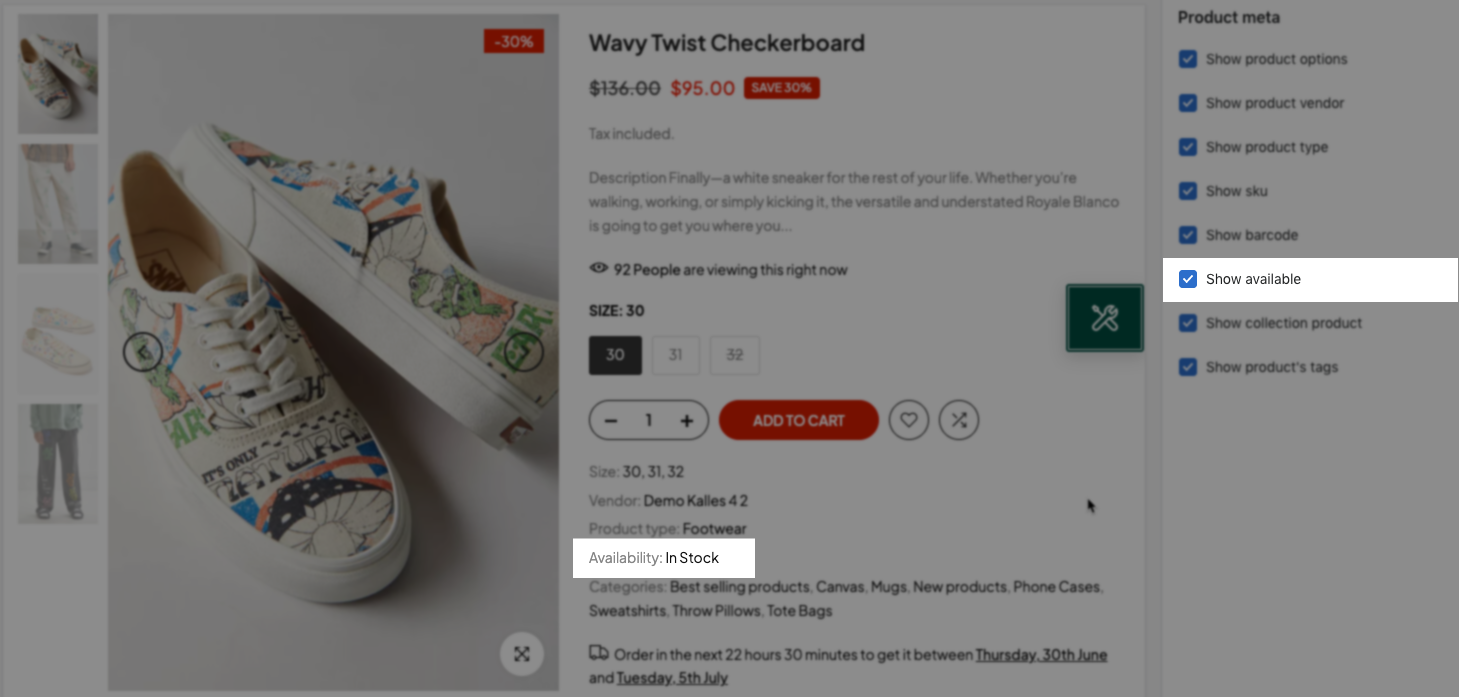
This option will show follow the product's quantity in stock. If the product is out of stock, this option also shows Out of stock.
To change availability text (In stock, Out-of-stock, Pre order) to another text/language, please to to Themes > Edit default theme content > search the keyword. Example:

Show collection product:
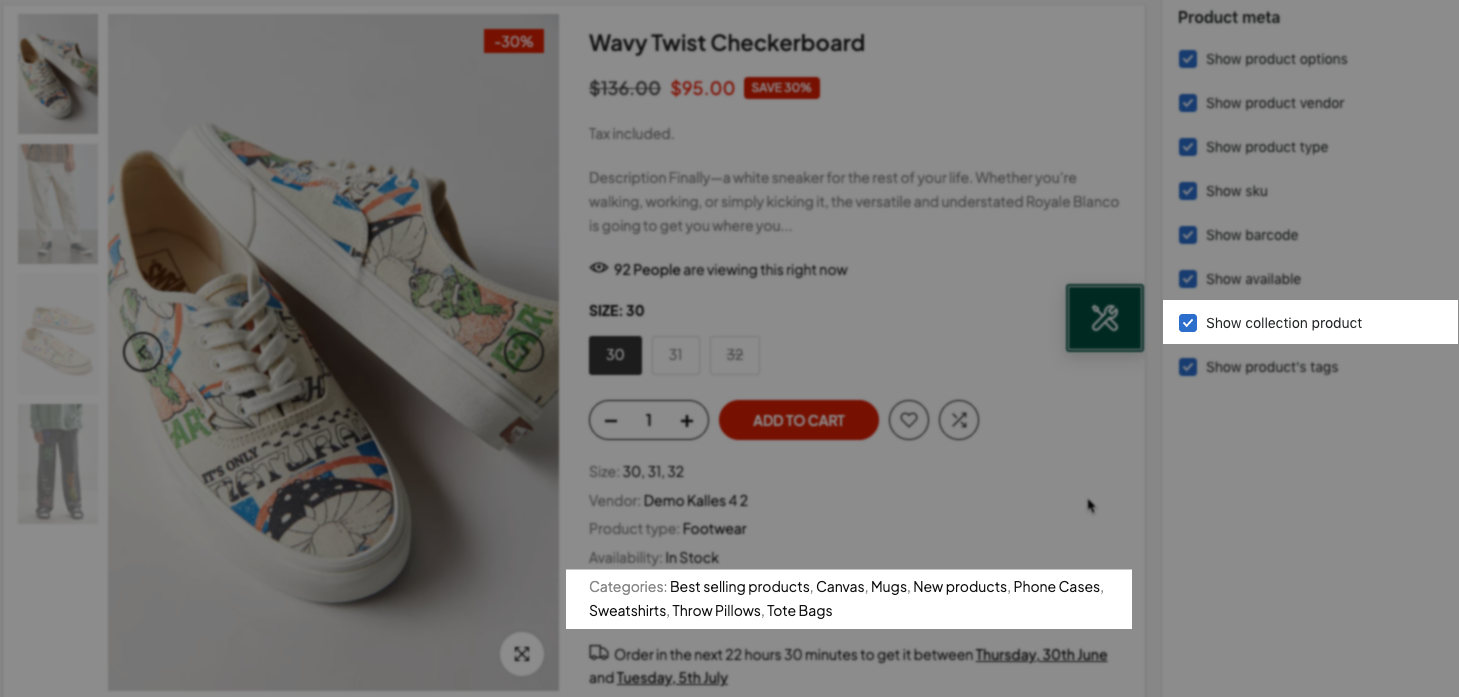
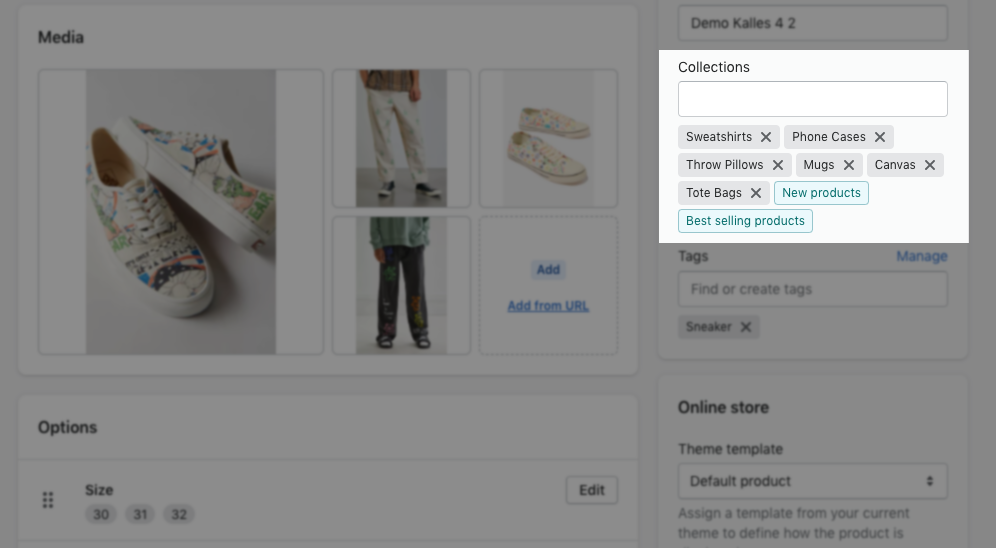
The Product collection will show follow this option in the Shopify backend:
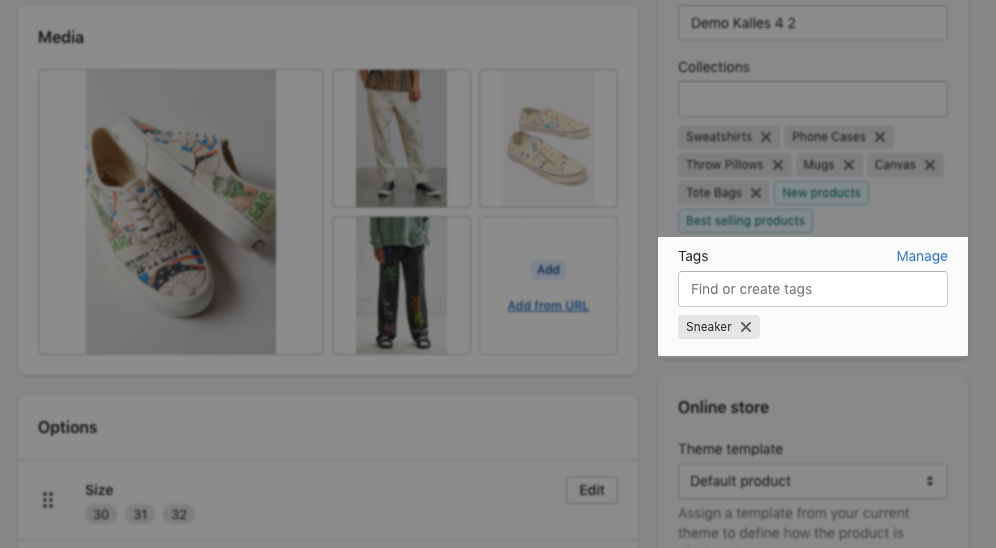
Show product's tags:
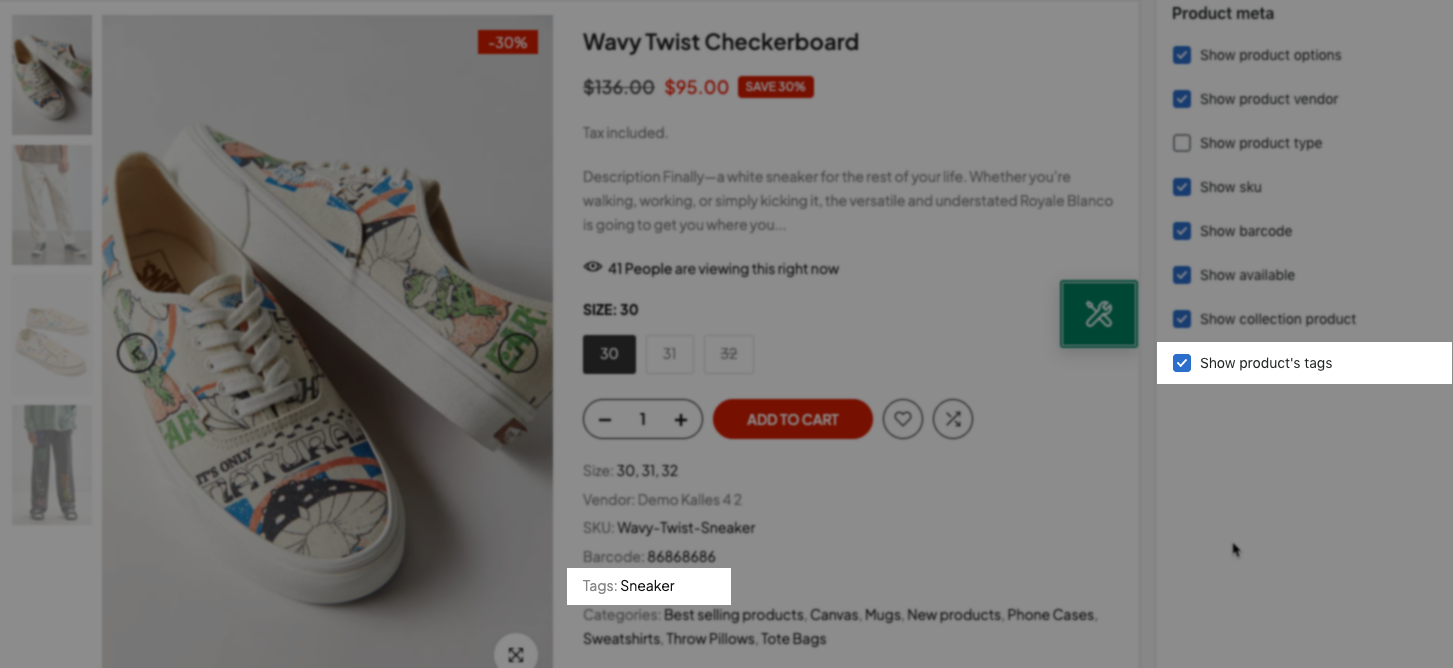
The Product's tags will show follow the setting you set in the Tags option in the Shopify backend:
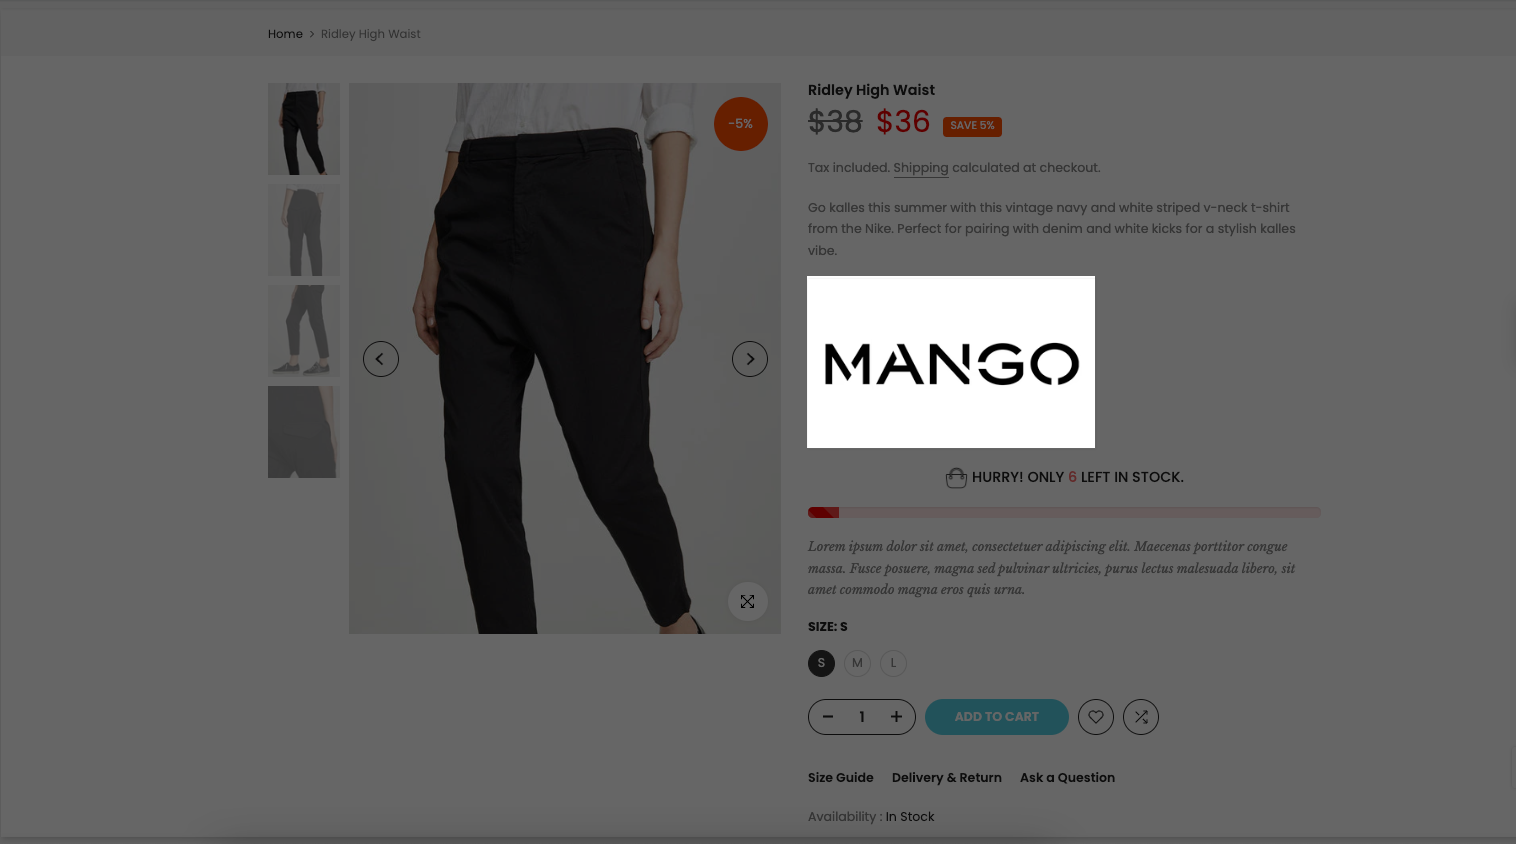
5. Brand Image
Aiming to appeal to your customers with more appealing information, a brand image on a product page is added. If you haven’t created a brand image, when you open it, nothing will show. Thus, you have to add a brand image to the menu first.
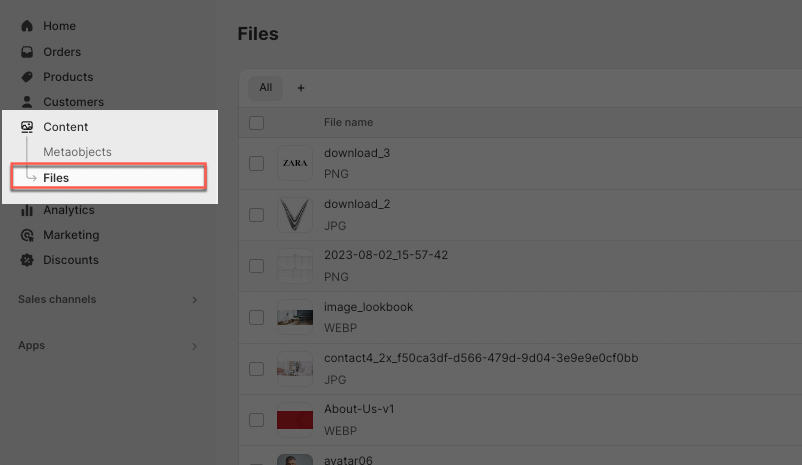
Step 1: Add and copy link brand image
1. Add image: From left-side bar on Shopify Dashboard > Content > Files > Upload File.
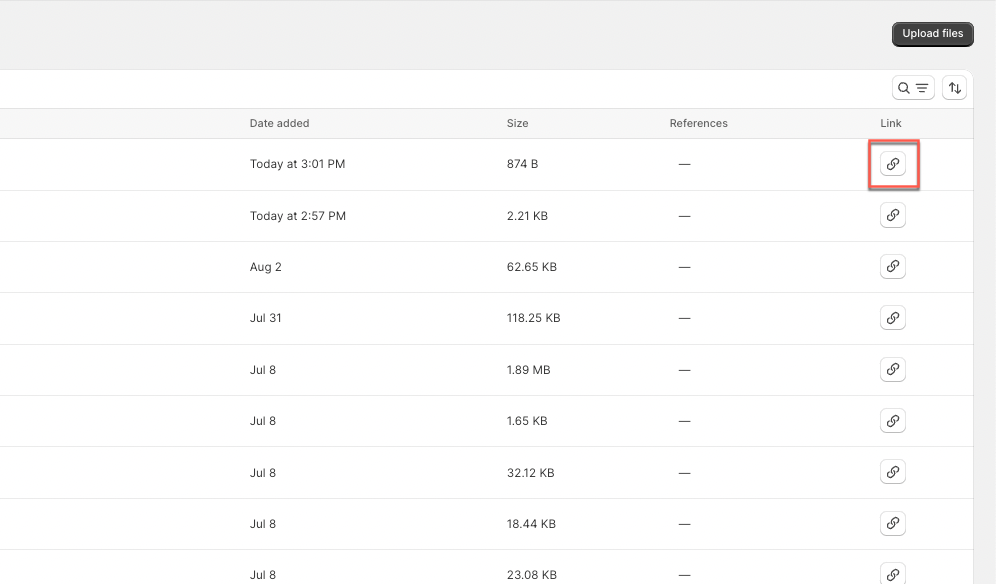
2. Copy image link: After uploading successfully, navigate to this symbol then click on it to copy image link.
Step 2: Create a handle menu for image
1. Add menu
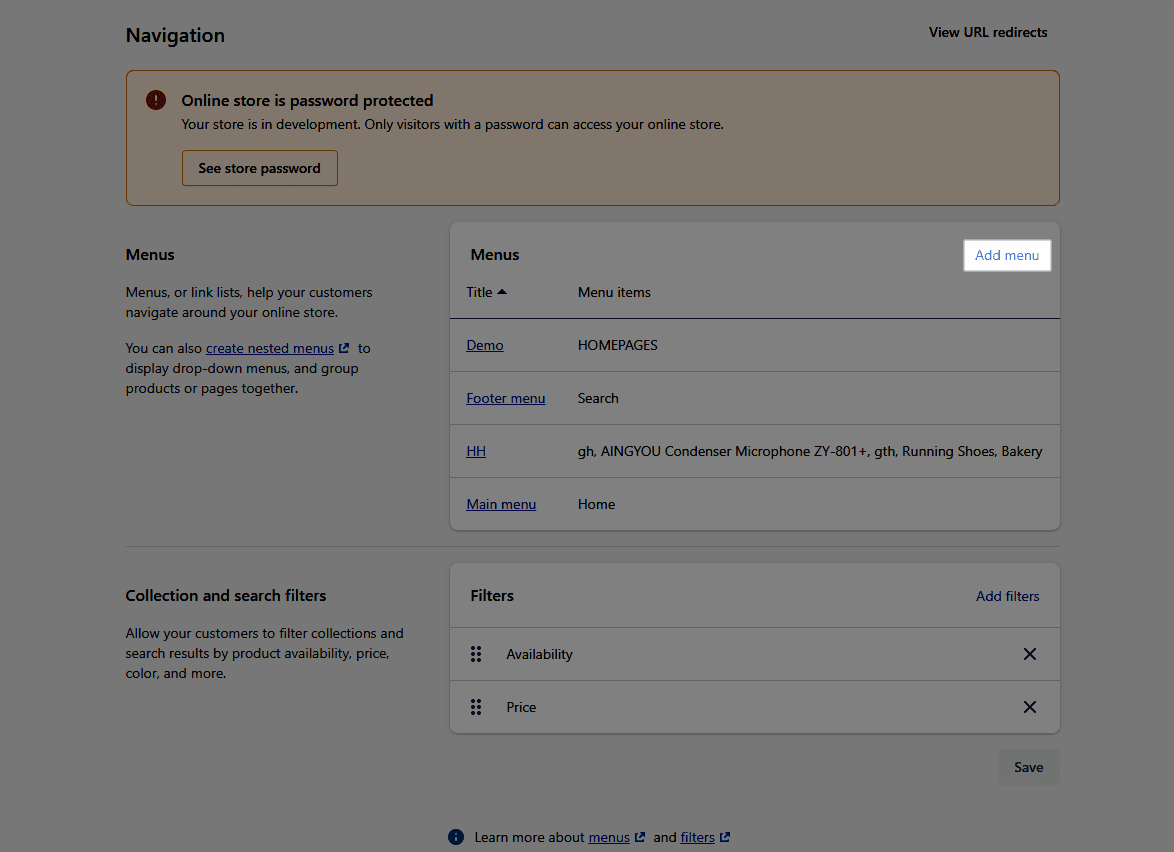
Back to Shopify Dashboard > Online store > Navigation > Add menu.
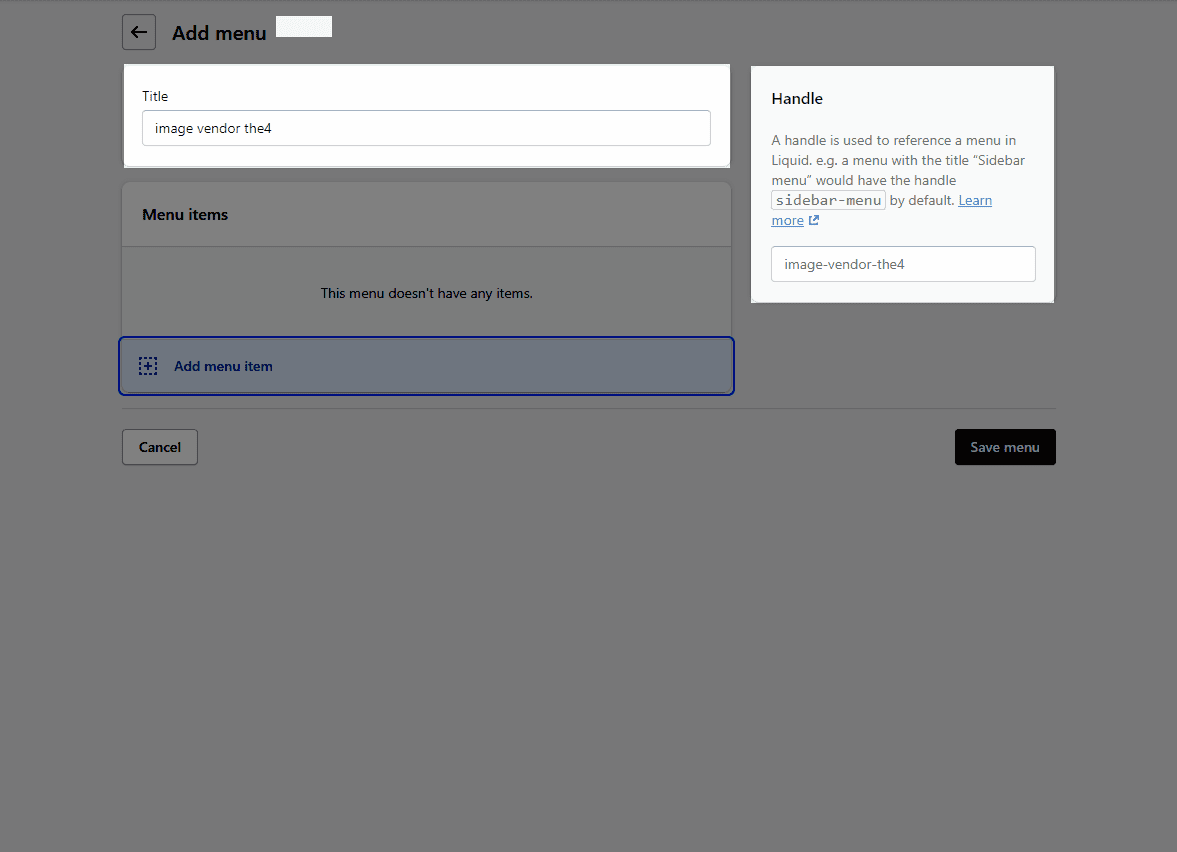
2. Create handle menu
You have to create a handle menu named image-vendor-the4 by entering the same for Title or on Handle on the right-side bar. This is important because if you don’t enter exactly, the brand image will not show.
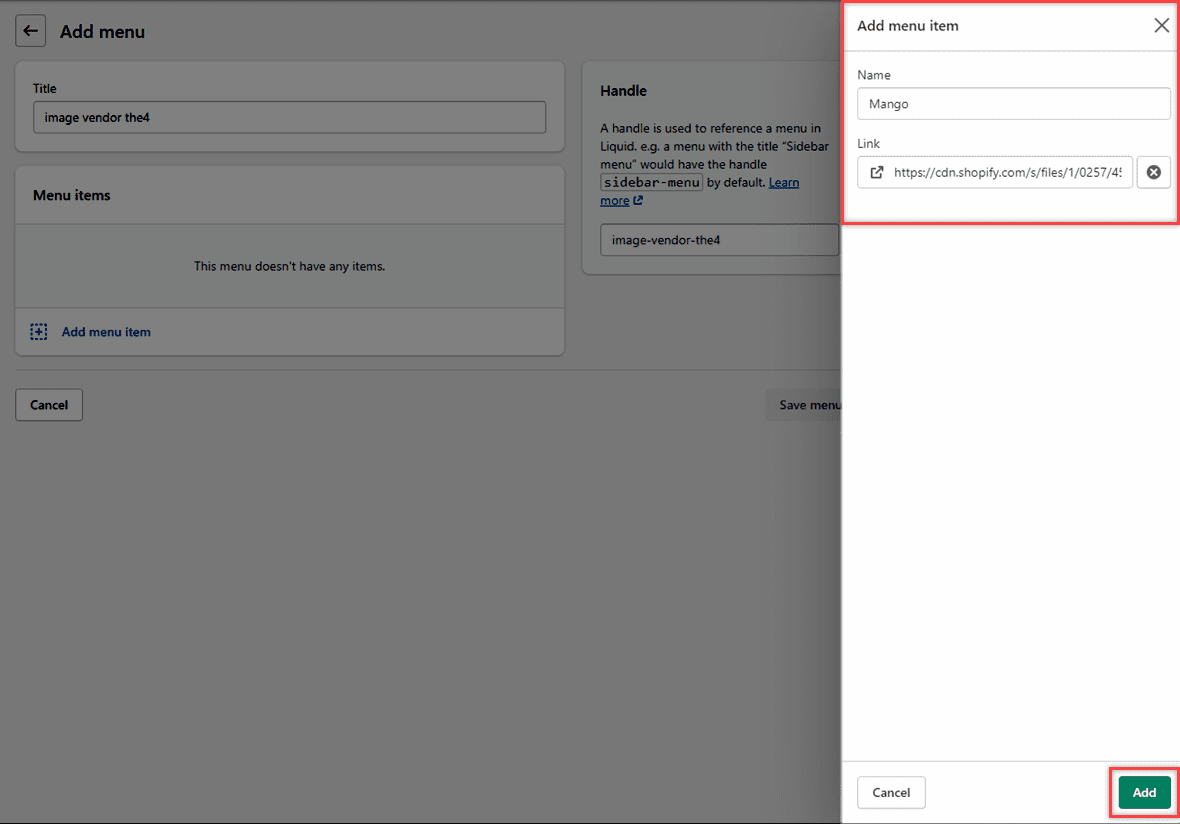
Then, add menu item:
Name: You must set the name of menu item exactly the same as the name product vendor, please pay attention to normal and capital letter.
Link: Paste the image link that you have copied in step 1 here
Go to Add
You can add all brand images into one Navigation above as this image:
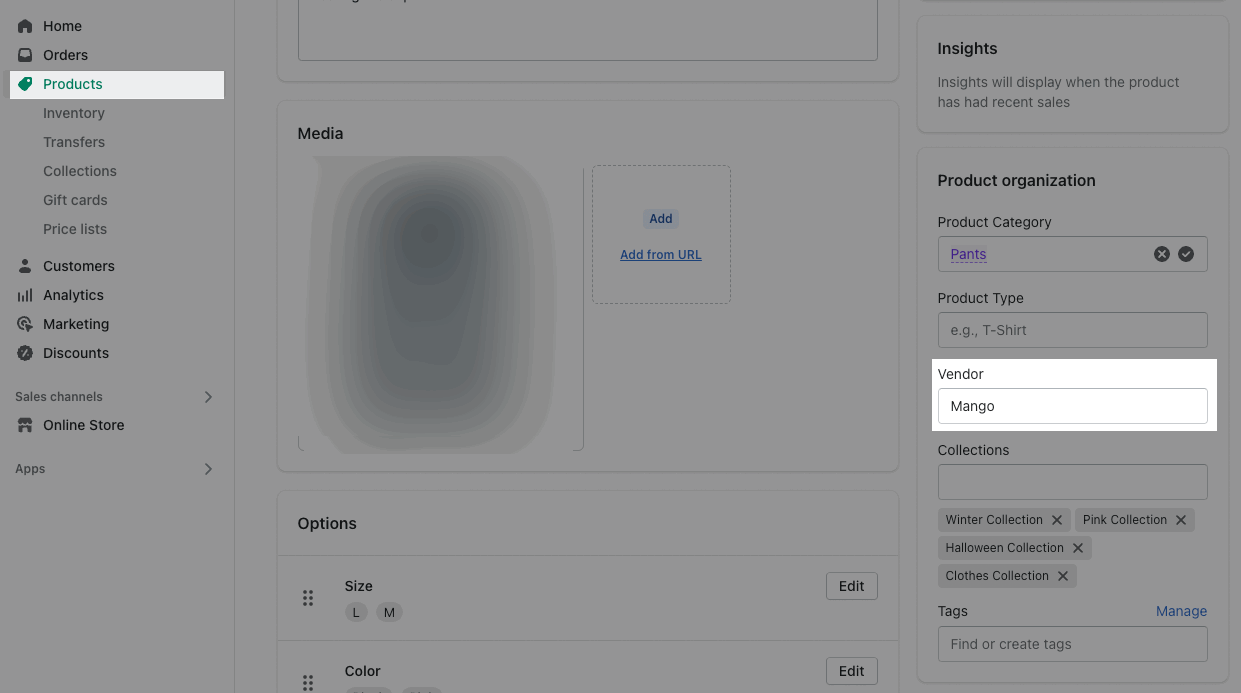
Step 3: Add Vendor in Product
From Shopify Admin > Product >> choose product which need to have brand image >> fill in the Vendor for it. This vendor must be match with the name of menu item in step 2.
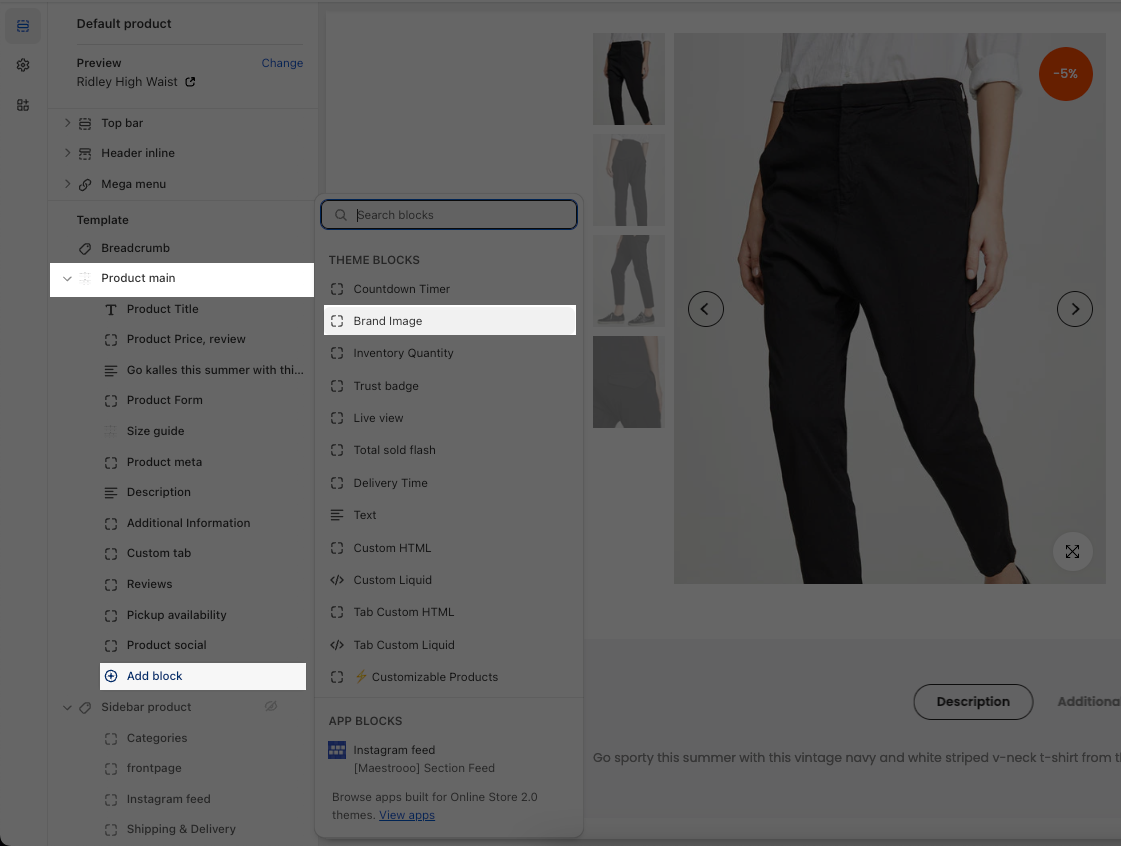
Step 4: Add Image Brand
From Product Page > Product Main section > Add Block > Brand Image. Then the brand image that you have added will show automatedly.
Result:


