To config Popup, please go to The4 Dashboard > Theme Options > Popup on your store
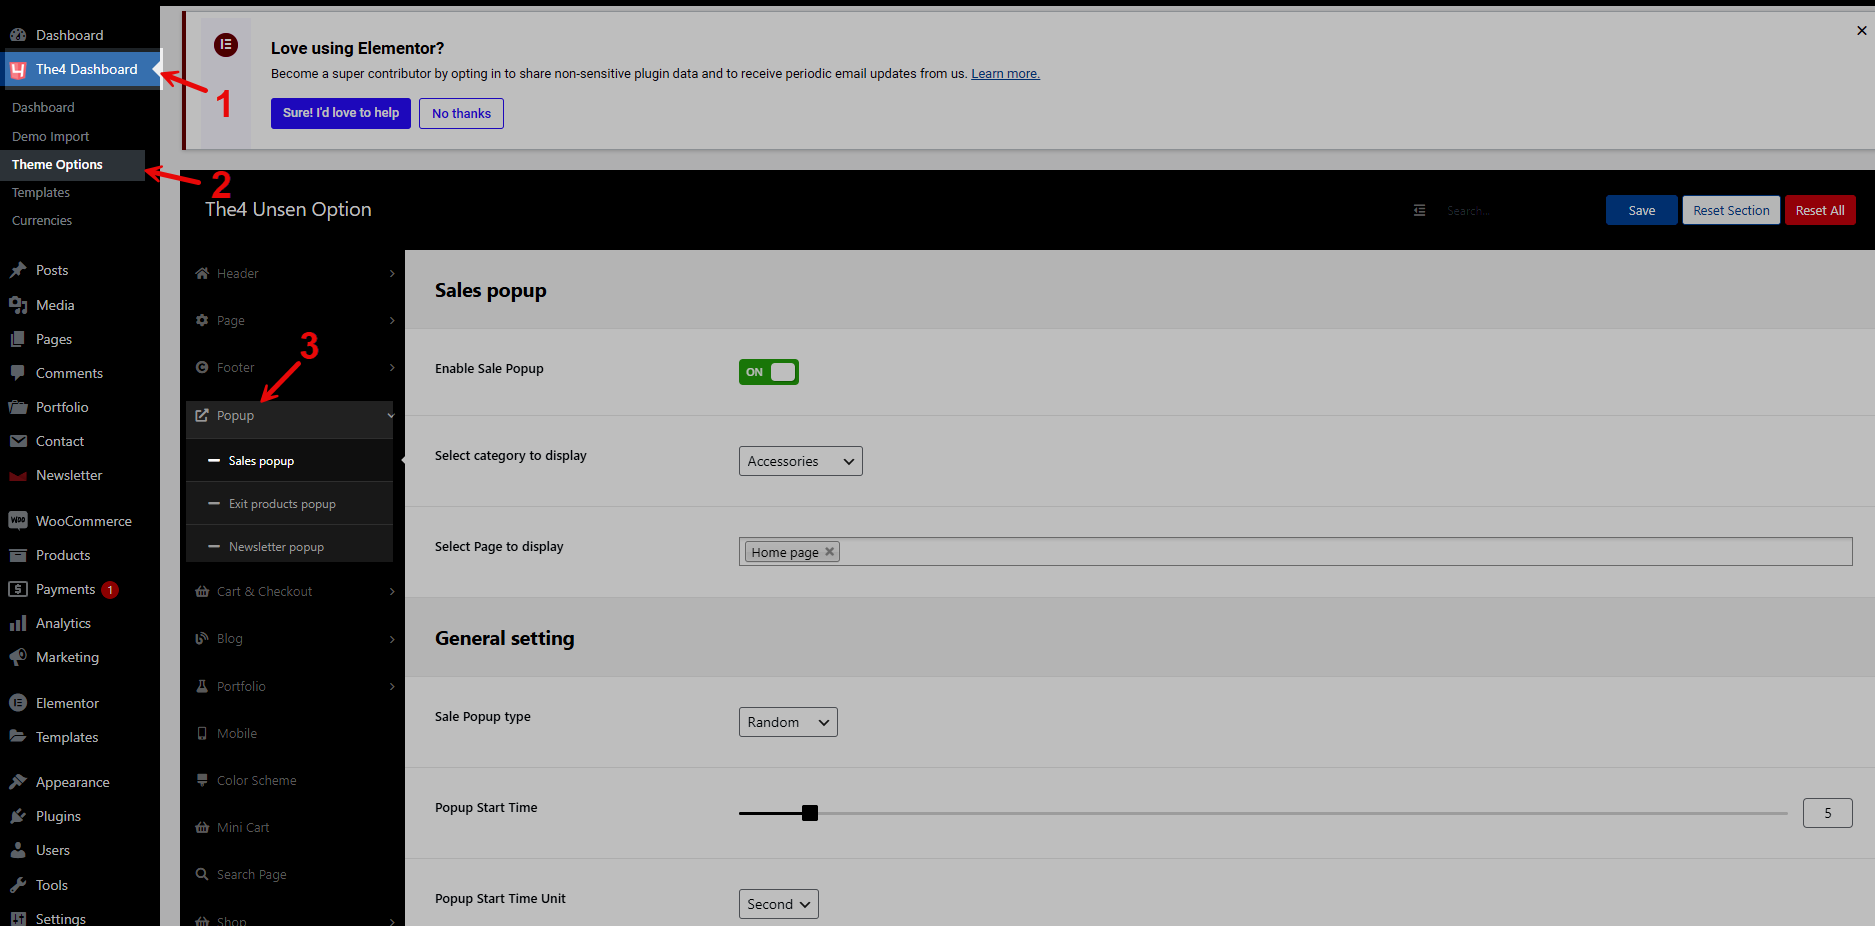
1. Sales popup
1.1. Sales popup
Enable Sales popup
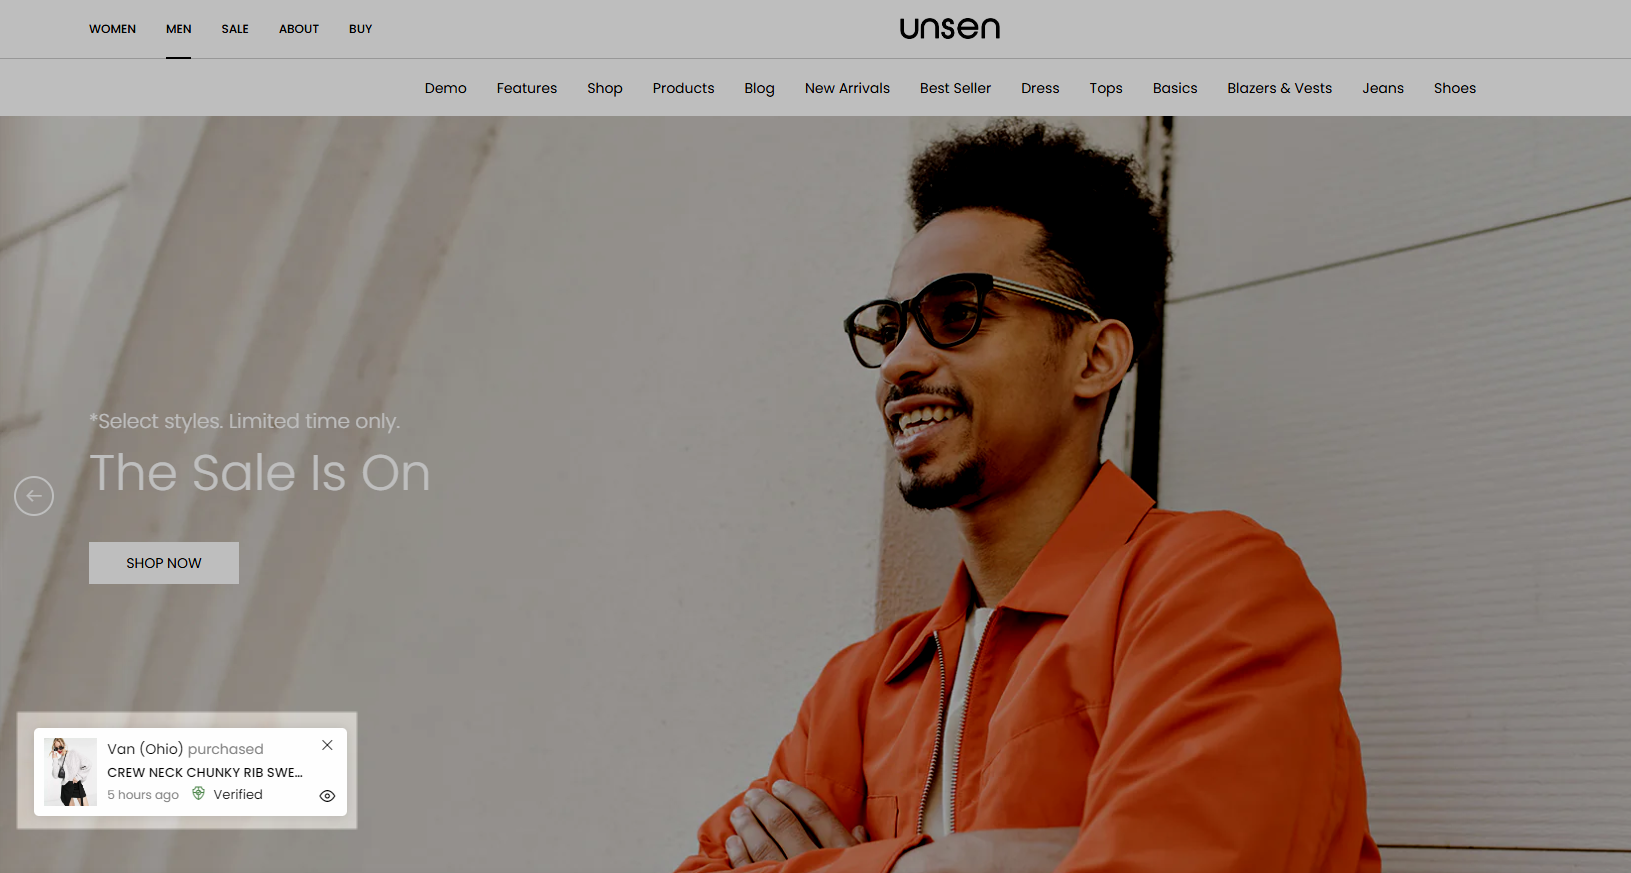
This option is a great form of advertising by popping up your products on the customer’s website screen. To enable Sales popup, from Popup > Sales popup > Enable Sales Popup.
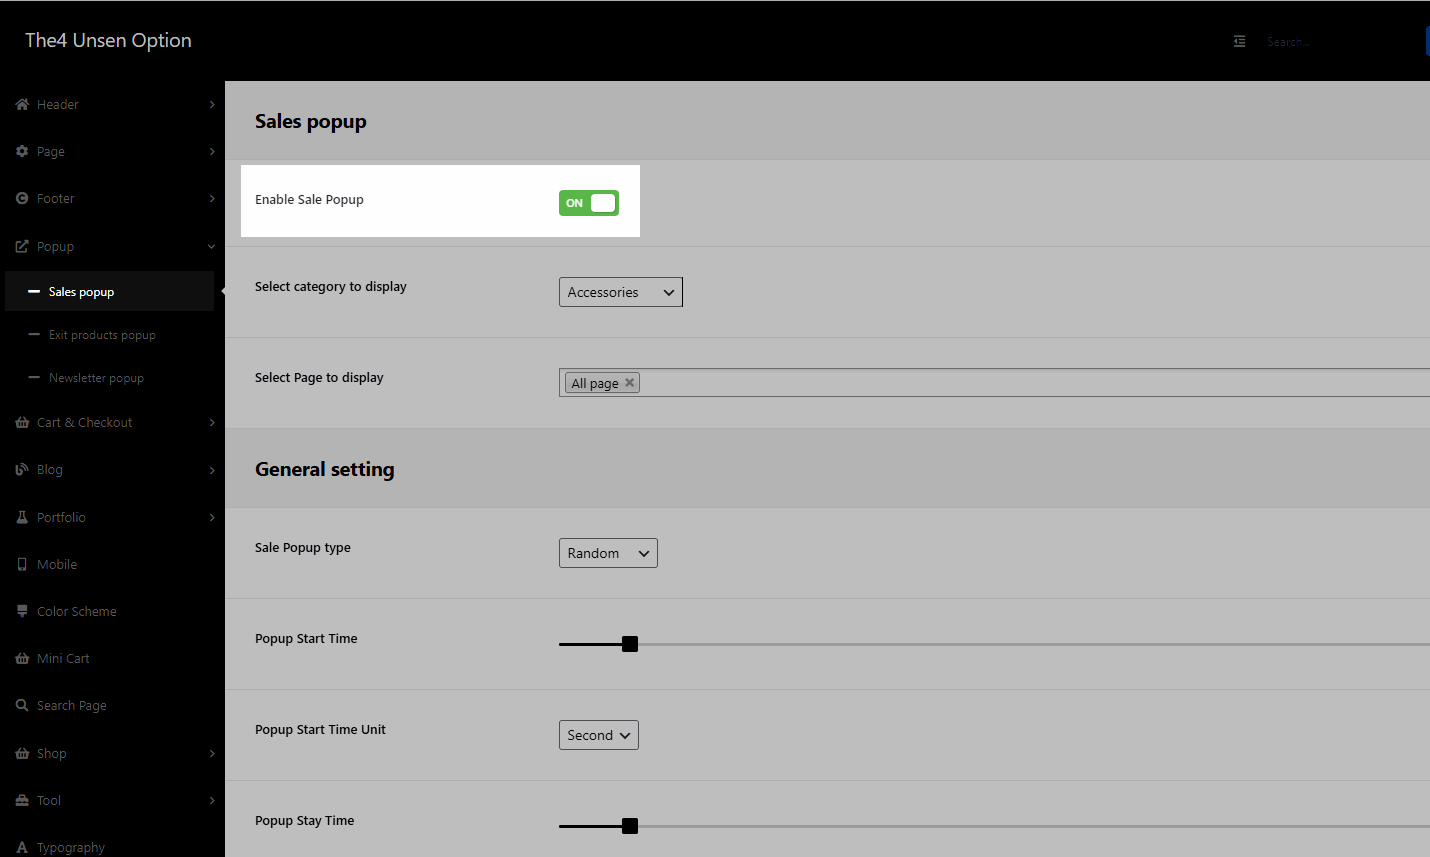
Select category to display: select a category you want (Ex: Glasses, Shoes, Watches,...)
Select page to display: You can choose pages to show sales popup.
1.2. General Settings
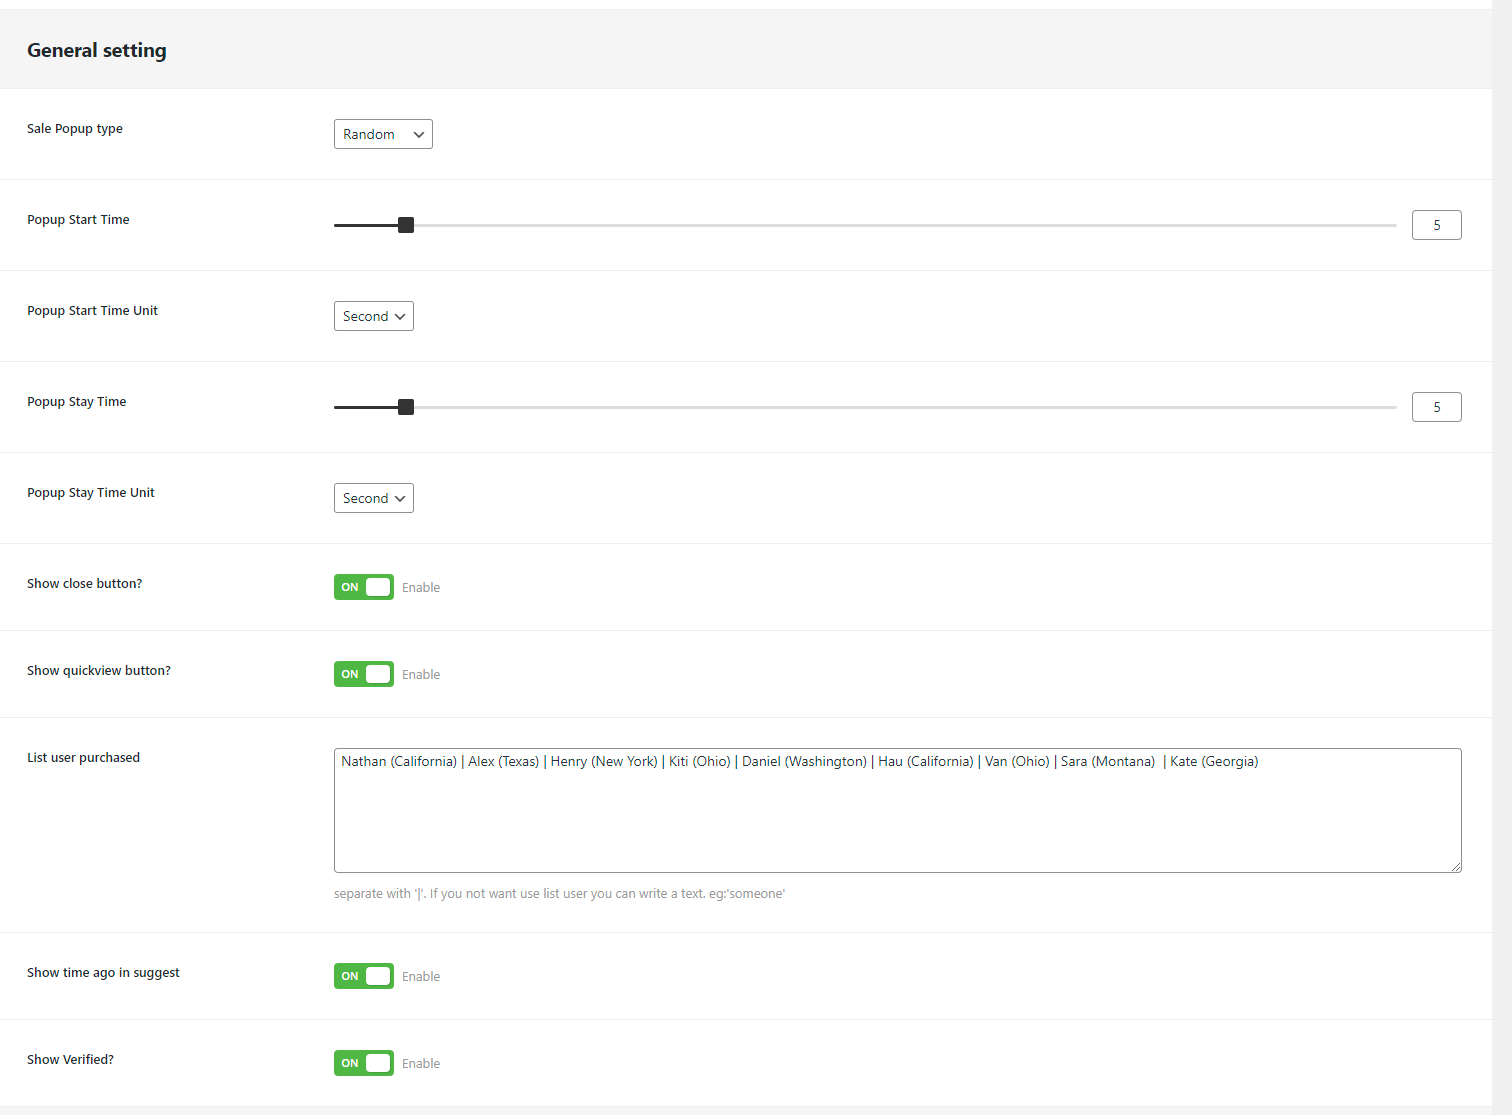
Sale Popup type: Choose Sequential if you want your user purchase list to be shown sequentially. Choose Random if you want to show the user purchase list randomly.
Sales popup allows you to adjust start and stay time by second or minute.
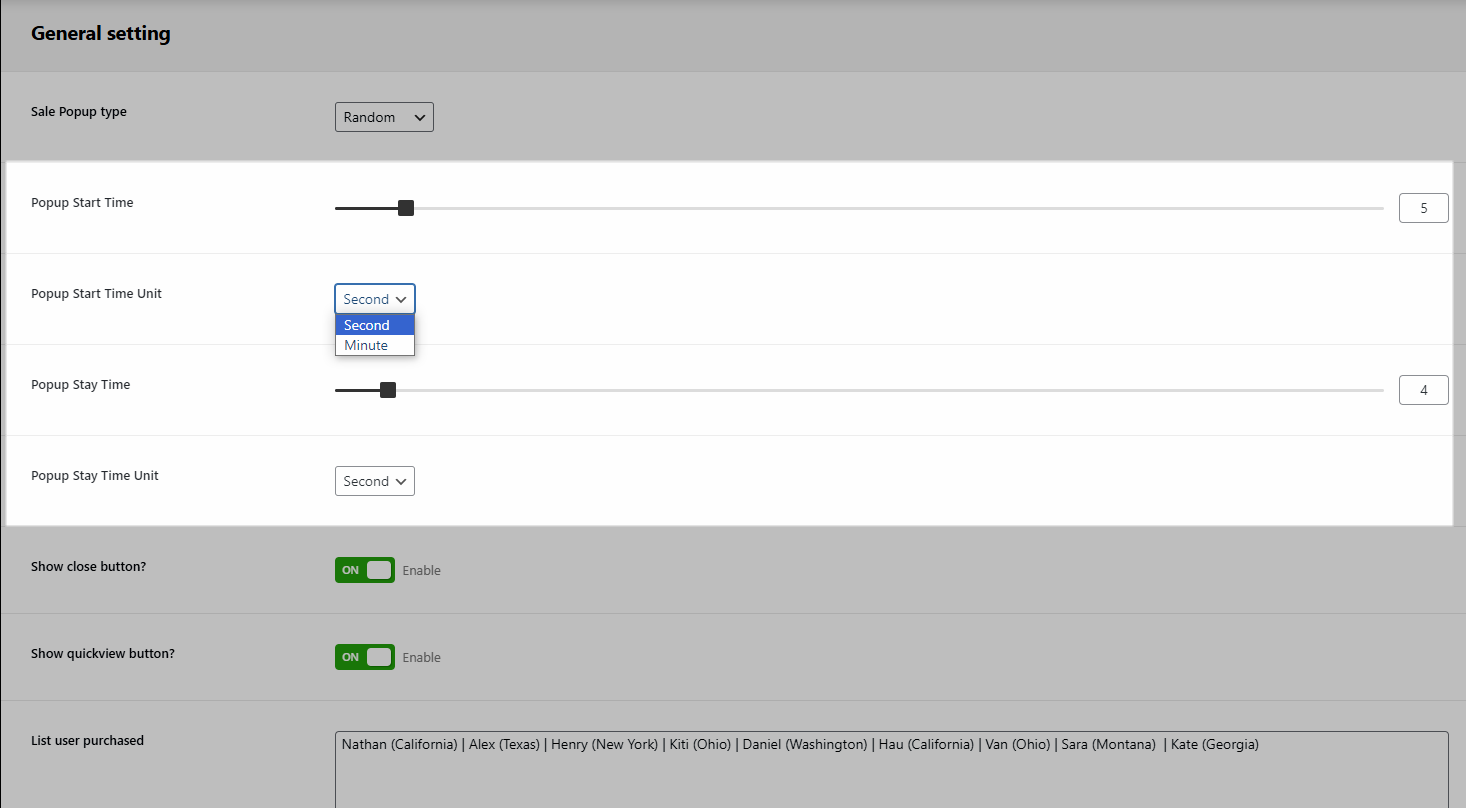
Show close button: you can enable or disable button
Show quick view button: you can enable or disable button
List user purchased: You can customize the user list yourself including name, nation. Adding multiple users is possible by separating them with “|”.
Show time ago in suggest: Enable the timestamp so customers can see when the product was purchased
Show Verified: You can enable “Verified” to make products more authentic.
1.3. Design options
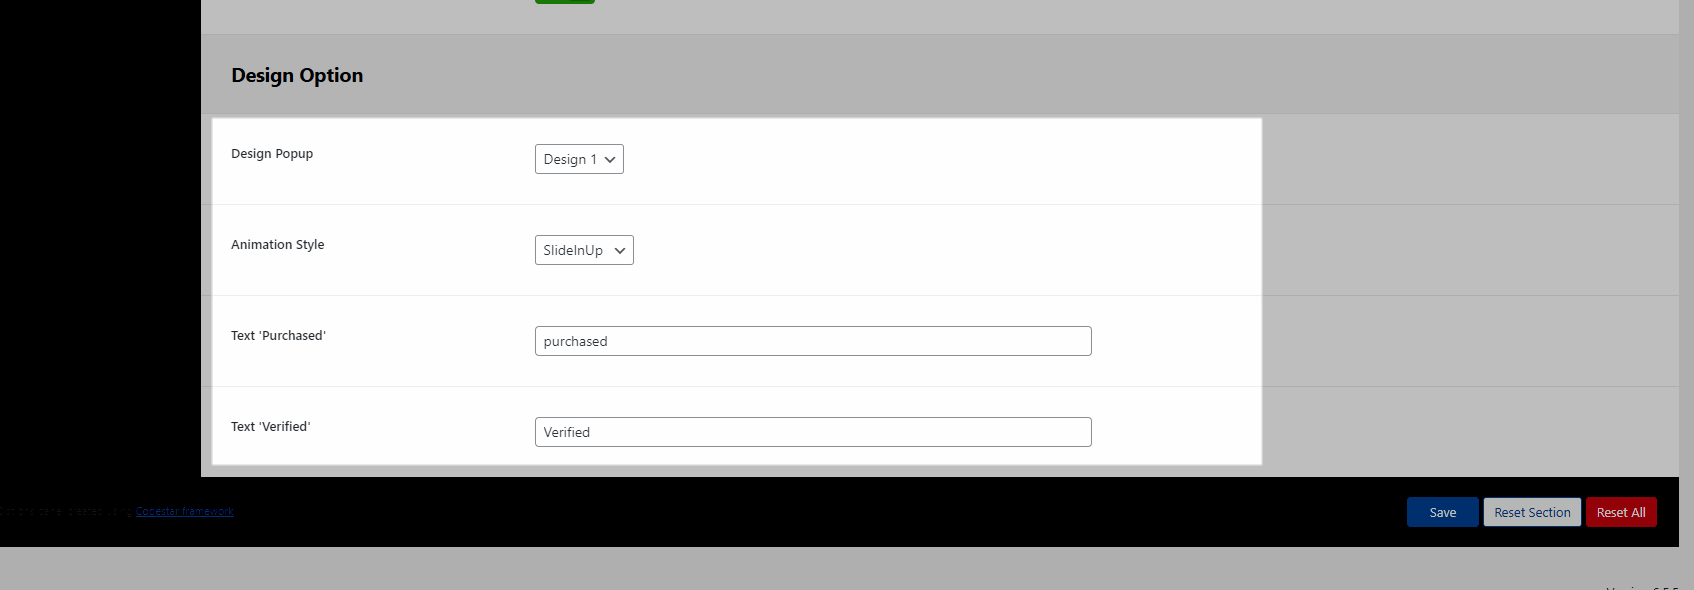
Design Popup: The popup of design 1 is rectangular
Animation Style: In this section, you will be able to choose between various types of animations, click on each to see how it looks like and pick the one you prefer.
Text 'Purchased' & 'Verified': You can change the text for Purchased and Verified here.
2. Exit Products popup
2.1. Enable Exit Products popup
Enable
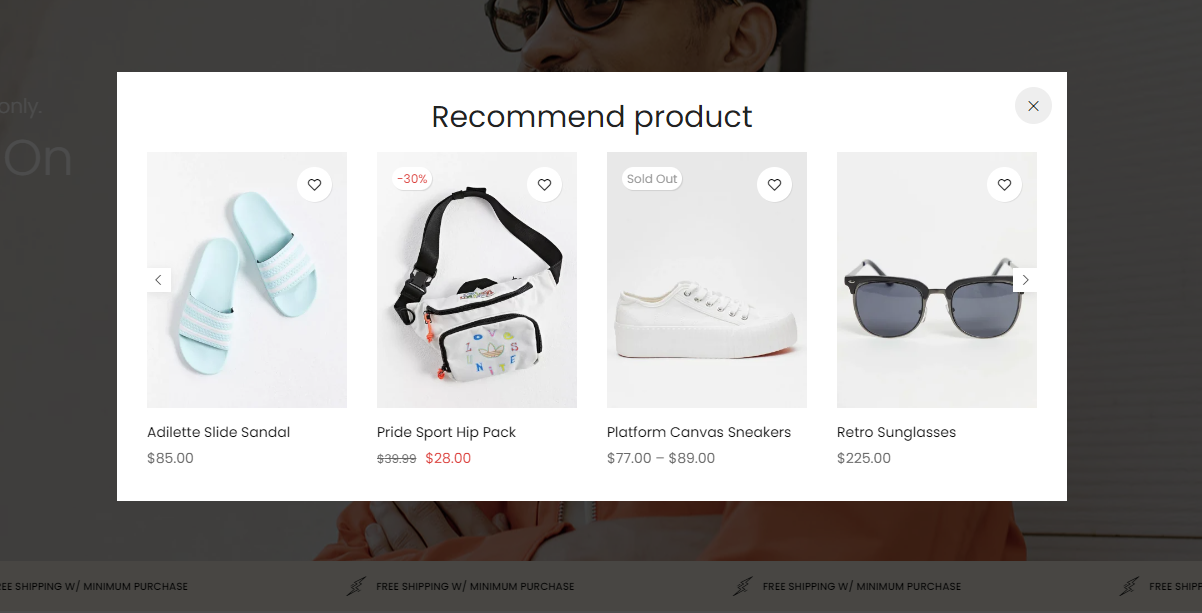
To enable Exit products popup, from Popup > Exit products popup > Enable Exit products Popup.
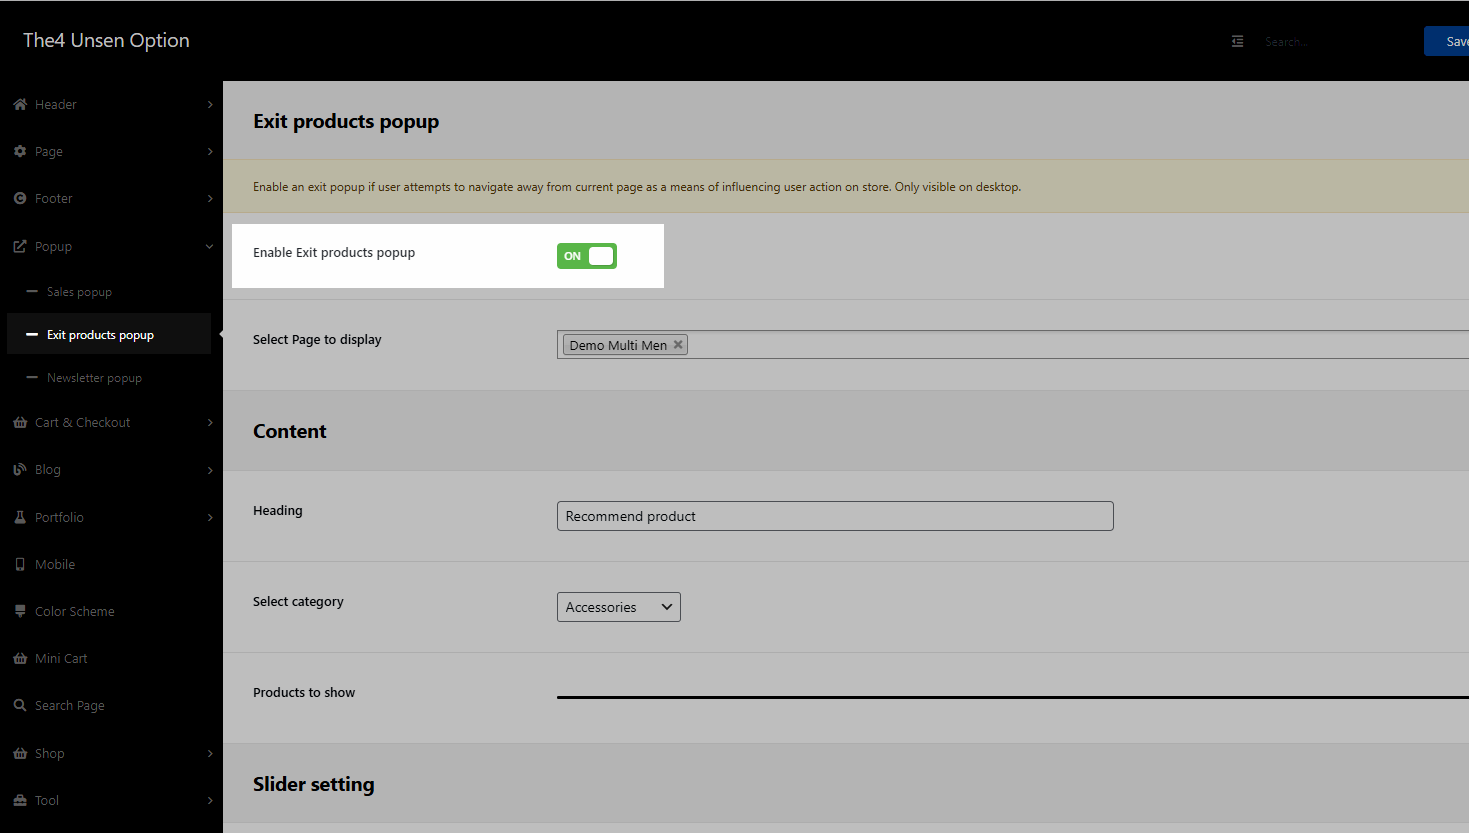
Select Page Display: You can choose pages to show popup.
2.2. Content
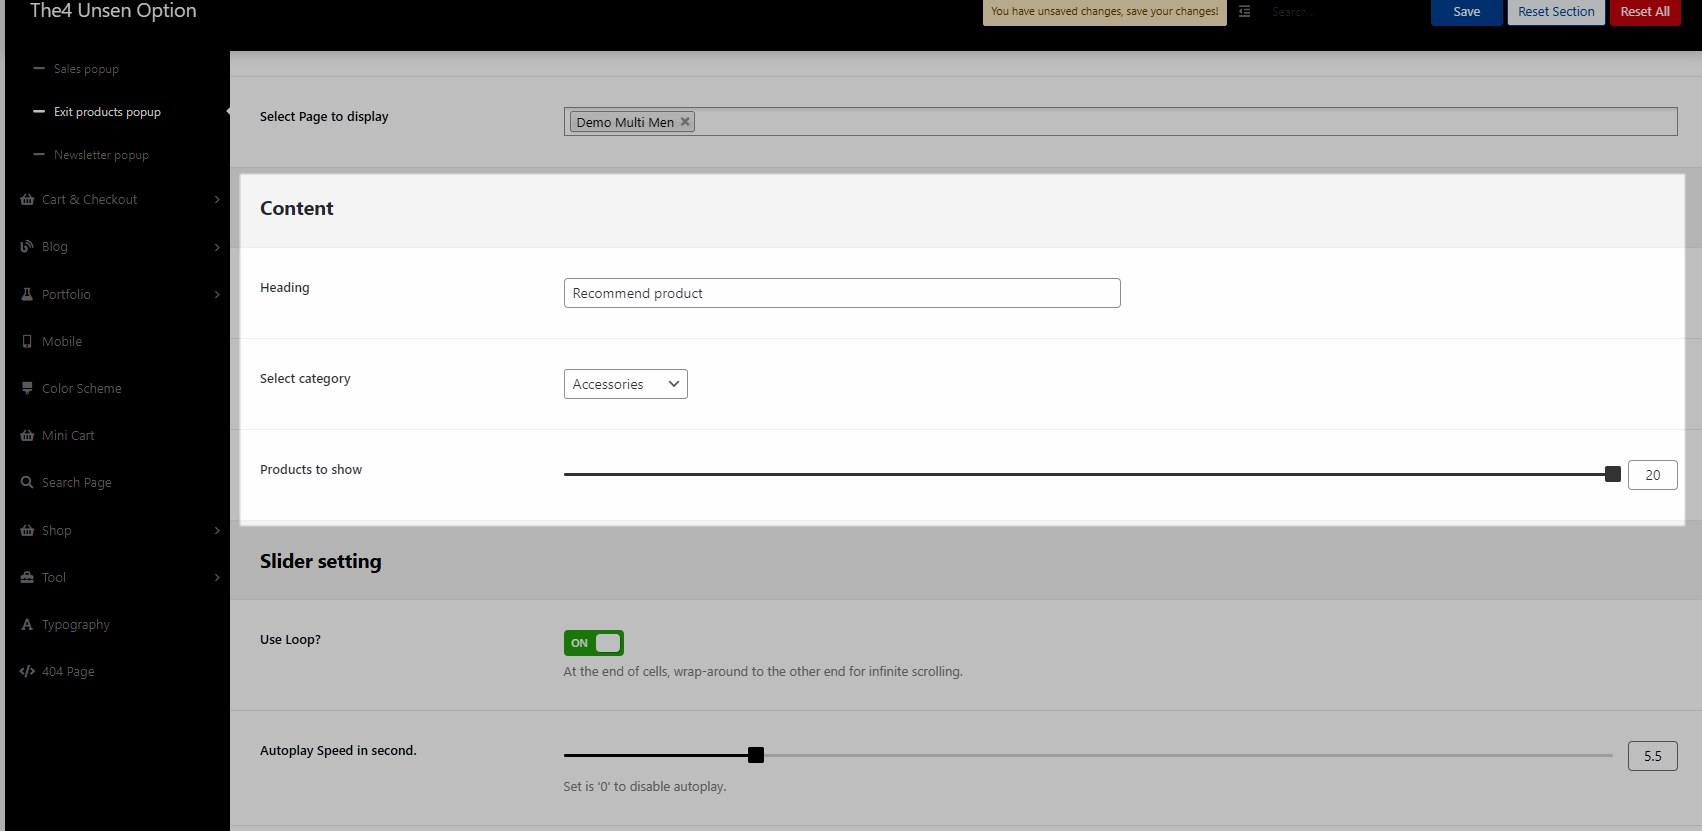
Heading: You can enter an attractive heading for your Exit Product Popup here.
Select Category: Choose categories for your Exit popup here.
Product to show: Show number of products you want by category
2.3. Slider Settings
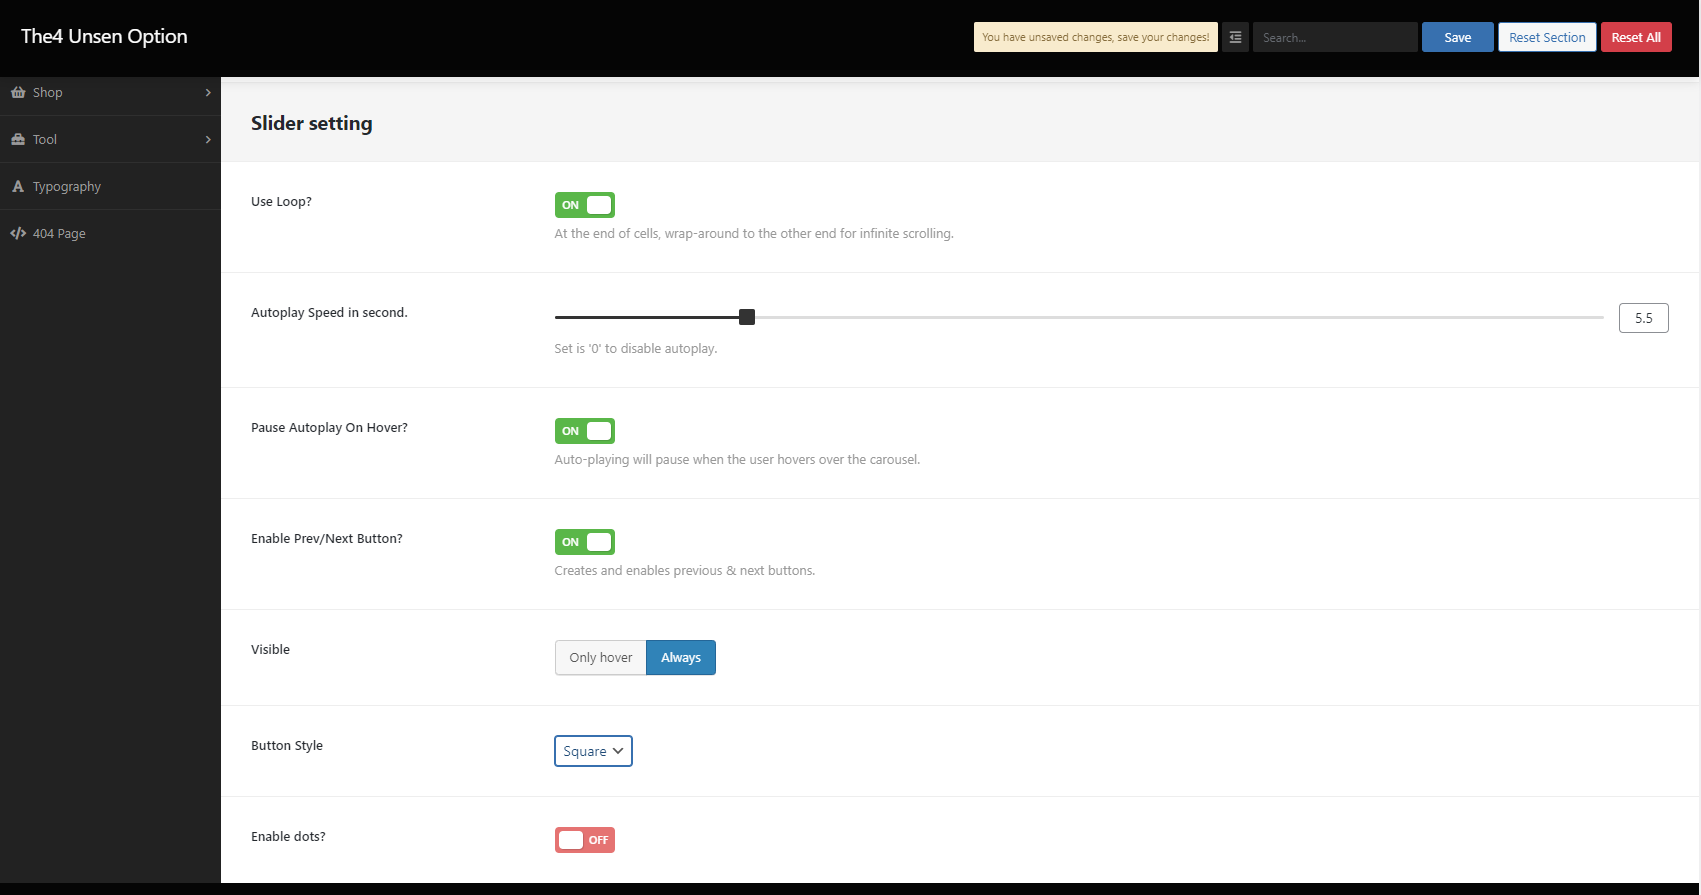
Use loop: At the end of cells, wrap around to the other end for infinite scrolling.
Autoplay Speed in seconds: You can adjust how many seconds to show, and set ‘0’ to disable autoplay.
If you want to stop auto-play when you are hovering on, enable Pause Autoplay On Hover.
Enable Prev/Next Button?: In this section, you enable or not prev and next button. If you enable them, you can customize yourself like Visible, Button Styles
Enable dots: show dots if you turn ON
3. Newsletter Popup
3.1. Enabel Newsletter popup
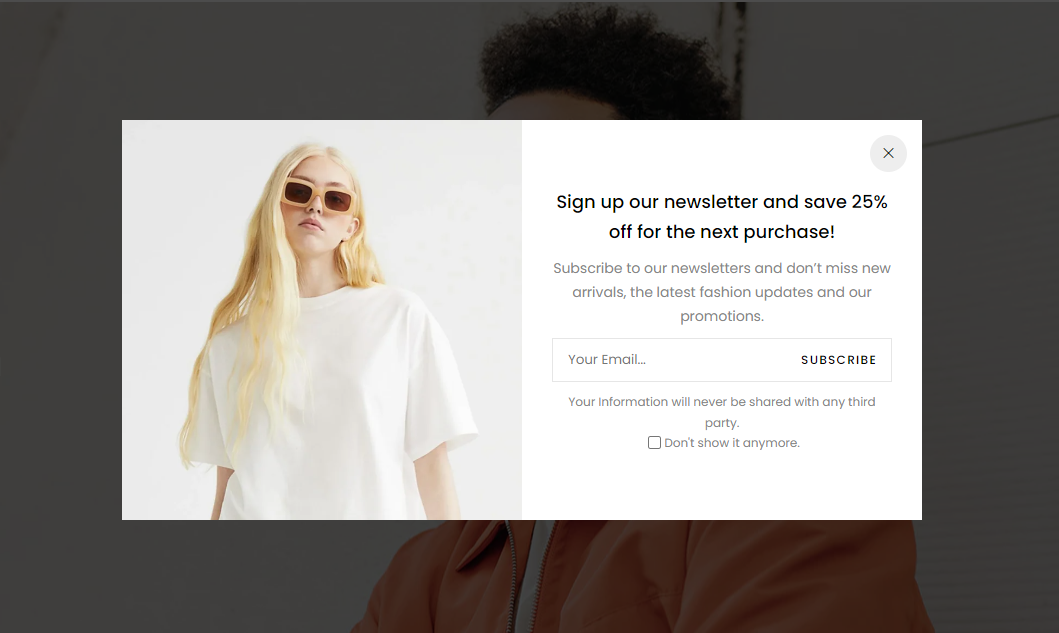
Customers are able to leave their email to get more information about campaigns or products
Enable
To enable Newsletter popup, from Popup > Newsletter popup > Enable Newsletter Popup.
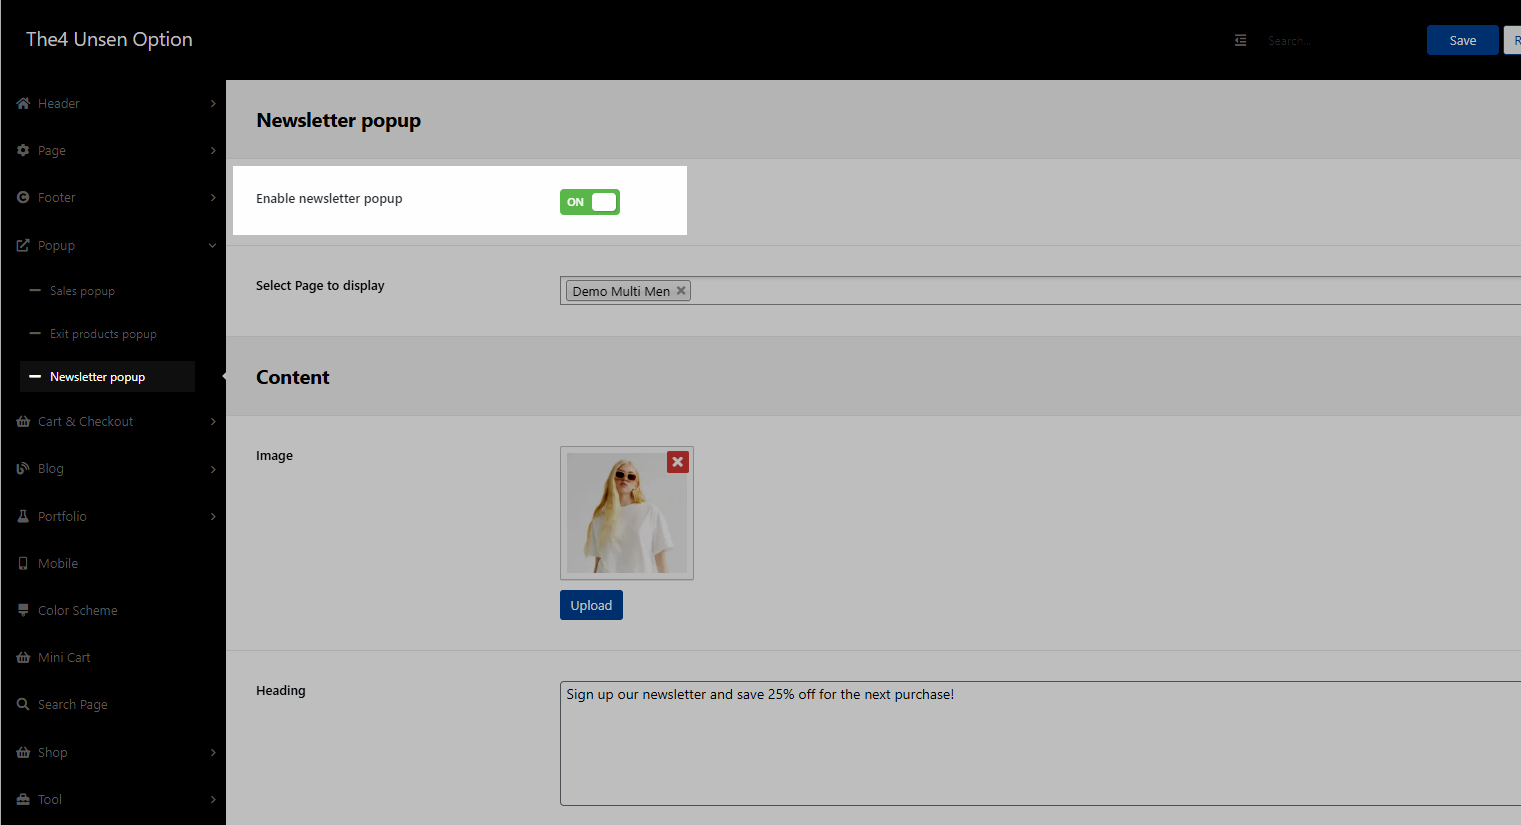
Select Page Display: You can choose pages to show popup.
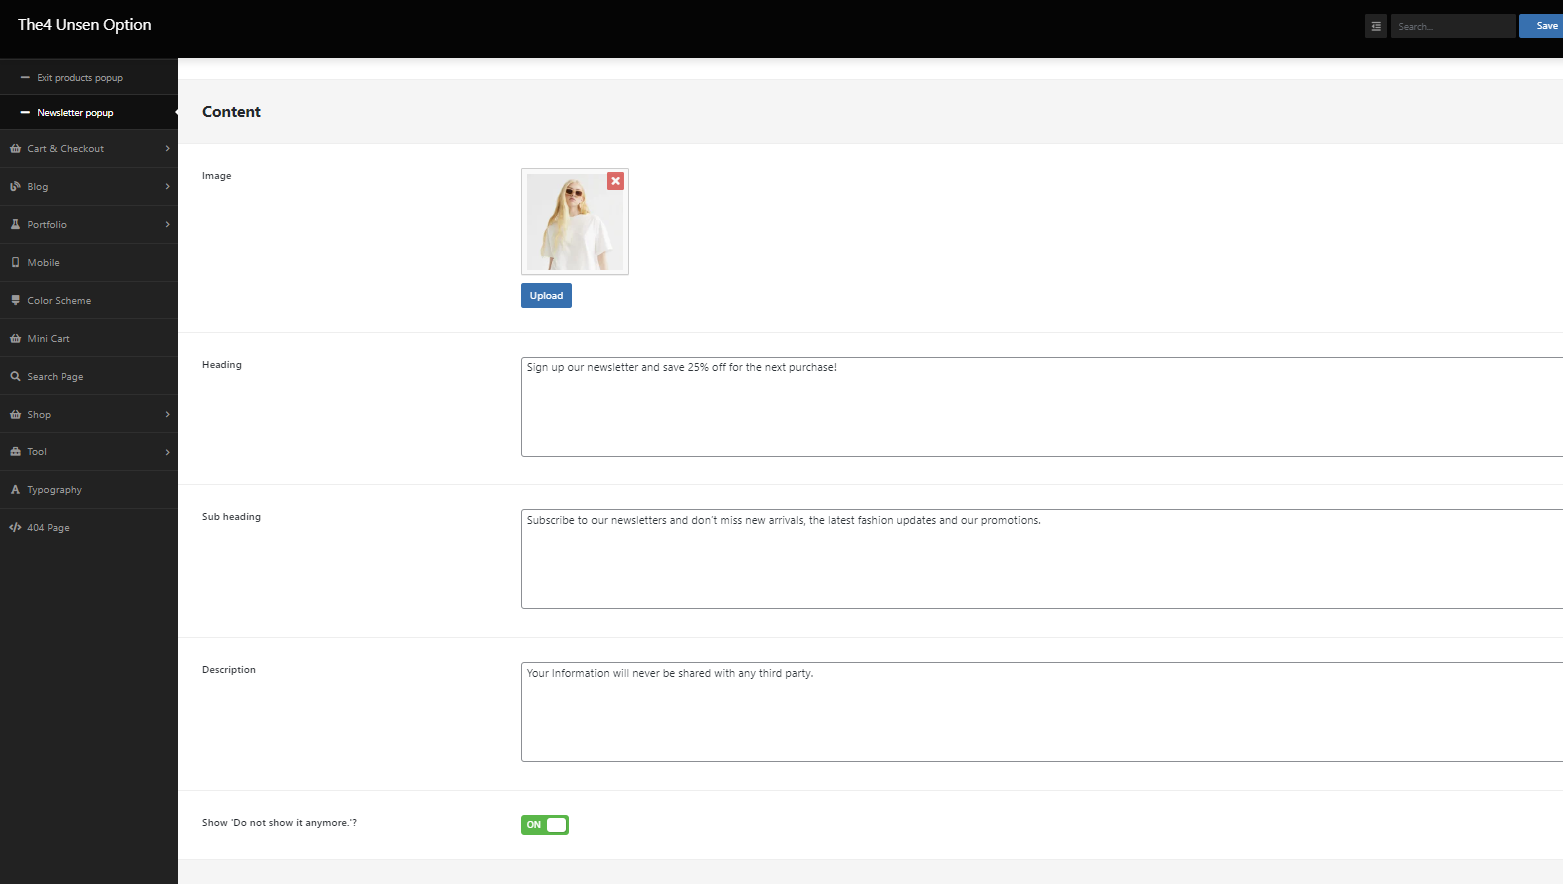
3.2. Content
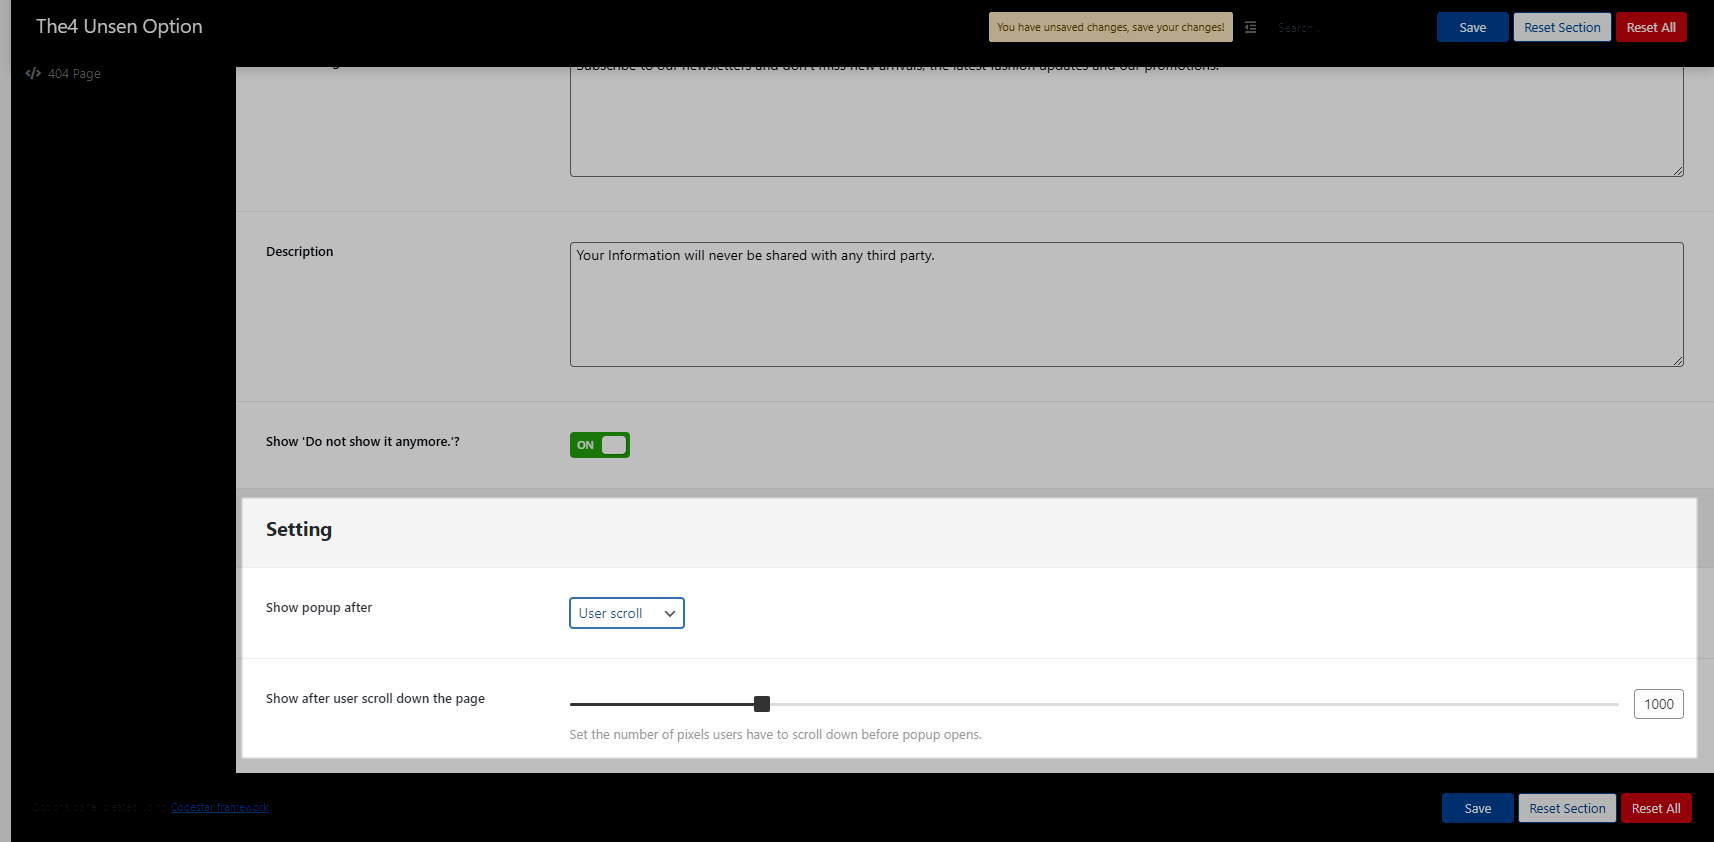
You can change the Image, Heading, Subheading, Description, Show 'Do not show it anymore'?
3.3. Settings
Show popup after: There are 2 choices for you. If you choose “Scroll“, you can choose the number of pixels users must scroll down before the popup opens by dragging a bar. Otherwise, you can choose “Loaded page“. You can also adjust the show popup after how many seconds.
Time delay to show: You are allowed to adjust duration for newsletter popup.
