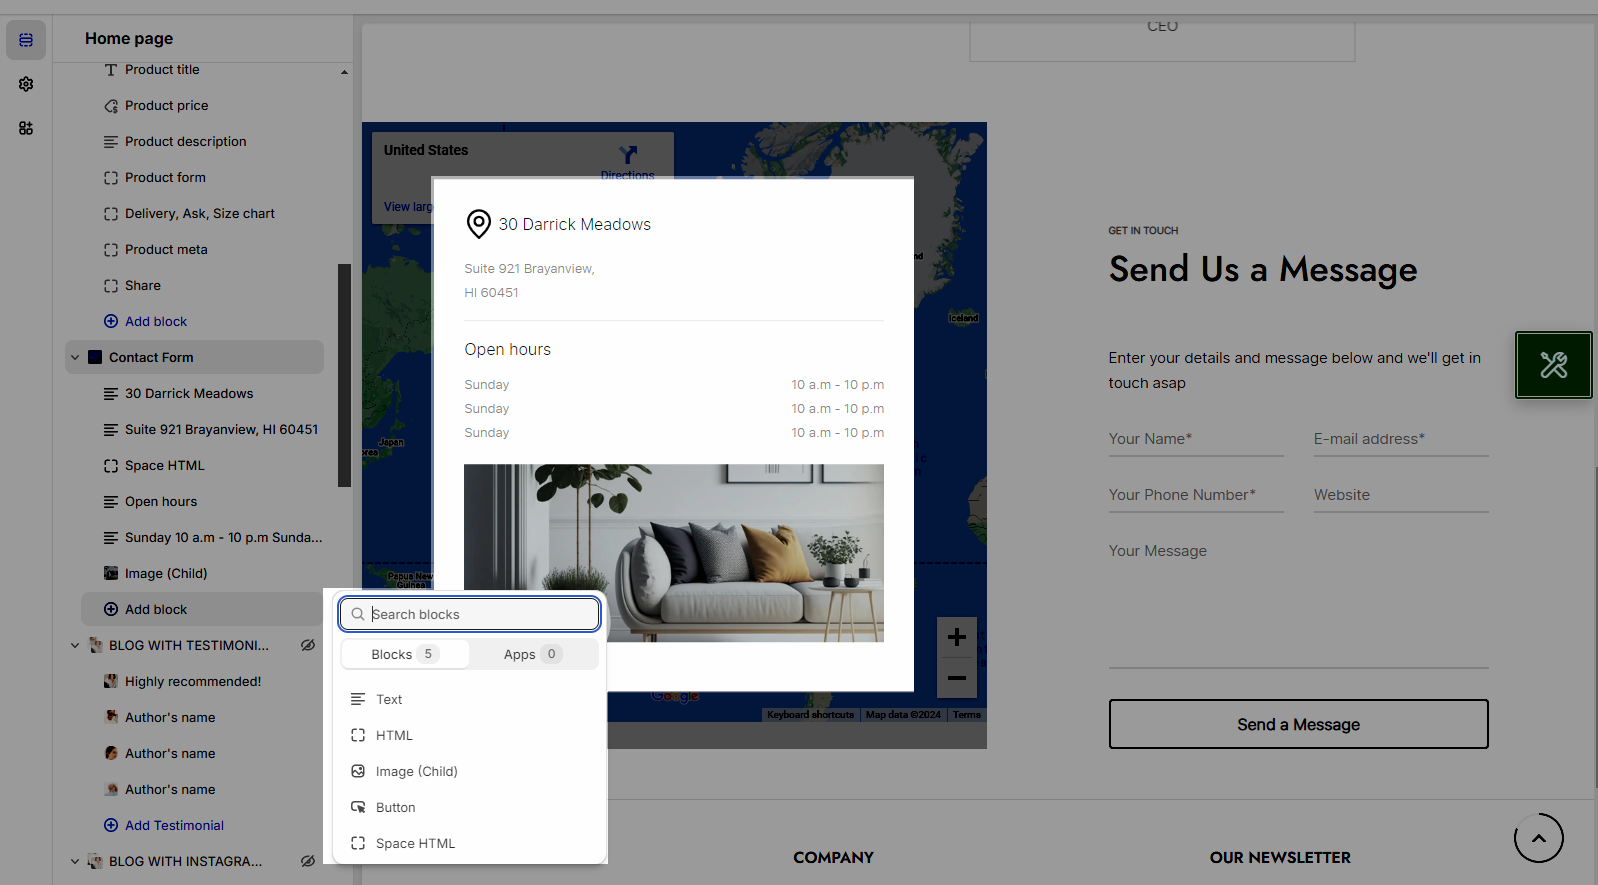
Contact Form allows customers to leave contact information to support marketing campaigns. Besides, customers also have information about the online store to contact.
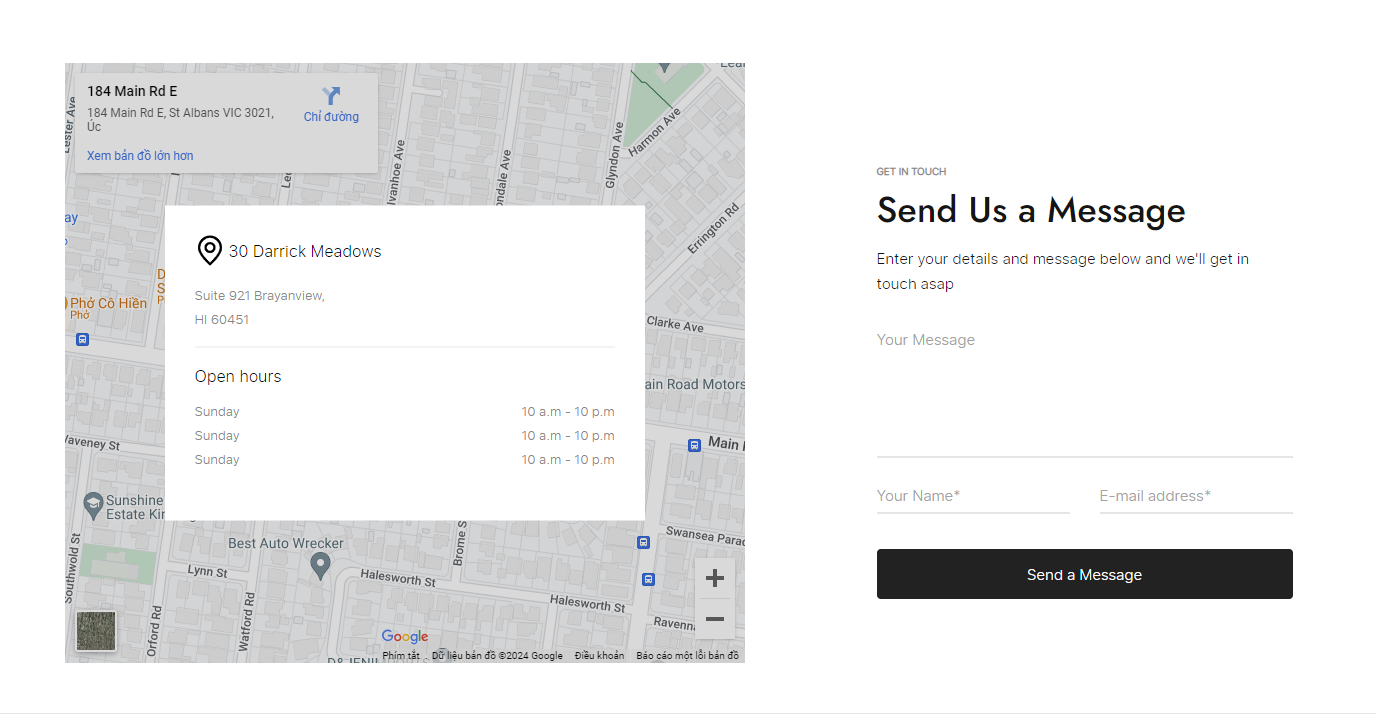
Steps: Theme editor (Customize) > Add Section > Contact Form > Save
1. Contact Form Settings
1.1.General options
There are 3 types of Source images: None, Image, Source map
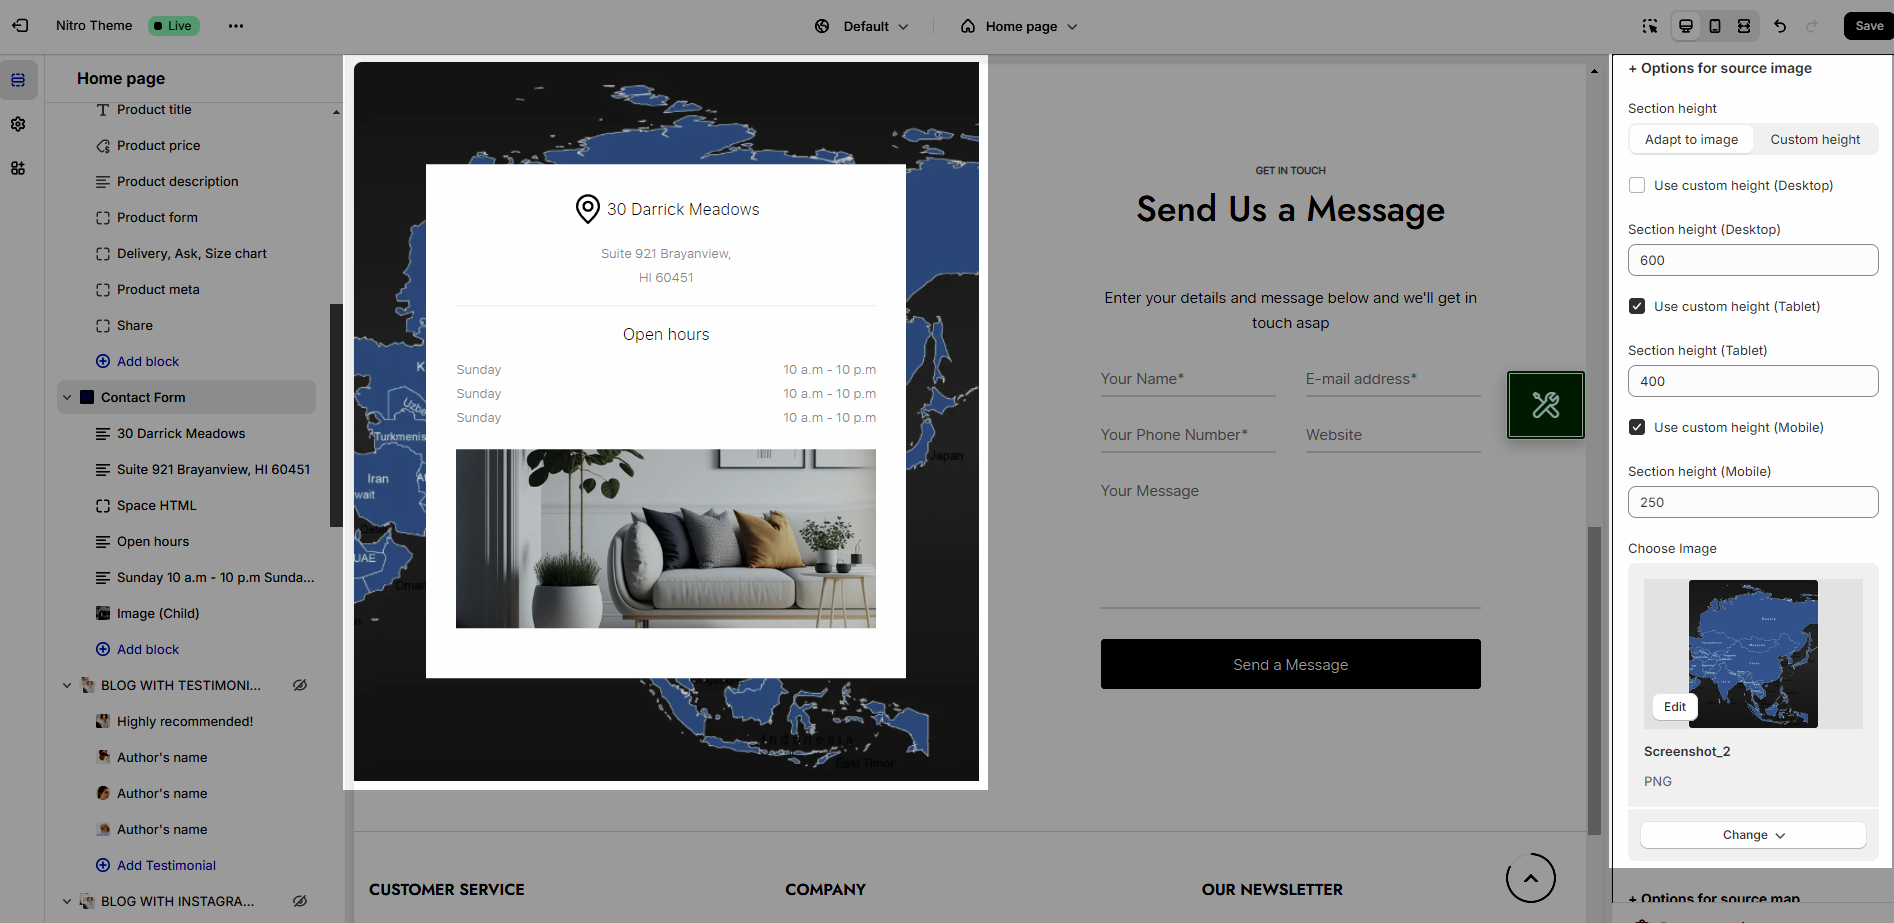
OPTION FOR SOURCE IMAGE
Section height: use Adapt to image or Custom height
Enable Use custom section height for Desktop/Tablet/Mobile
Choose image: choose image you want
OPTION FOR SOURCE MAP
Use map option and you can change the address of your store on Google Maps.
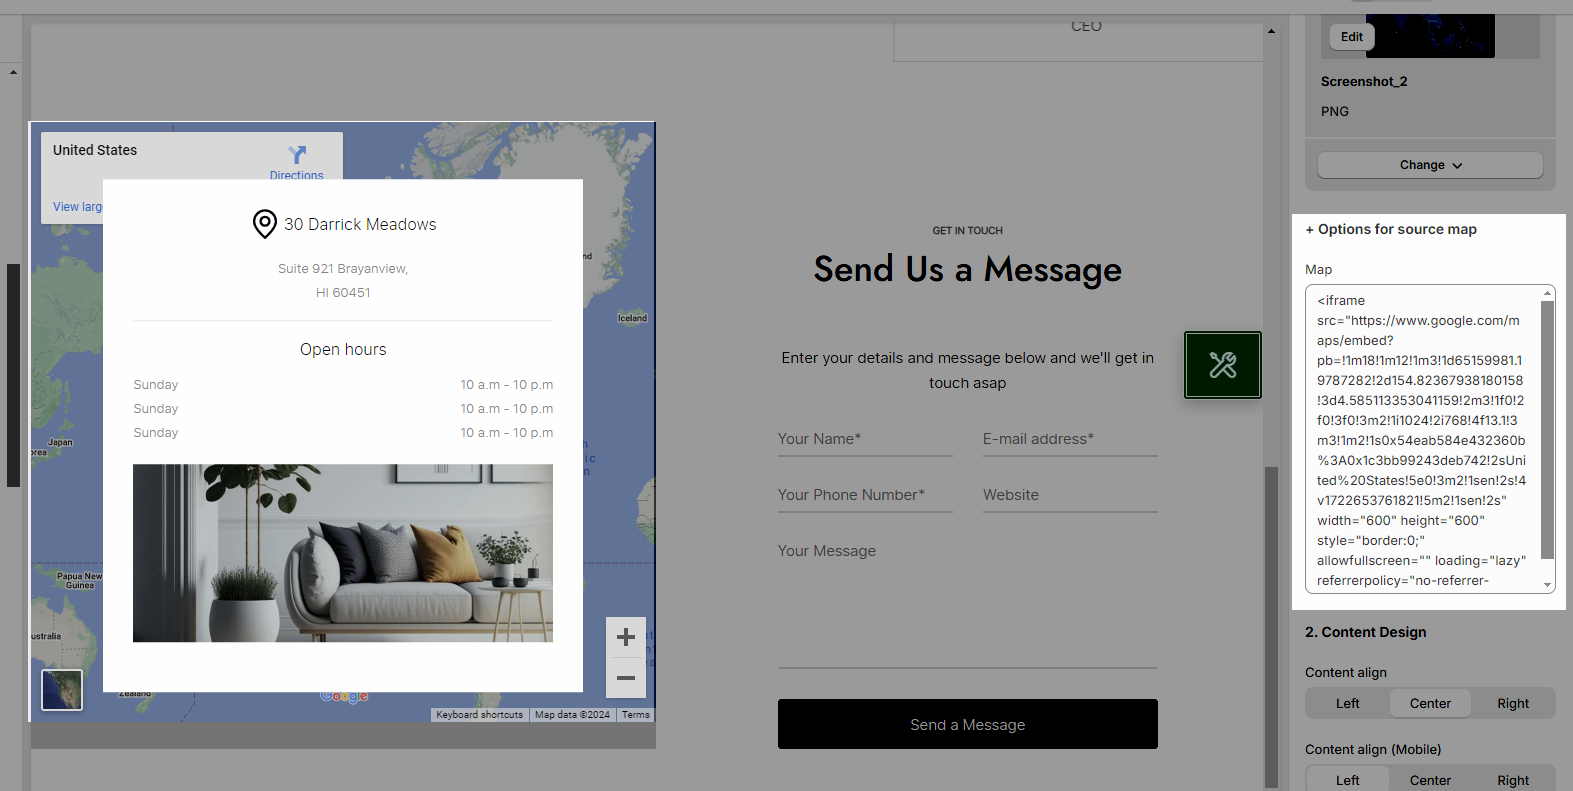
To embed a map, please follow this video:
1.2. Content design
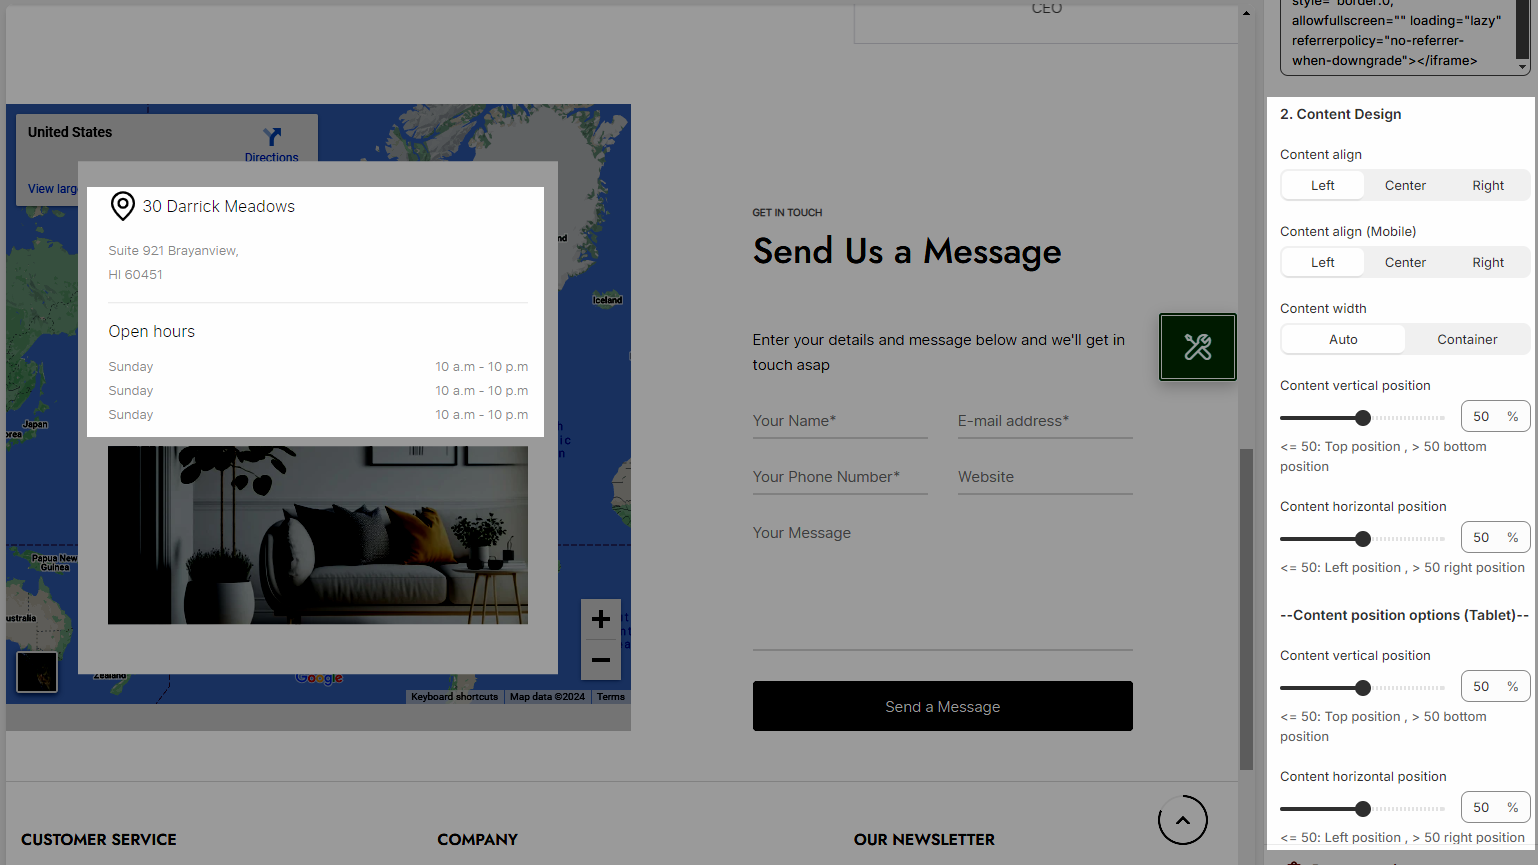
Content align for Desktop/Mobile: You can choose to align everything to the Left, Center, Right
Content width: contact form that allows for custom widths (Auto or Container)
Content position: Adjust Content Position Horizontally, Vertically for Desktop/Tablet/Mobile
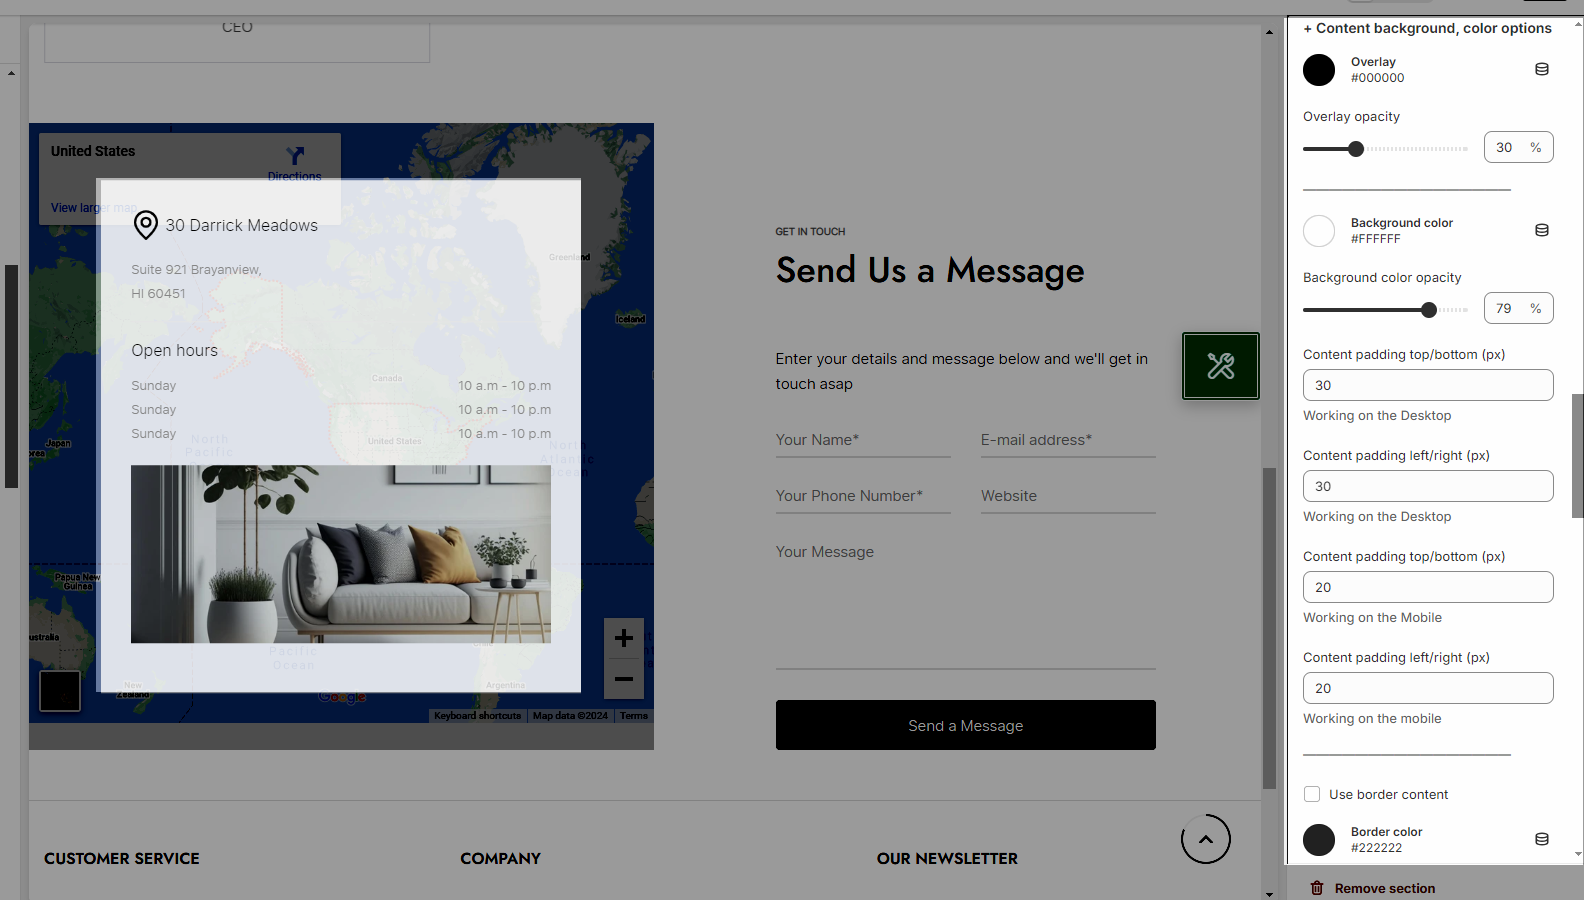
CONTENT BACKGROUND, COLOR OPTIONS
Overlay: set color and opacity
Background: set color and opacity
Content padding: add padding top/bottom/left/right for Desktop/Mobile
Use border content: Set border color to highlight content. You can set opacity, style and padding
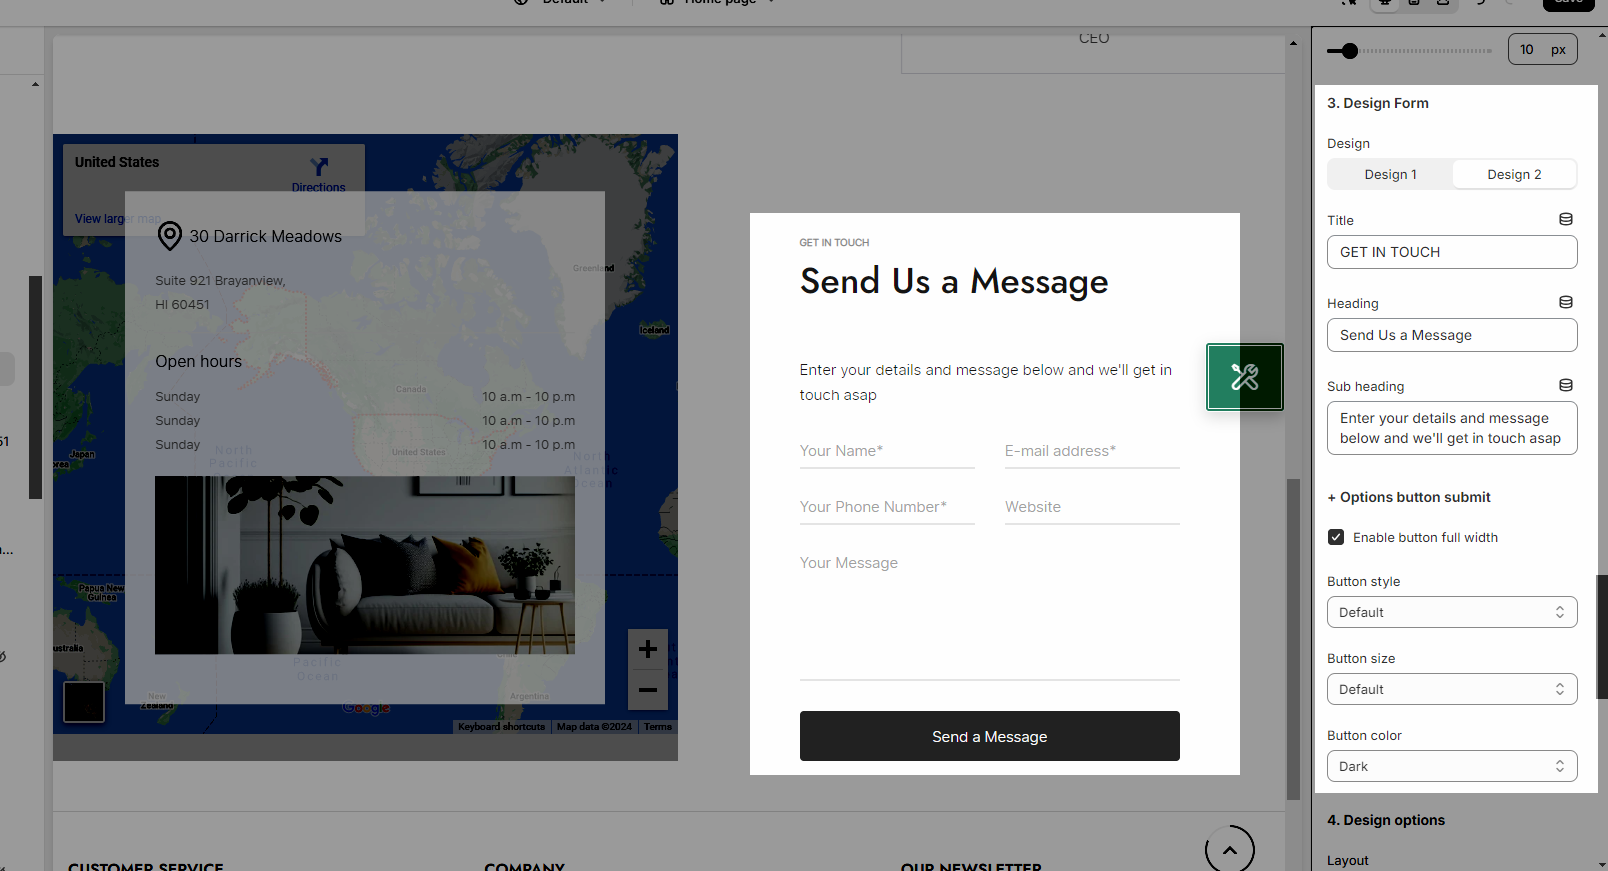
1.3. Design Form
Choose design you want
You can change title, heading, sub-heading
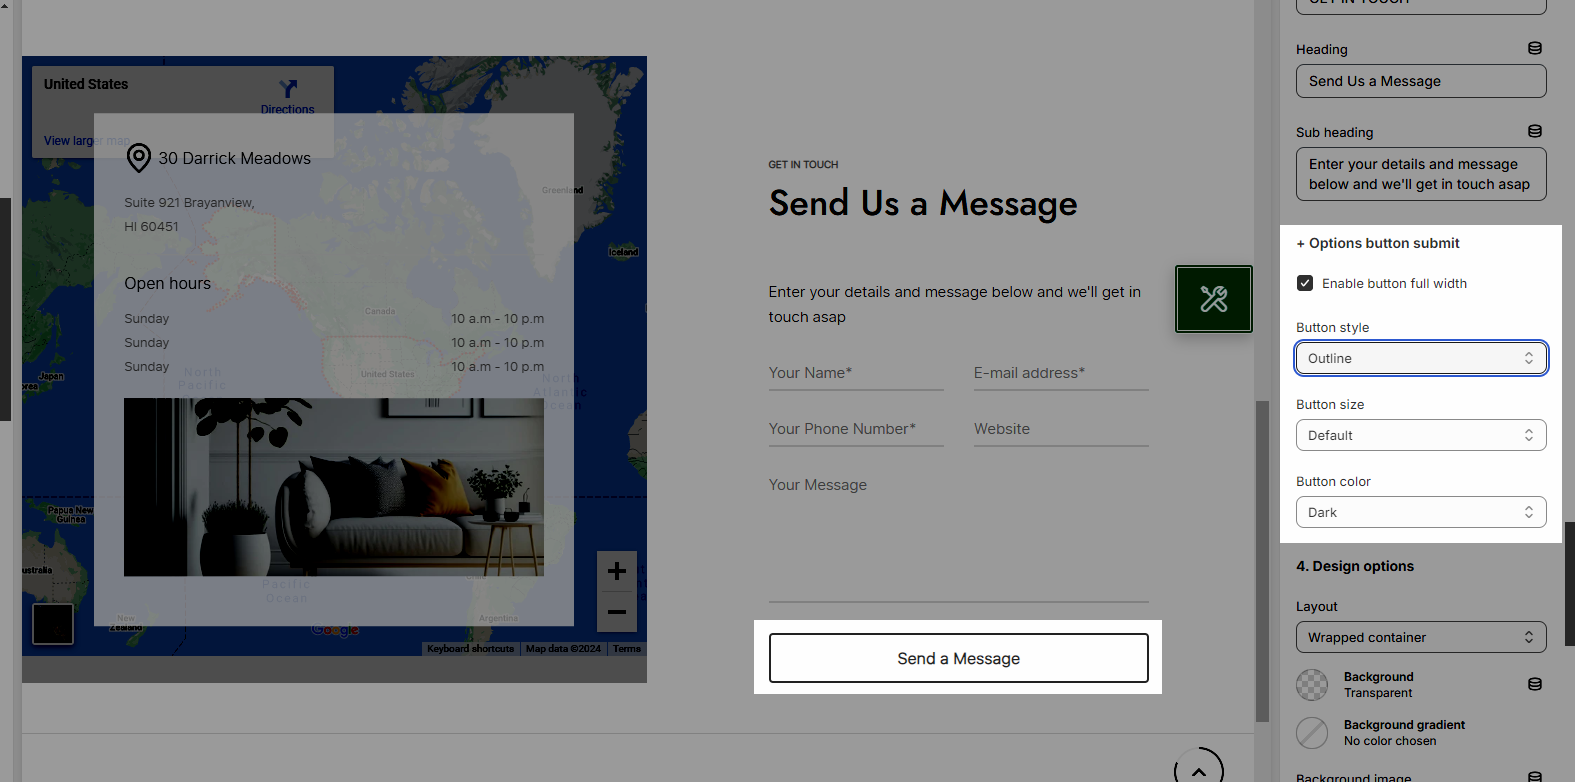
OPTION BUTTON SUBMIT
You can set button to full width or not.
Choose our options for button style, size and color
1.4. Design options
Please follow this guideline to config Layout, Background, Margin/Padding for the section.
2. Contact Form information
It allows you can add your information to contact such as an address, timetable, etc...
Add block and adjust as you like.
