


Here is an amazing section that will help you design the Banners creatively and professionally. It has never been easier to create a banner.
Steps: In the theme editor (Customize) > Add section > Banner custom > Save.
1. Banner content
Click on Banner > Add Block > choose the block you want to add.
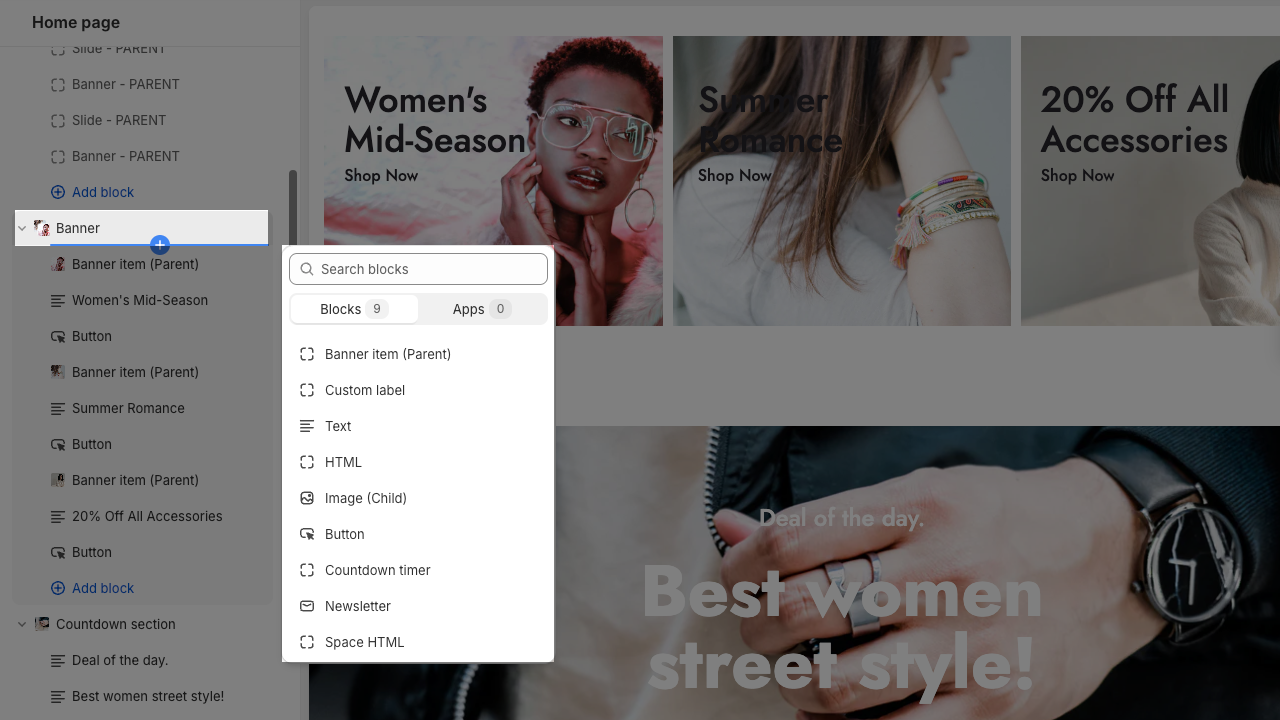
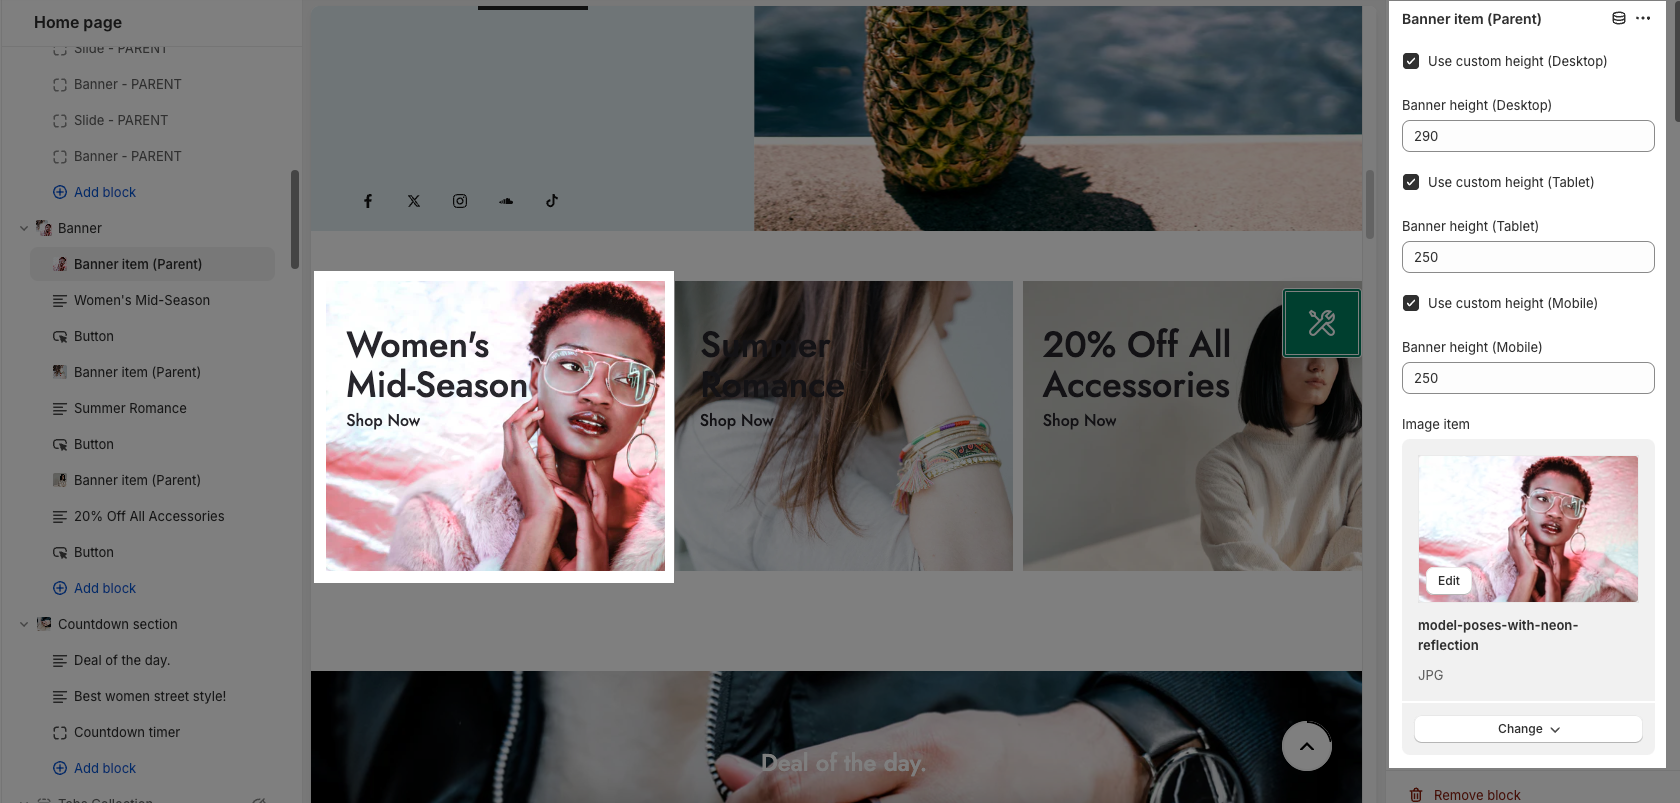
1.1. Banner item (Parent)
Each image represents for one banner. In this block, you can adjust your Banner with many options below:
Use custom height for many devices: Desktop, Tablet, Mobile
Add image item and config the image size, image position
Choose an effect when hover image and banner
Add Banner link and choose Open link in current window or new window
Item width: choose different width for the banner. With each different width, you will get different banner display results.
Content align: You can align content to Left, Center or Right.
Content vertical/horizontal position: choose the position for the content inside.
Content padding: You can set the padding for Block content on desktop or mobile devices.
Background content, Border content: You can set color, opacity, style, padding for background and border content.
Please follow this video to config content box position:
1.2. Other blocks (Child)
Text: you can add a text to the banner image and you can adjust text with many options like Font family, Font size, color, etc.
Button: This block allows you to create a button for the banner, you can customize this button with many options like add a link, style, effect, color, etc.
HTML: you can add a HTML codes
Image (Child): With this block, you can add a Image(child) inside the Image(parent) and you can adjust the Image(child) more creatively.
Countdown timer: This block help you add the countdown timer and set it very easily just by adding the date countdown into.
Newsletter: you can add a subscribe form here.
Space HTML: This block allows you to create a separator line for this section.
Custom label: add a label and config color, text styles for it.
You can refer to this video to know more about these blocks:
2. How to configure the Banner Section?
GENERAL OPTIONS
Space horizontal/vertical items: You can set the space between items by horizontal/vertical. Moreover, you can choose different spaces for many devices: Desktop, Tablet, Mobile.
DESIGN OPTIONS
Please follow this guideline to config Layout, Background, Margin/Padding for the section.


