This guide provides all of the necessary information to add and configure Blog Manual section.
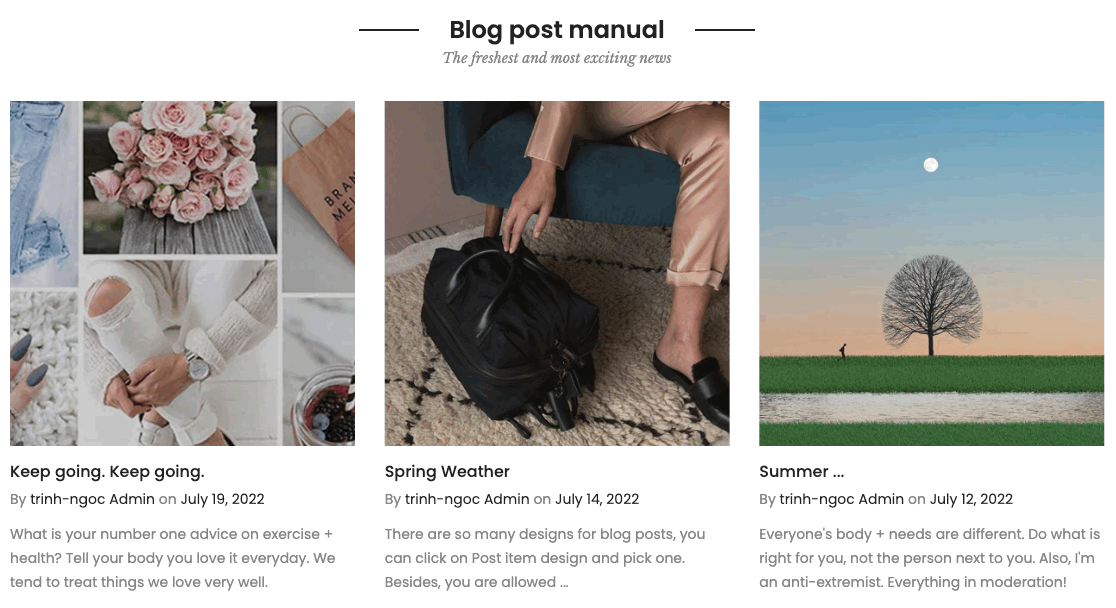
First, you need to create some blog posts from Shopify Admin > Online store > Blog post. You can follow this article.
Then you can add section to your theme. Steps: In the theme editor (Customize) > Add section > Blog post manual> Save.
1. Blog post manual content
Go to Blog post manual > Add Article > you can choose an article to show in this section.
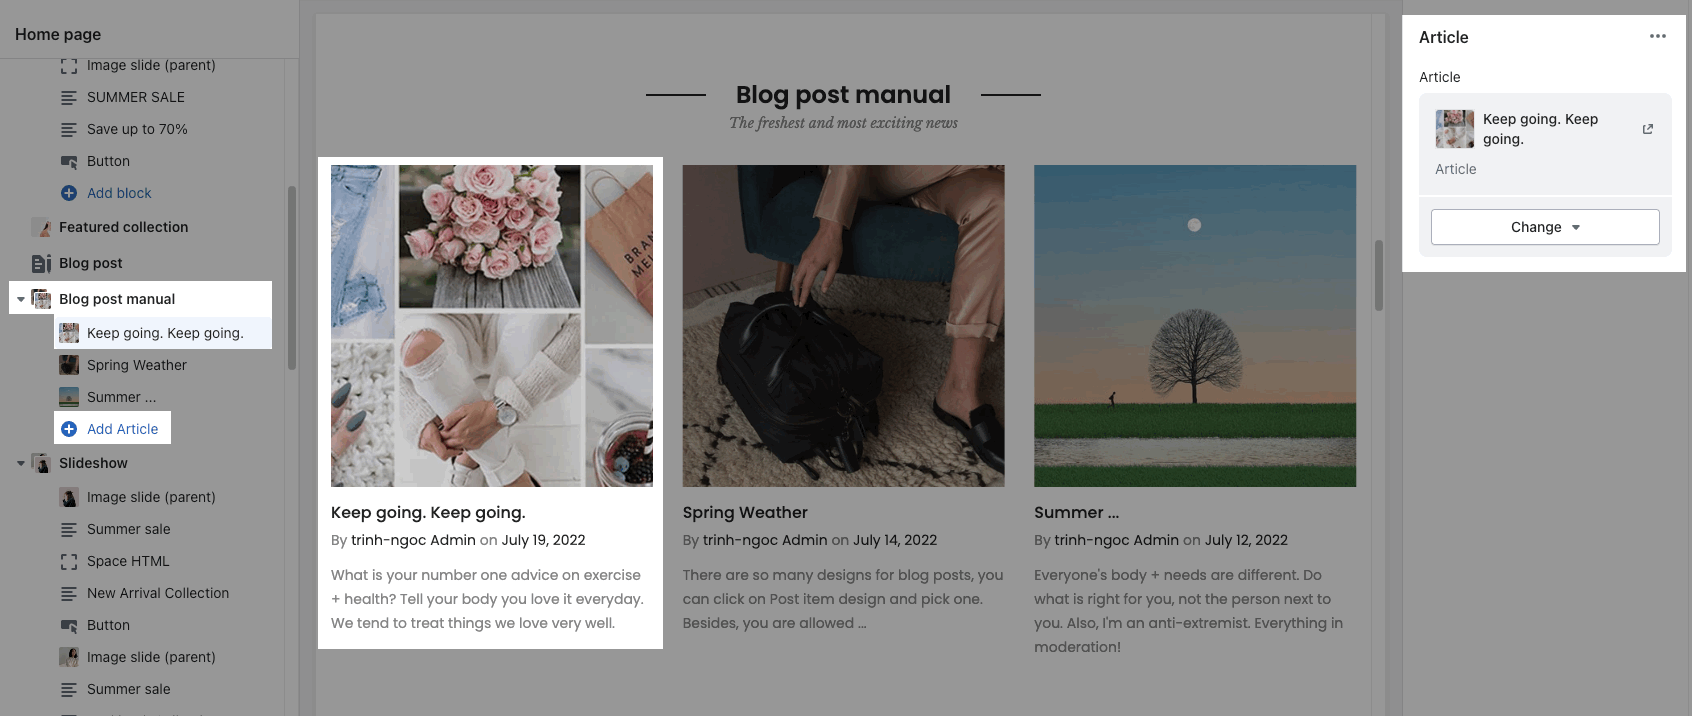
2. How to config Blog post manual section?
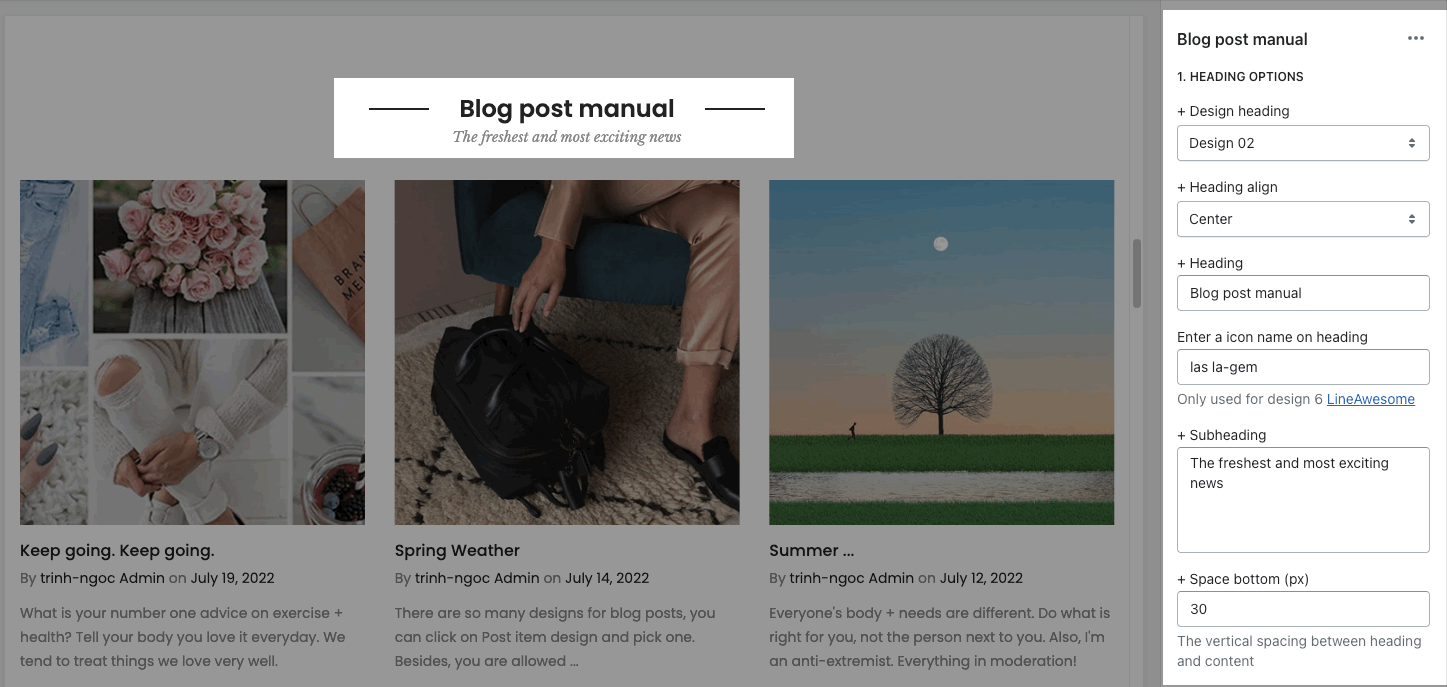
HEADING OPTIONS
You can enter the Heading and Subheading, choose the design for the heading, also can choose text align: center.
GENERAL OPTIONS
Post item design: choose a design for blog post
Show blog information: you can choose show/hide blog title, short content, tags, author, comment, ...
Date format: You can set date format to display (different format options display for various languages).
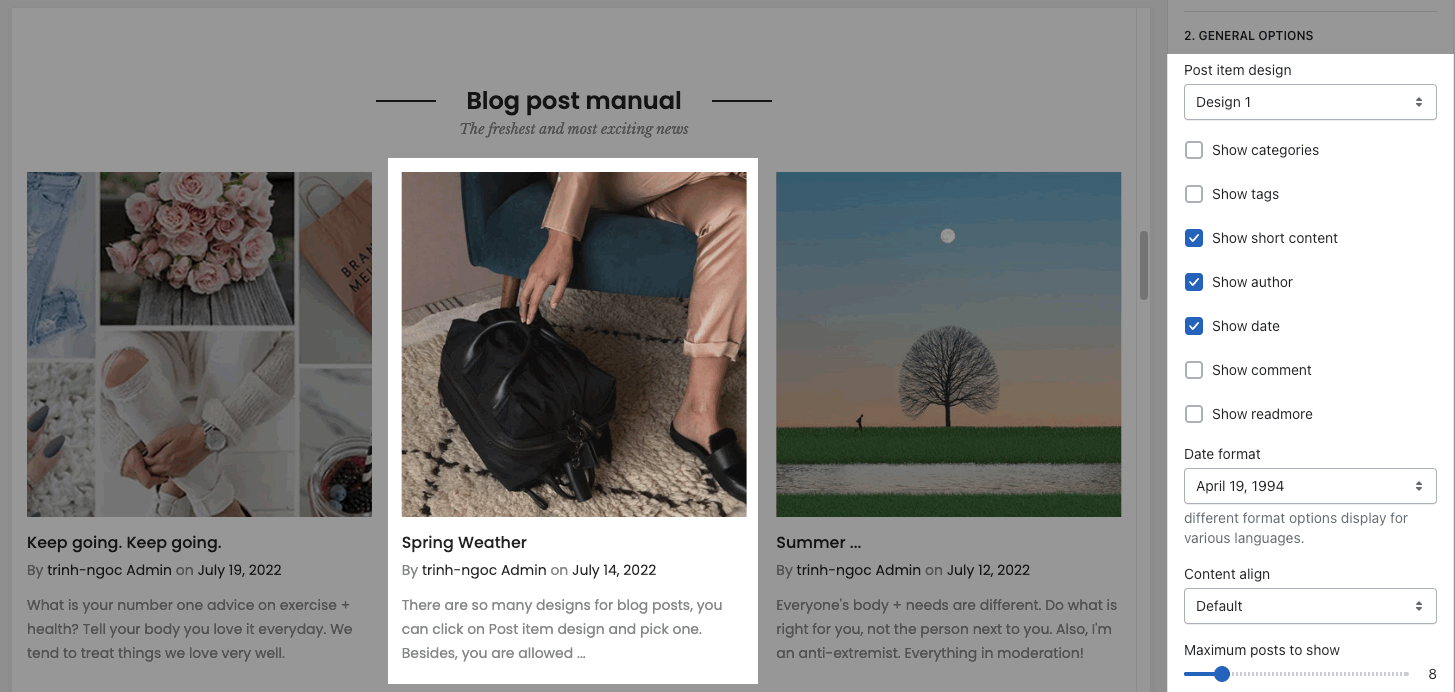
Content align: choo align Default or Center
Maximum posts to show: You can set number of articles per page to show.
IMAGE OPTIONS: You can choose image effect, image ratio, image size, image position, also items per row, and space between items blog.
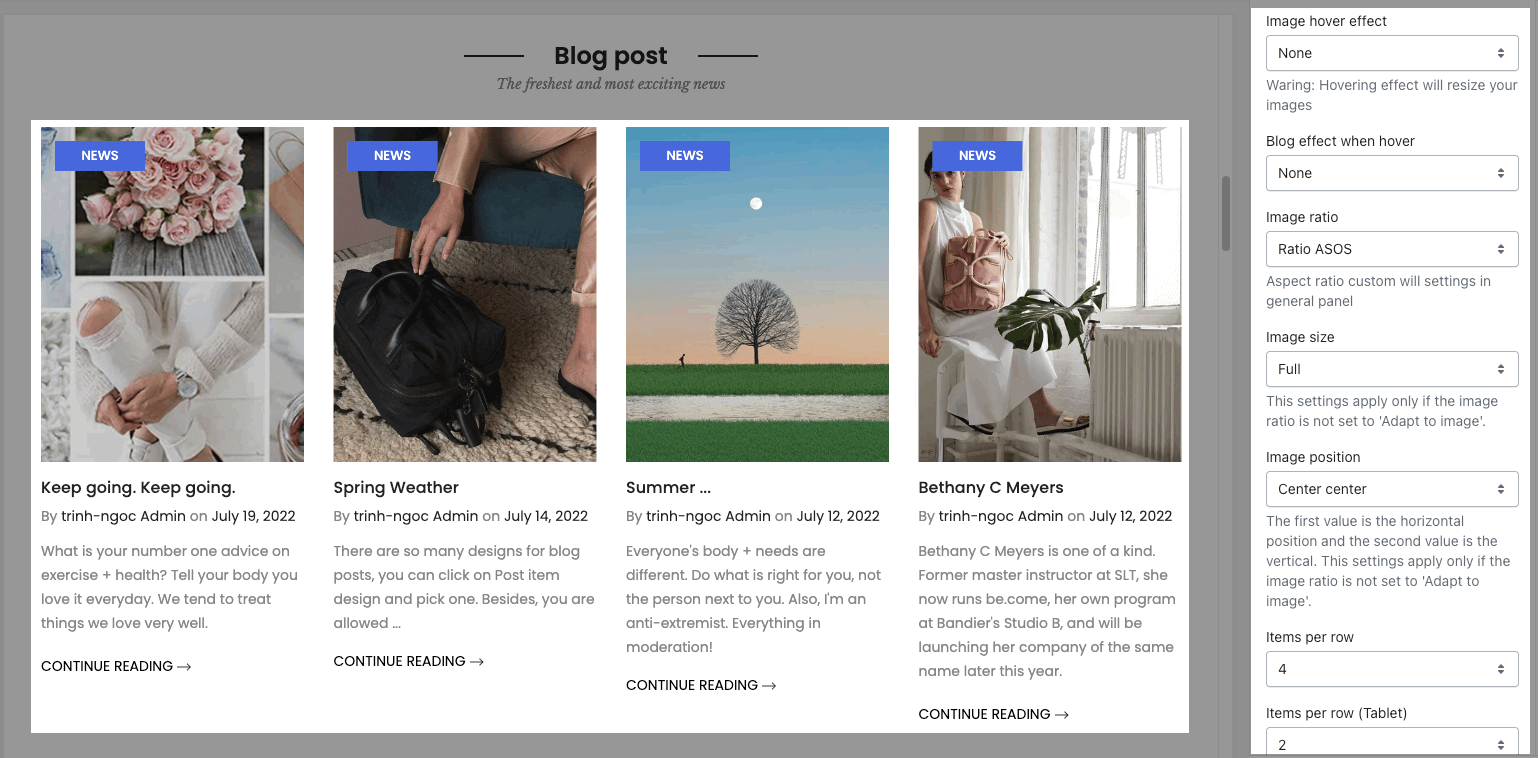
BOX OPTIONS:
Layout design: you can choose Grid, Carousel or Masonry
With Carousel layout: you are allowed to config loop, autoplay feature and enable Prev, next button, Page dots.
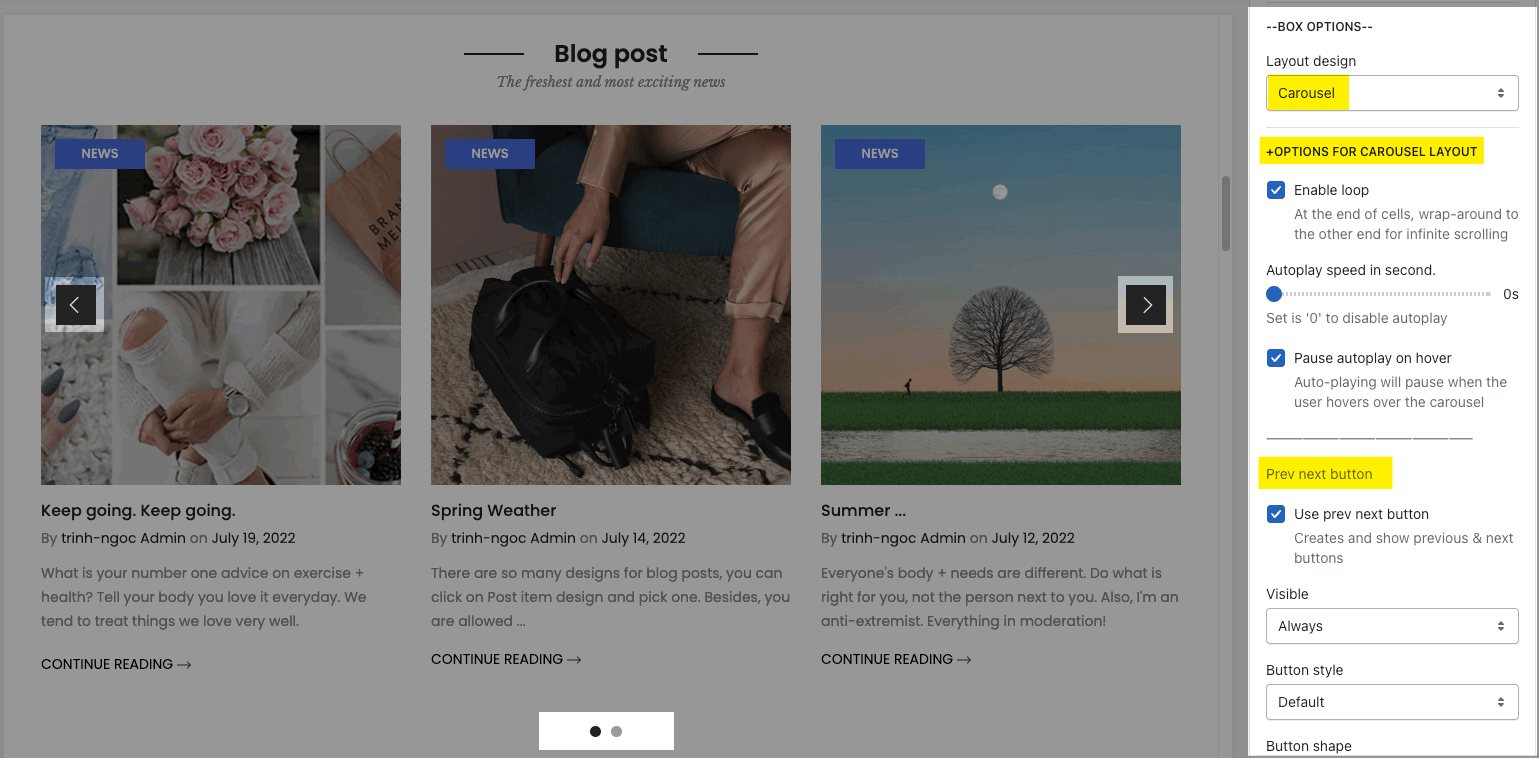
DESIGN OPTIONS
Please follow this guideline to config Layout, Background, Margin/Padding for the section.


