There are 3 Lookbook sections: Lookbook Carousel, Lookbook Product, and Lookbook Single.
These sections allow you to create a beautiful look. One of the best sections that make customers is the right-first-time access to your store.
You can look over this video about 3 lookbook sections:
Steps: In the Theme editor (Customize) > Add section > Lookbook Carousel/Product/Single > Save.
1. Lookbook carousel
1.1. Lookbook item
Click on Lookbook carousel > Add Lookbook item.
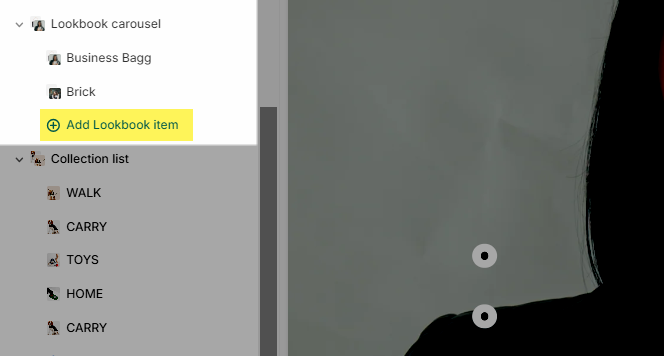
You can add Lookbook images and pin products.
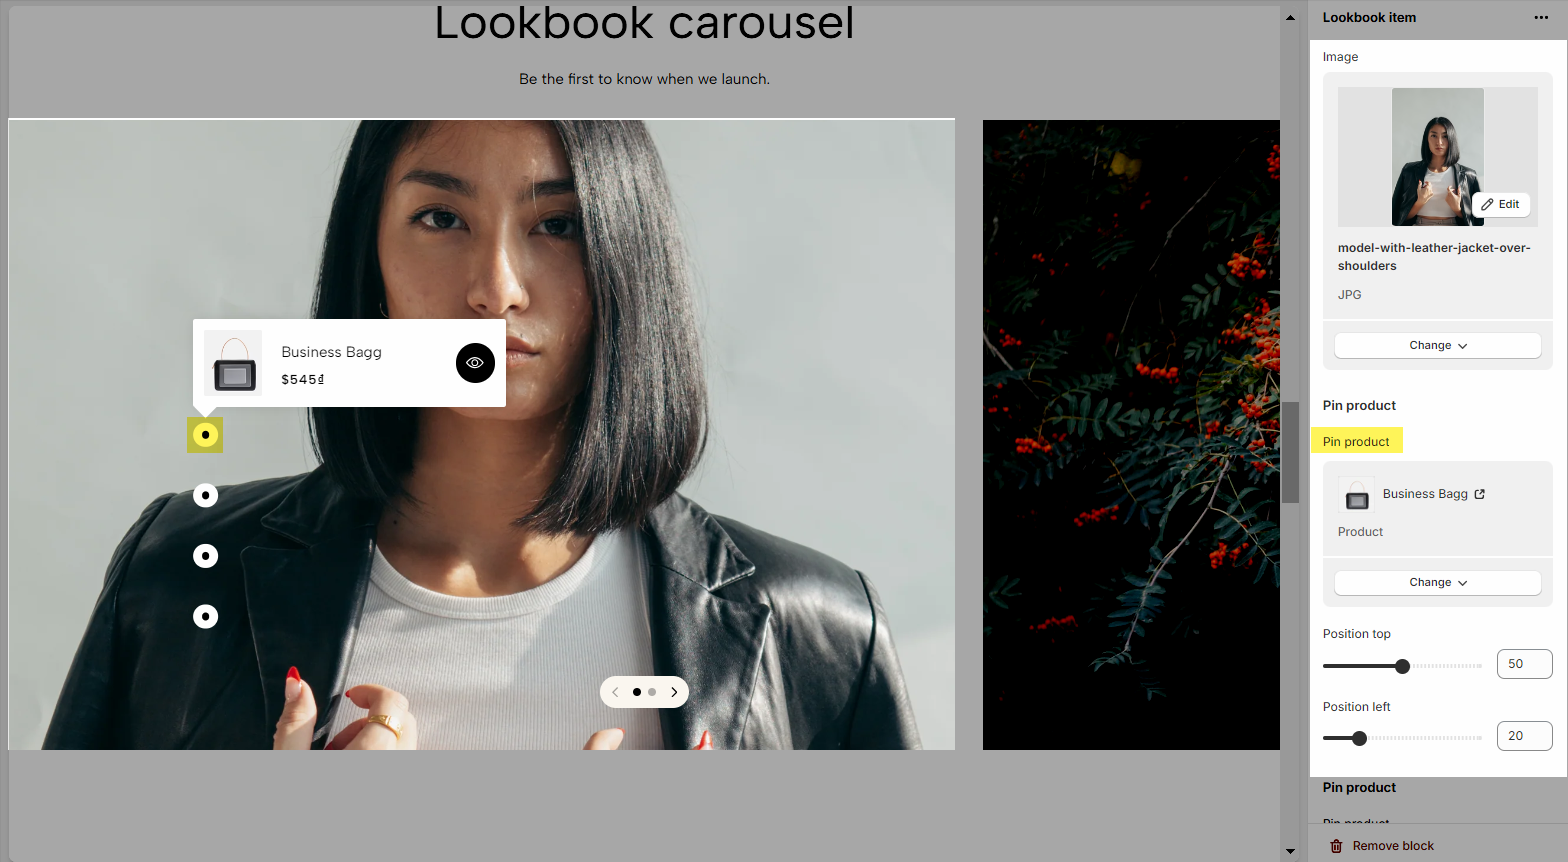
You can also adjust the position of the Pin Product by using Position Top and Position Left
1.2. Lookbook carousel settings
Heading options: fill in Heading & Description, Heading tag, Margin heading
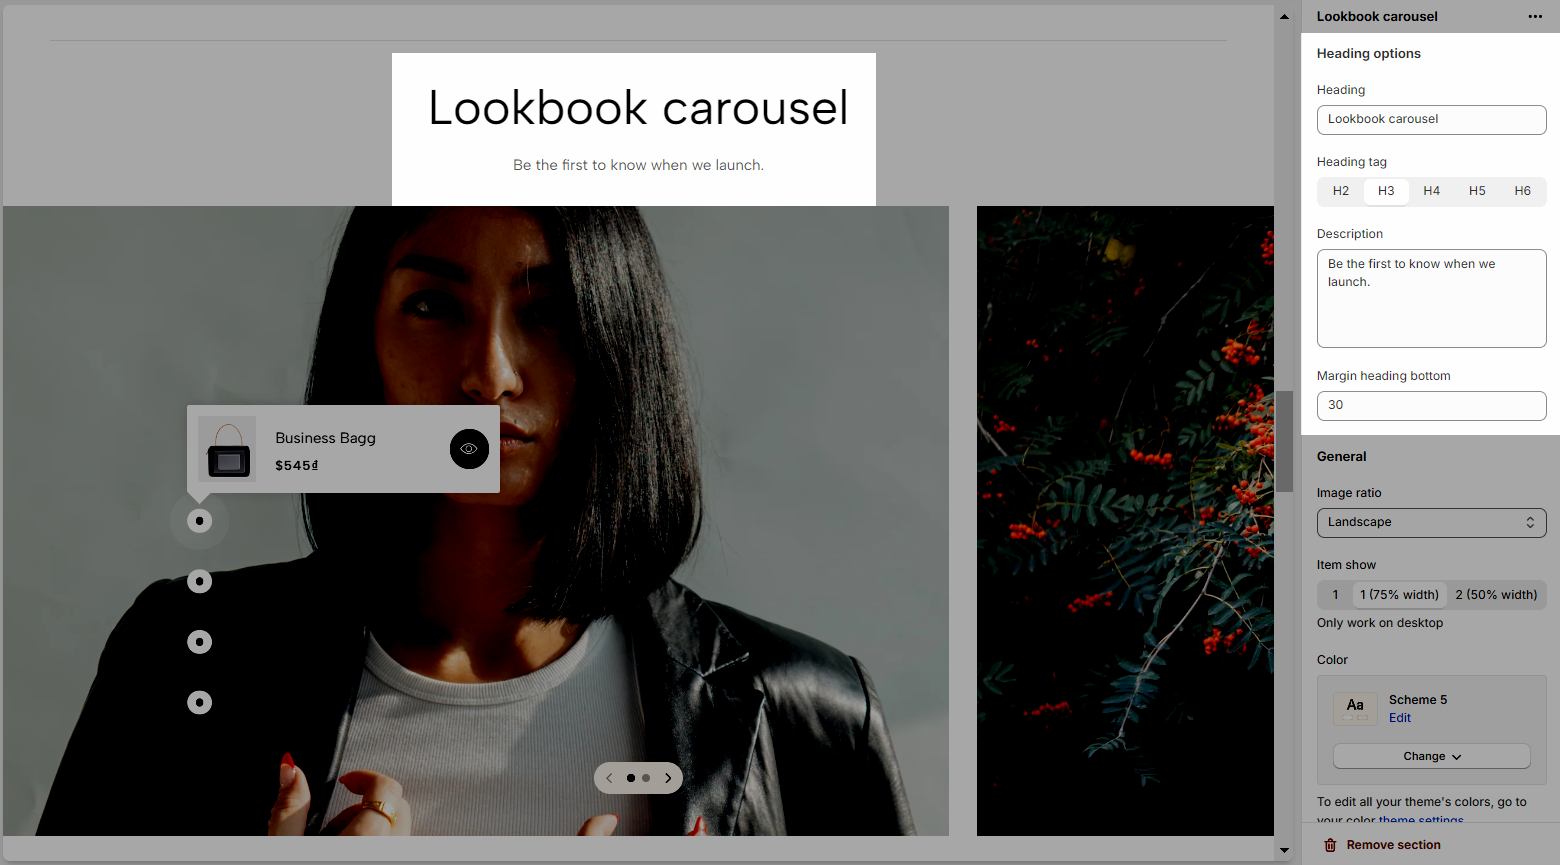
General options: you can adjust Image ratio, Item show, Pin placement and Slider settings: Navigate style, Use prev/next button and dots. Please check this video:
Section padding: Please follow this guideline to configure the Color Scheme and Padding for the section.
2. Lookbook product
2.1. Pin product item
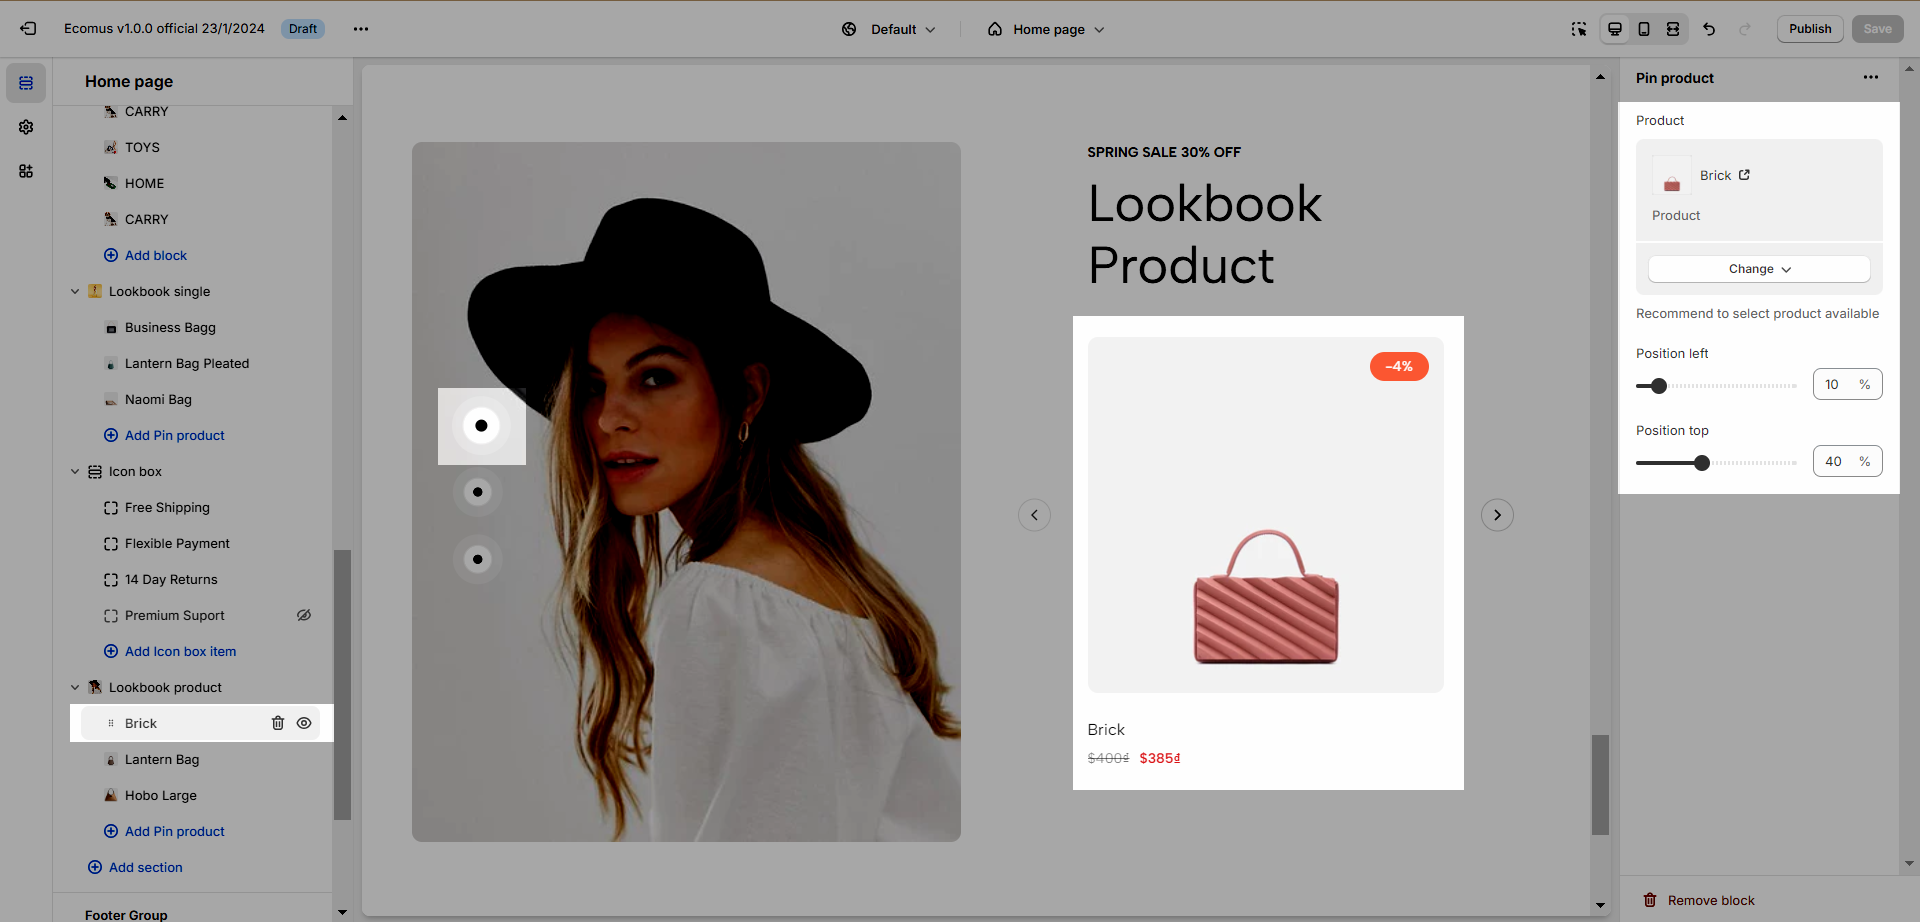
Click on Lookbook product > Add Pin product.
You can add choose a product and set up the position for the pin.
2.2. Lookbook product settings
You can choose a Lookbook image, fill in Label and Heading, configure Image ratio for product images
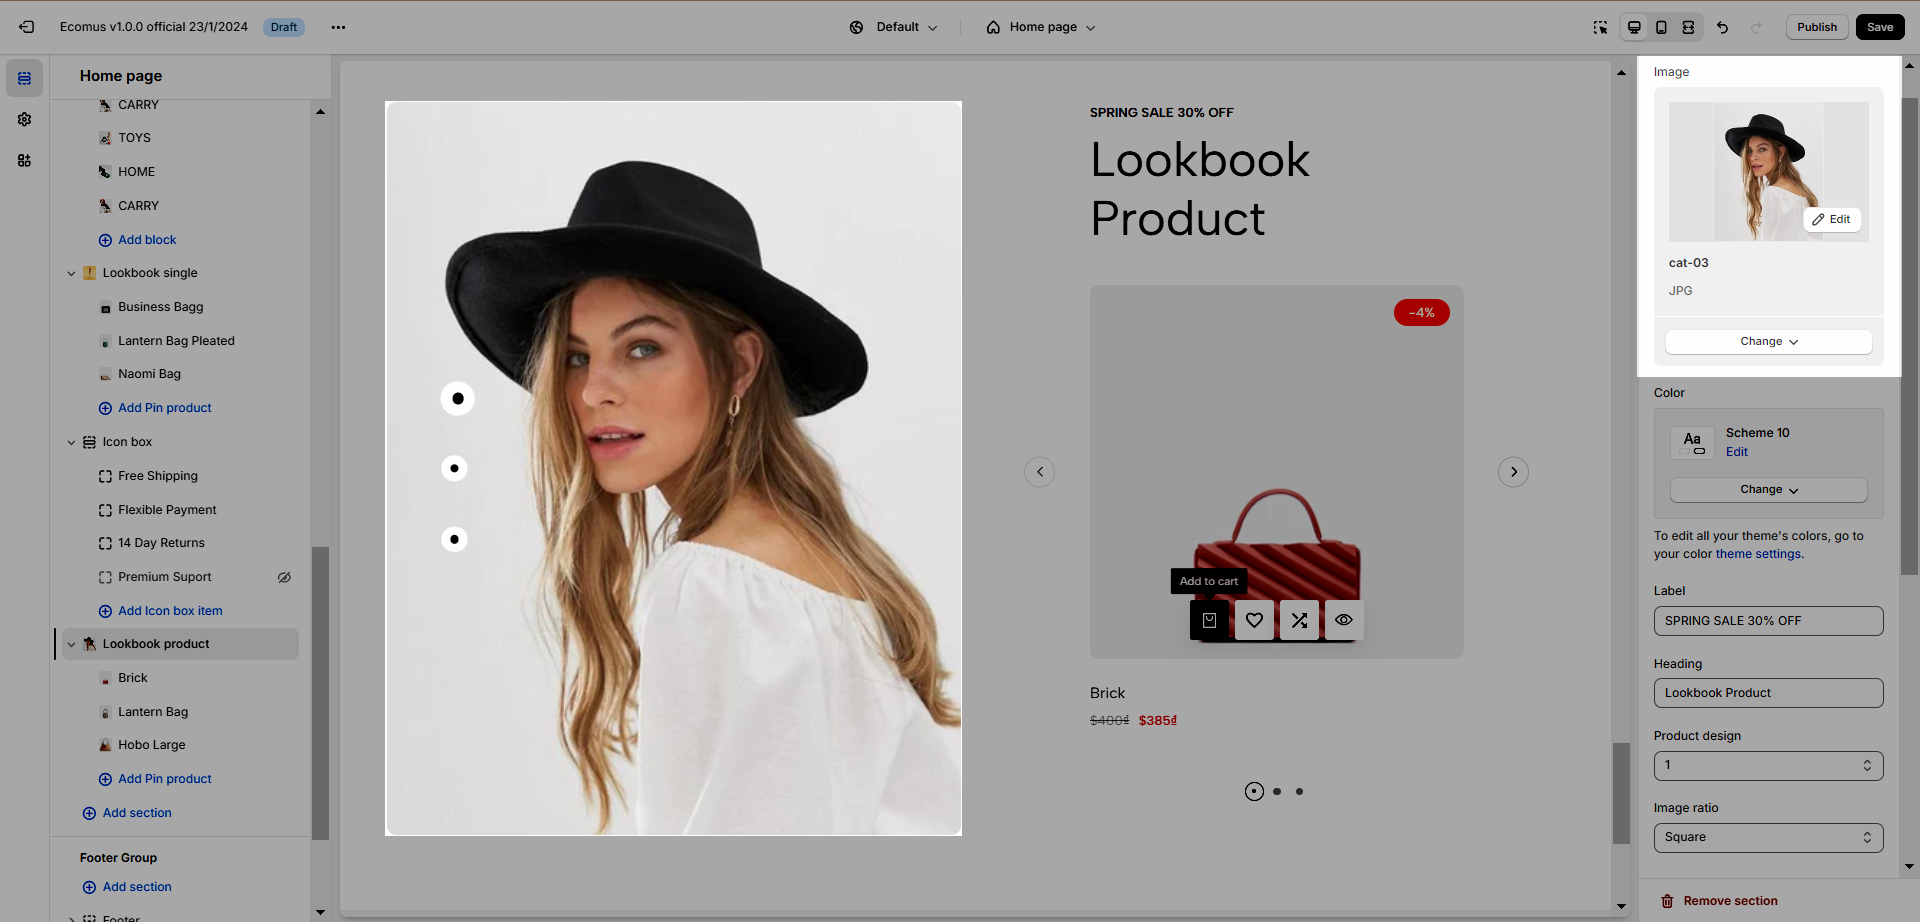
Color: You can learn more about color in this article.
Slider settings: Use the prev/next button and dots.
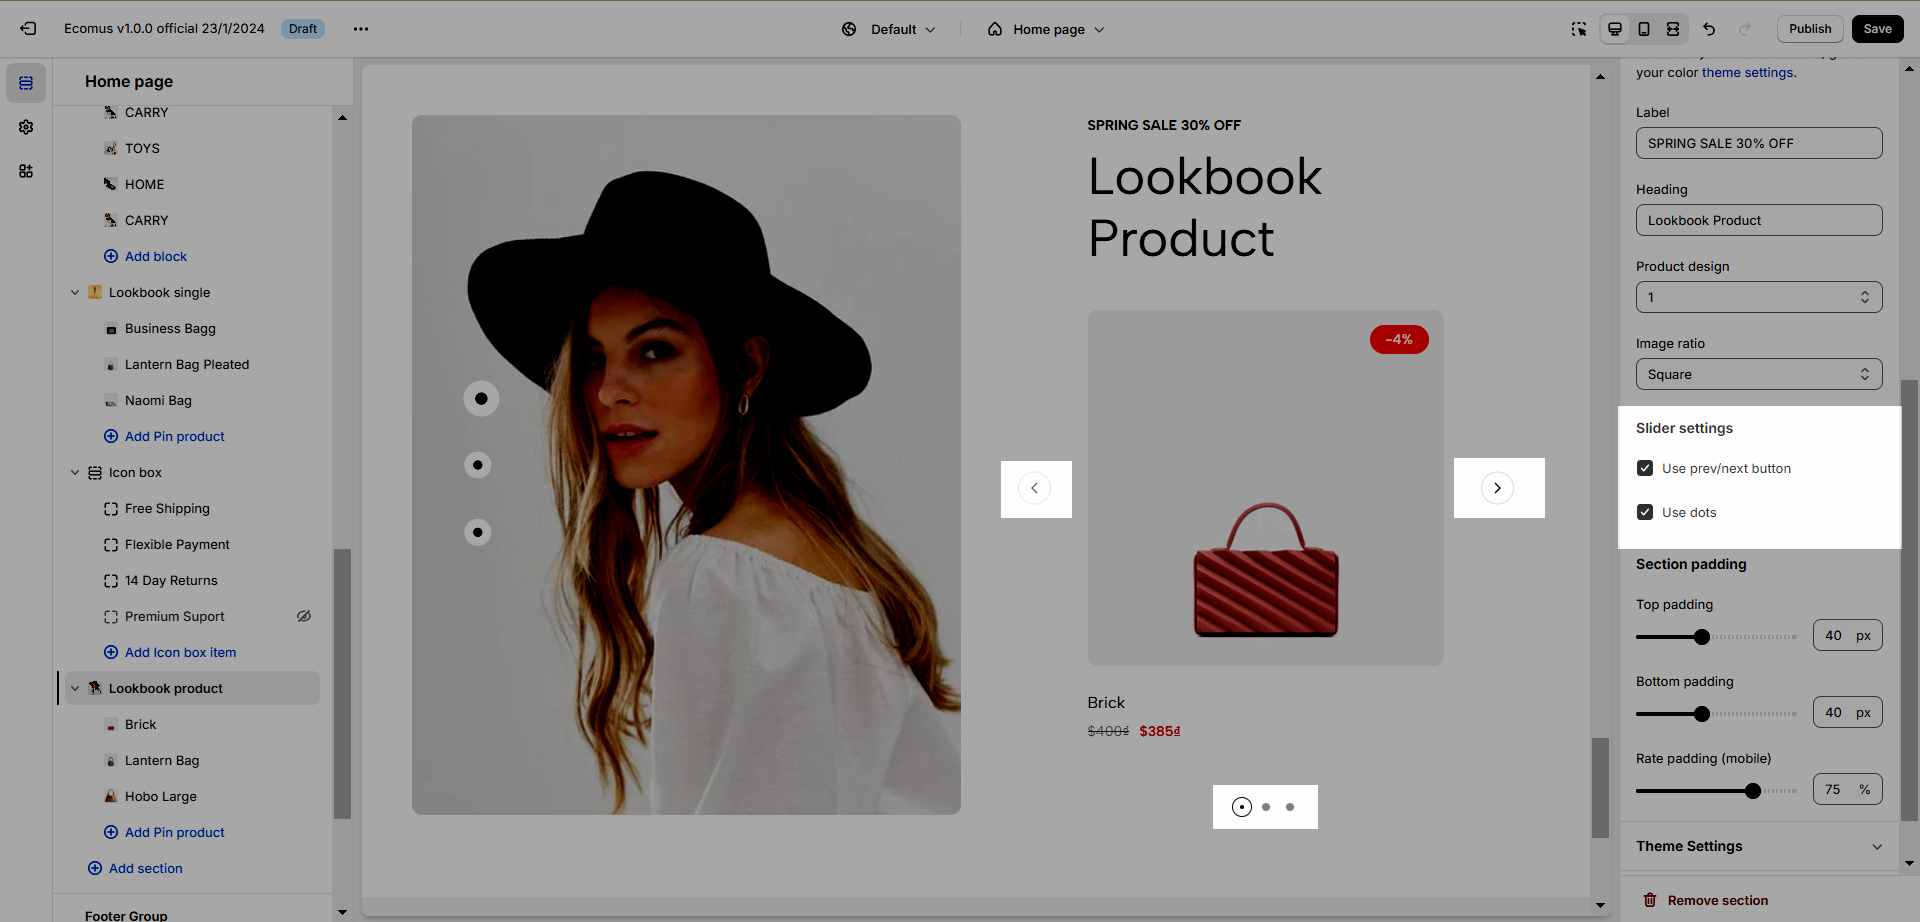
Section padding: Use for adjusting the top and bottom padding of the section on Desktop and Mobile devices.
3. Lookbook single
3.1. Pin product item
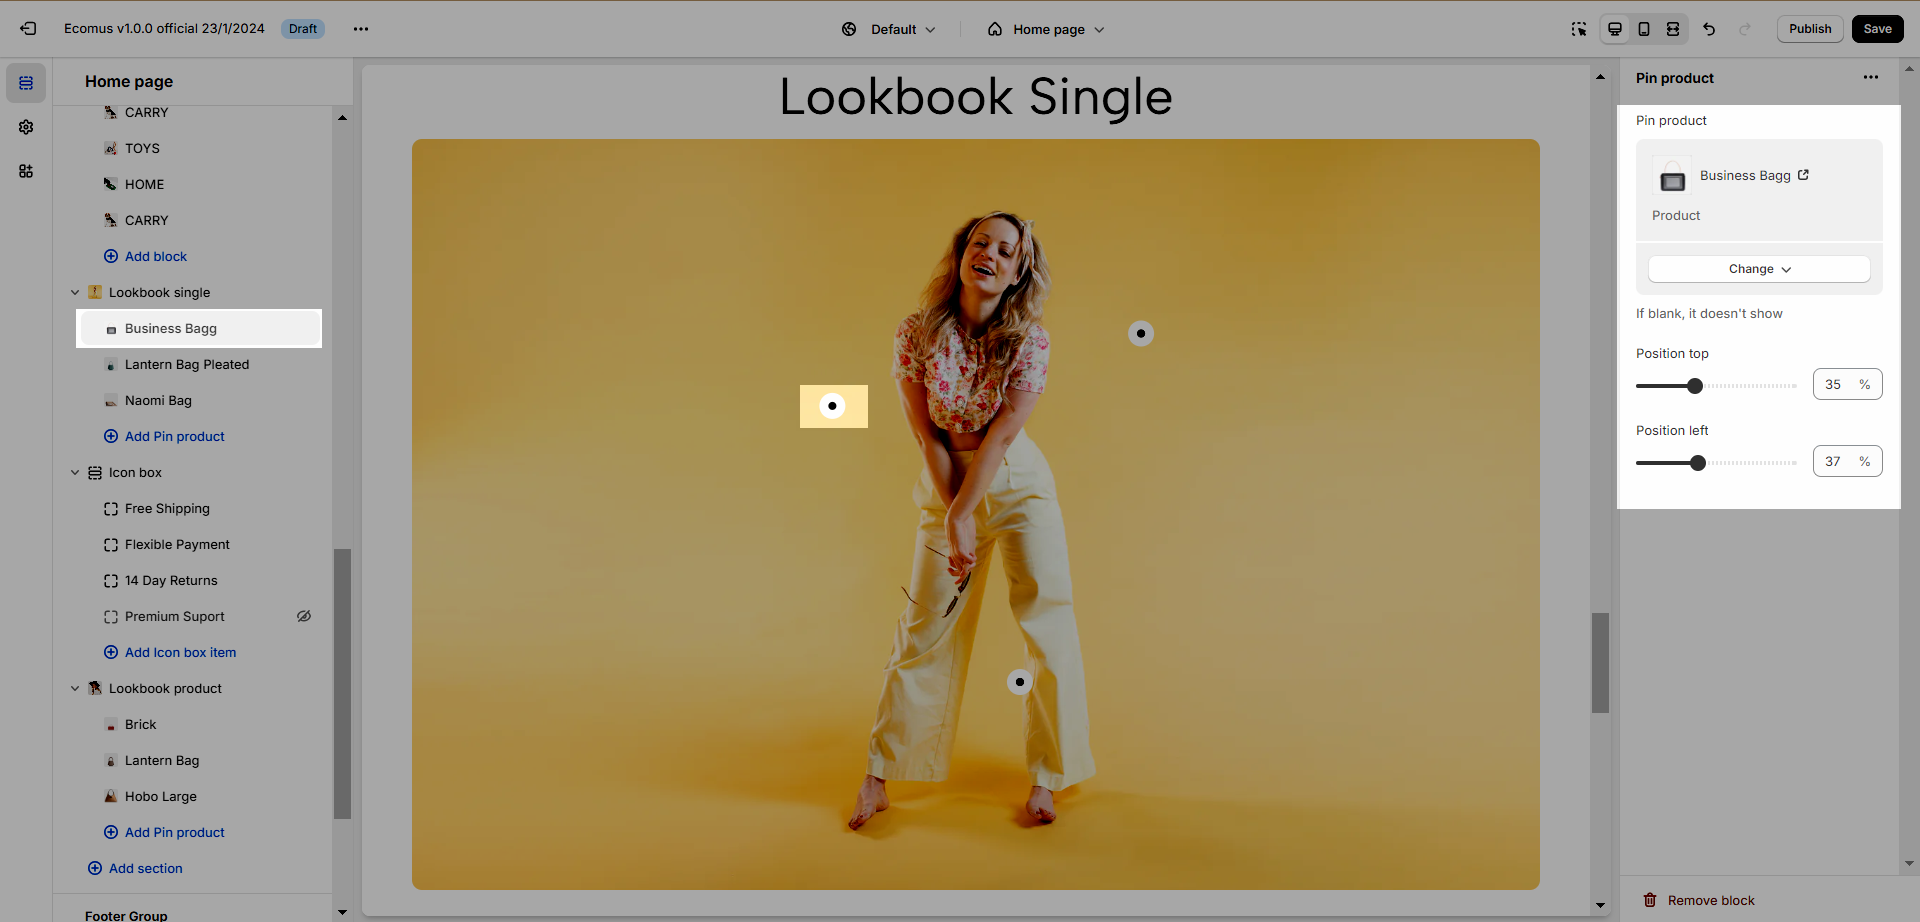
Click on Lookbook single > Add Pin product.
You can add choose a product and set up the position for the pin.
3.2. Lookbook single settings
Heading options: fill in Heading & Description, Heading tag, Margin heading.
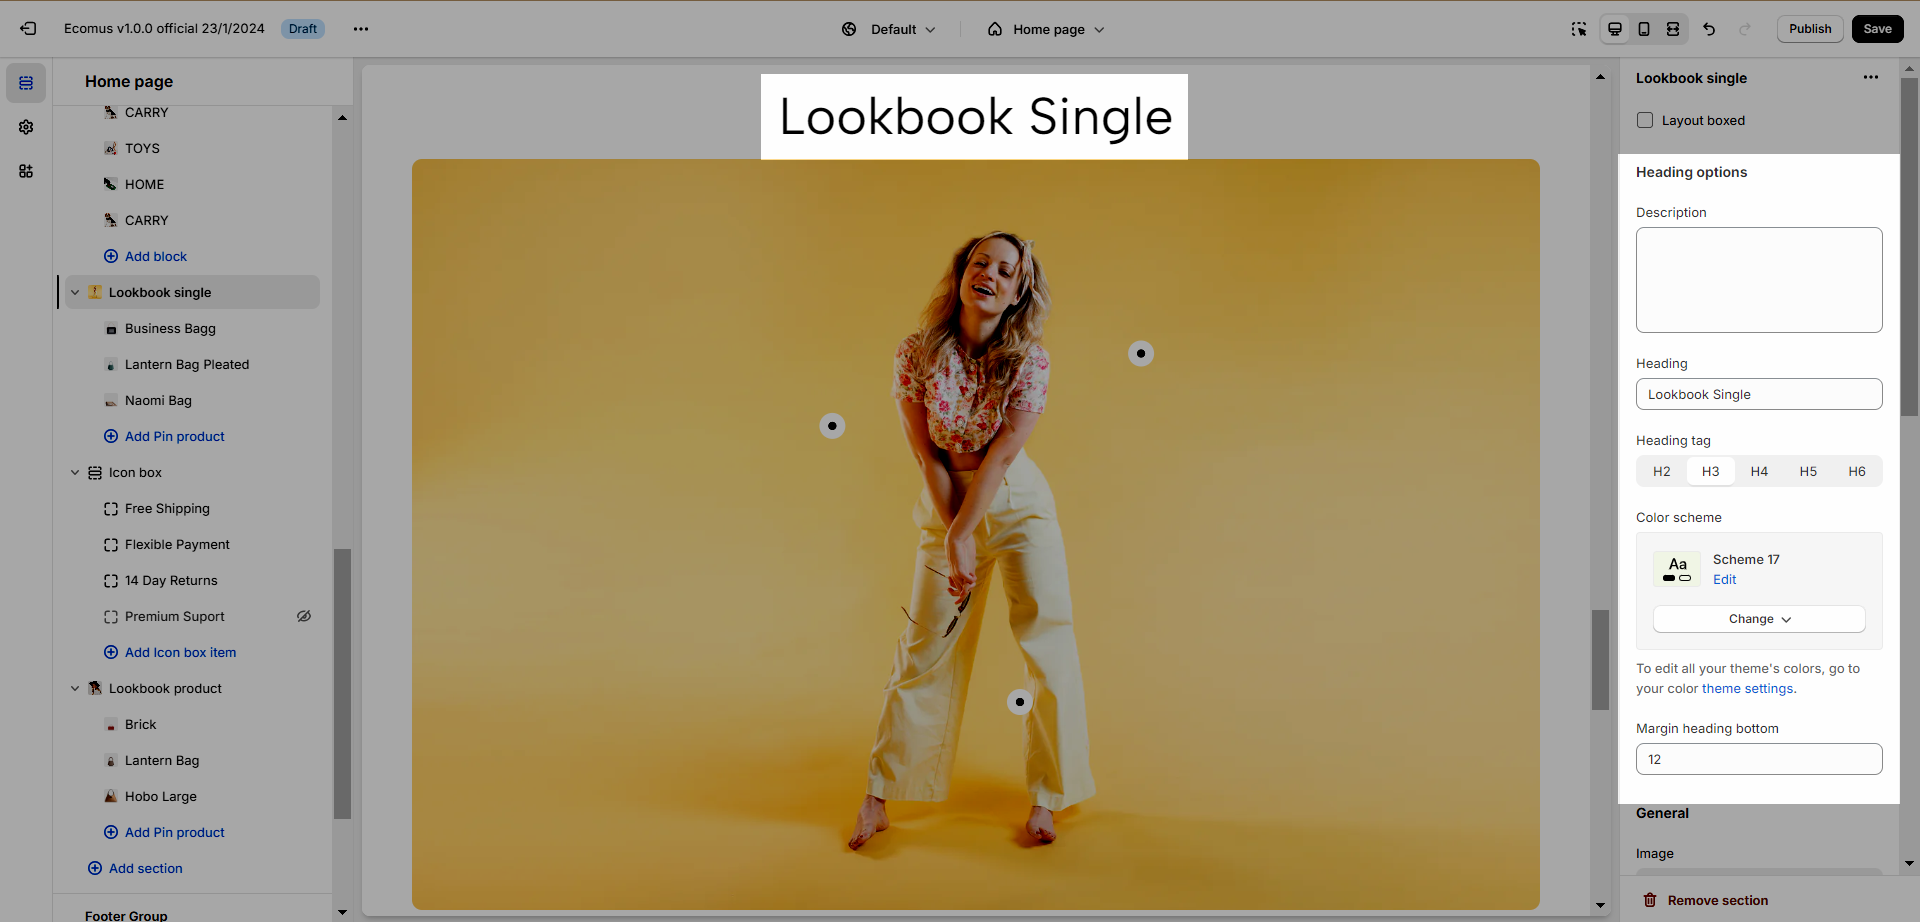
General options: you can adjust Image ratio, Pin placement. Please check this video:
Section padding: Use for adjusting the top and bottom padding of the section on Desktop and Mobile devices.


