


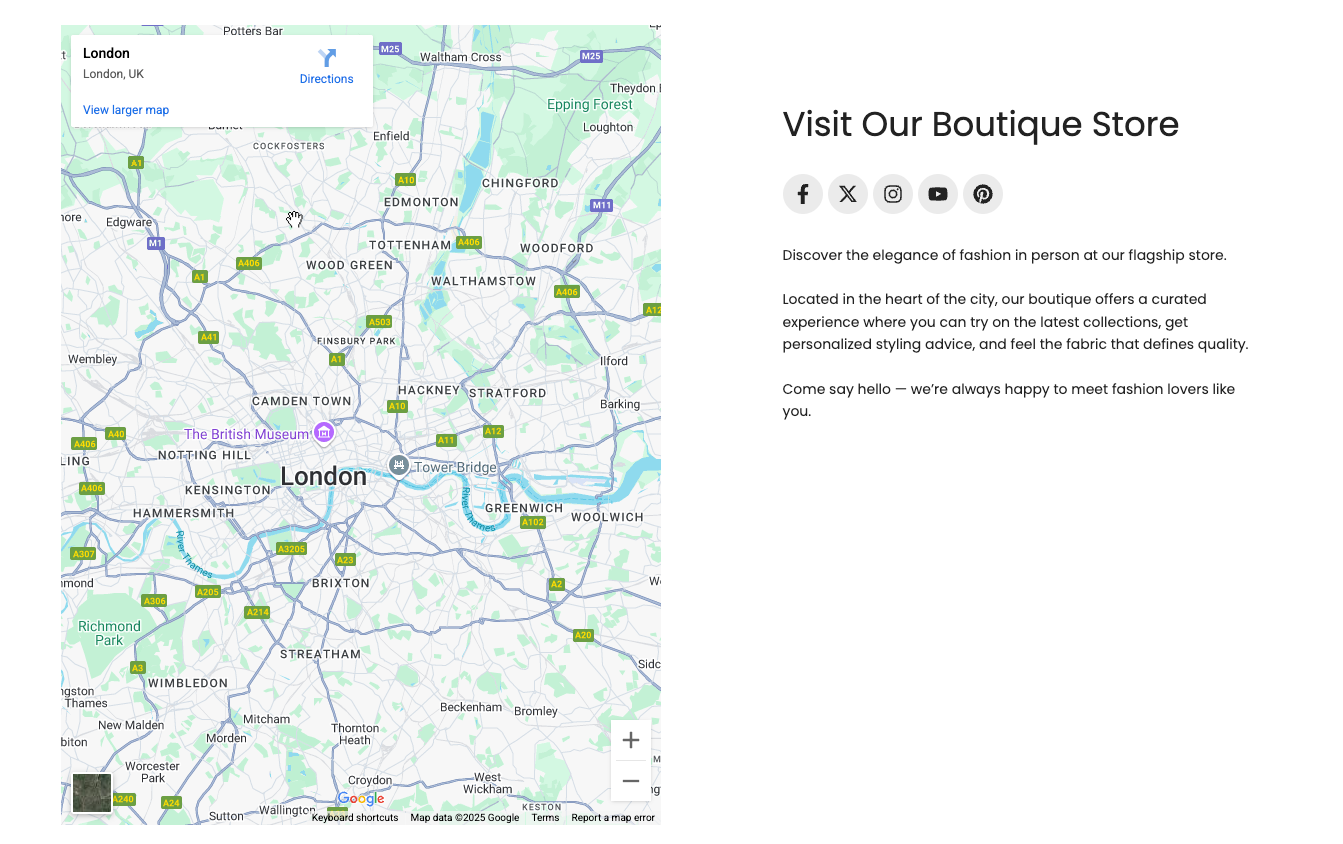
The Map with Text section is a powerful tool for integrating geographic information with relevant text content. It is ideal for displaying the location of a store, office, or other point of interest, while also providing important details such as address, hours of operation, or directions. This section is designed to provide both visual context and detailed information effectively.
1. How to access the Map with text section?
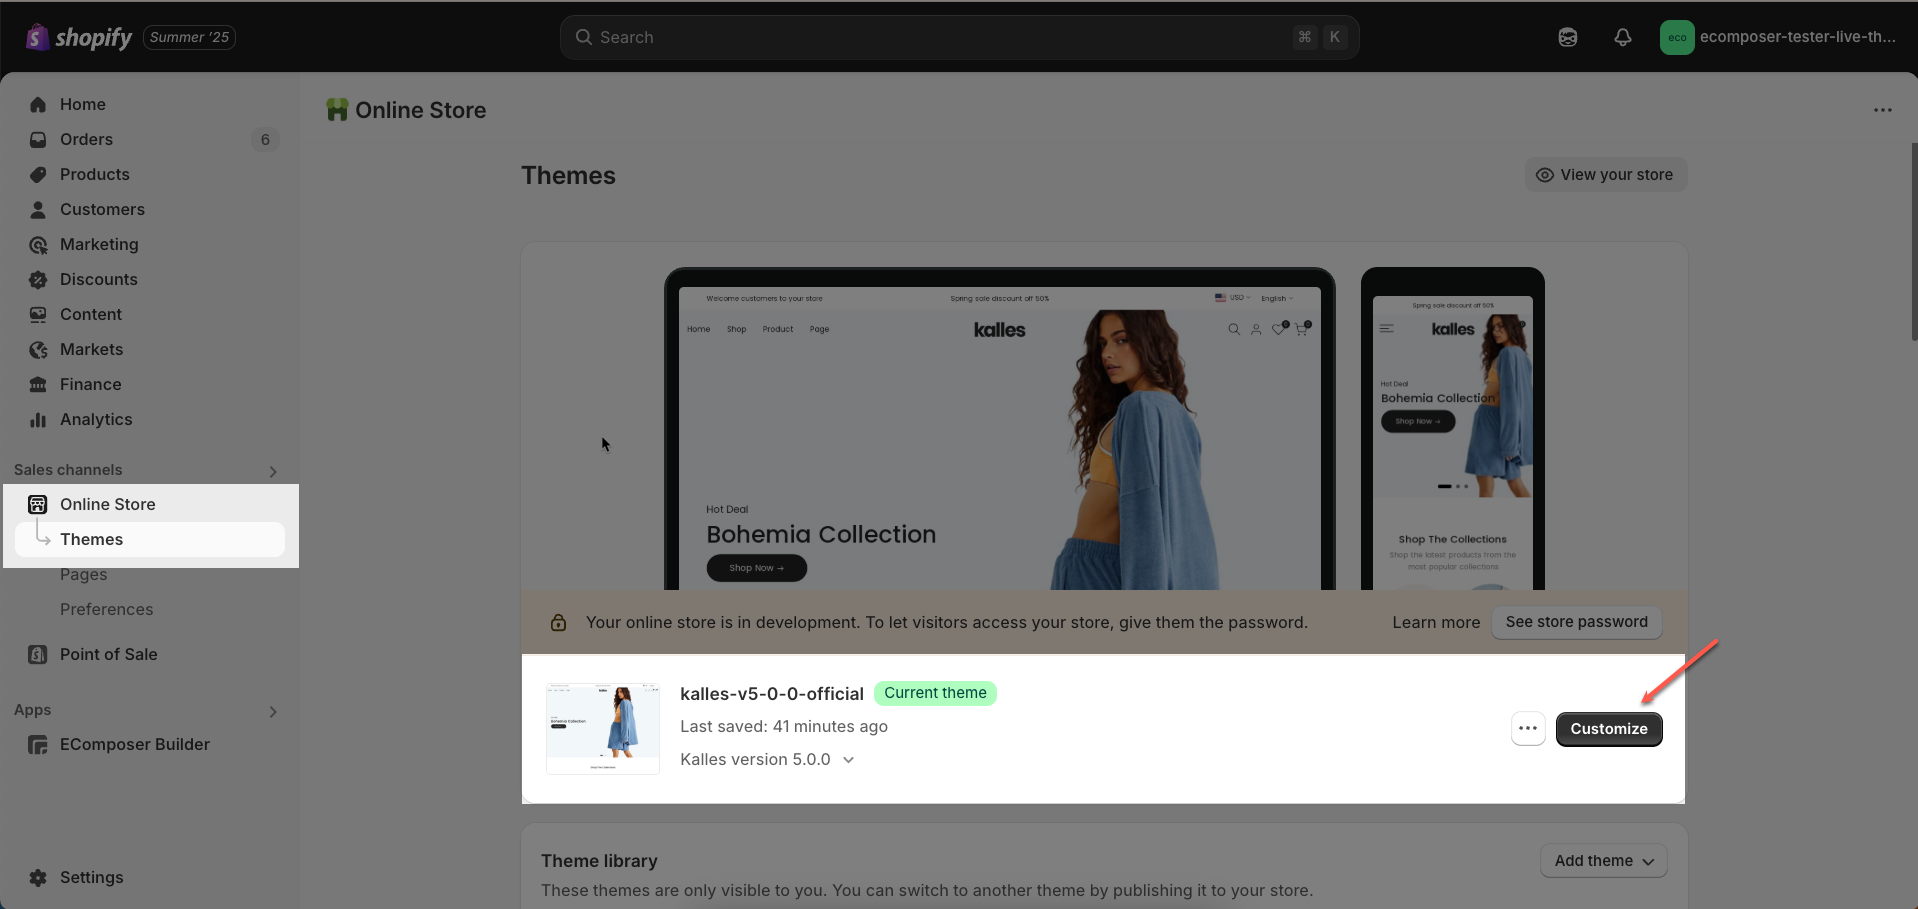
Step 01: From Shopify Admin, click on Online Store > Select Themes > In the Current theme section, click the Customize button.
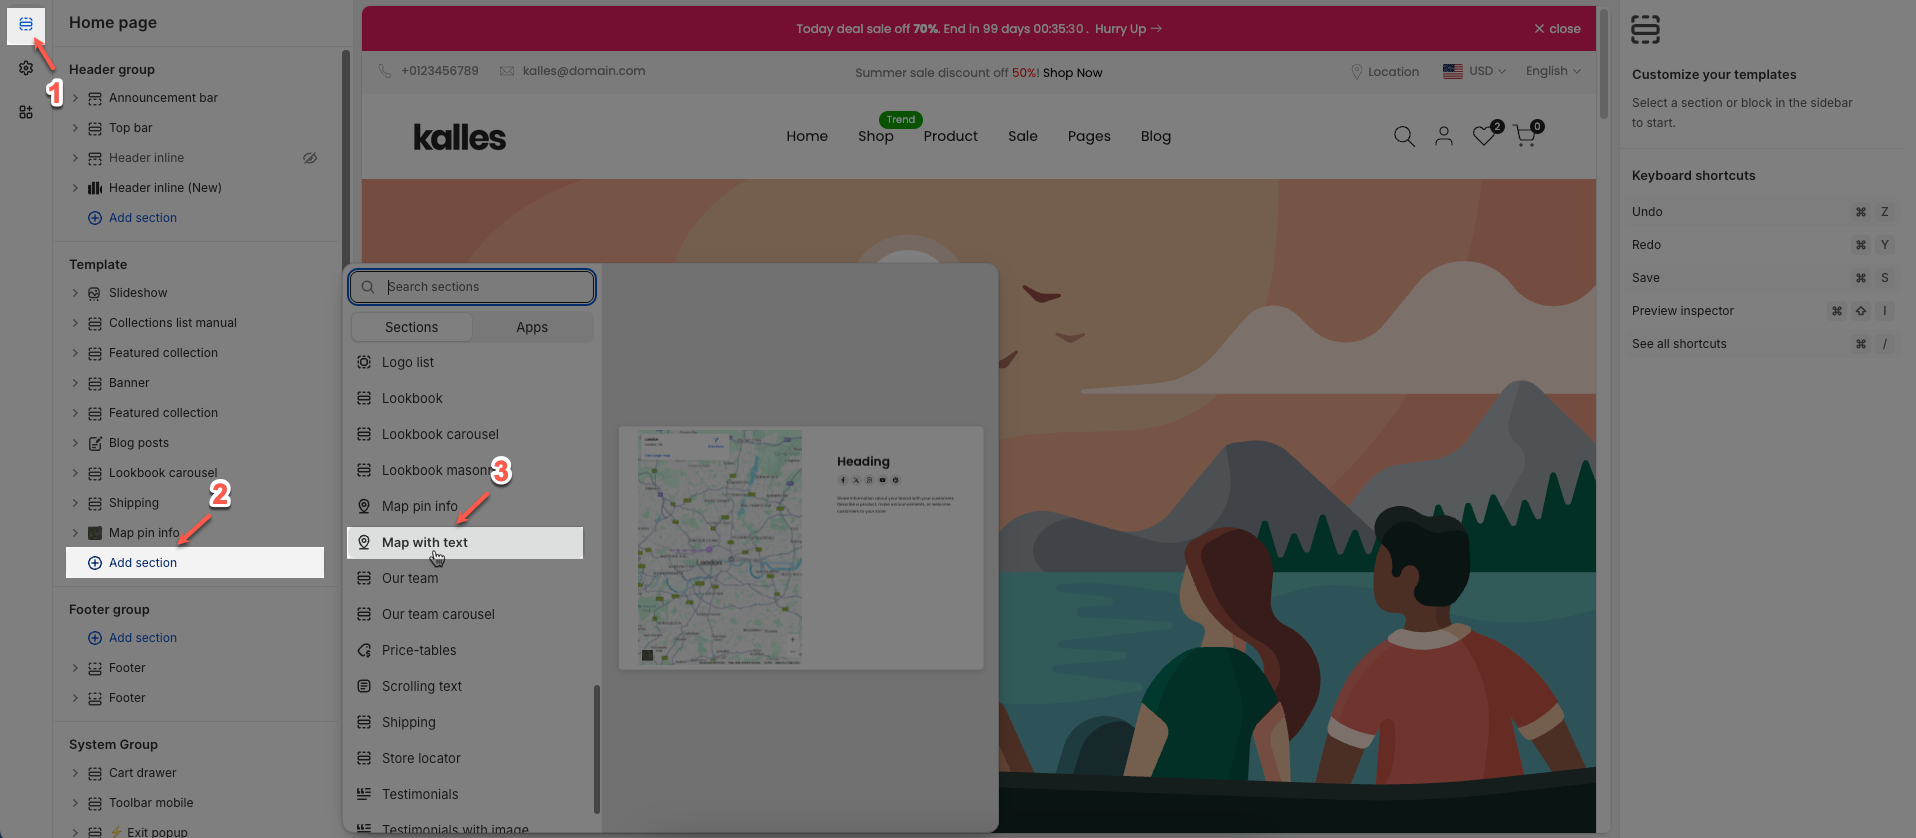
Step 02: In the theme editor (Customize), click the Sections button > Click the Add section button > In the Sections tab, scroll through the list or use the search bar to find and select the Map with text section.
2. How to get a source map
Go to https://www.google.com/maps and copy the embed code. See the video to know how.
3. How to customize the Map with text section?
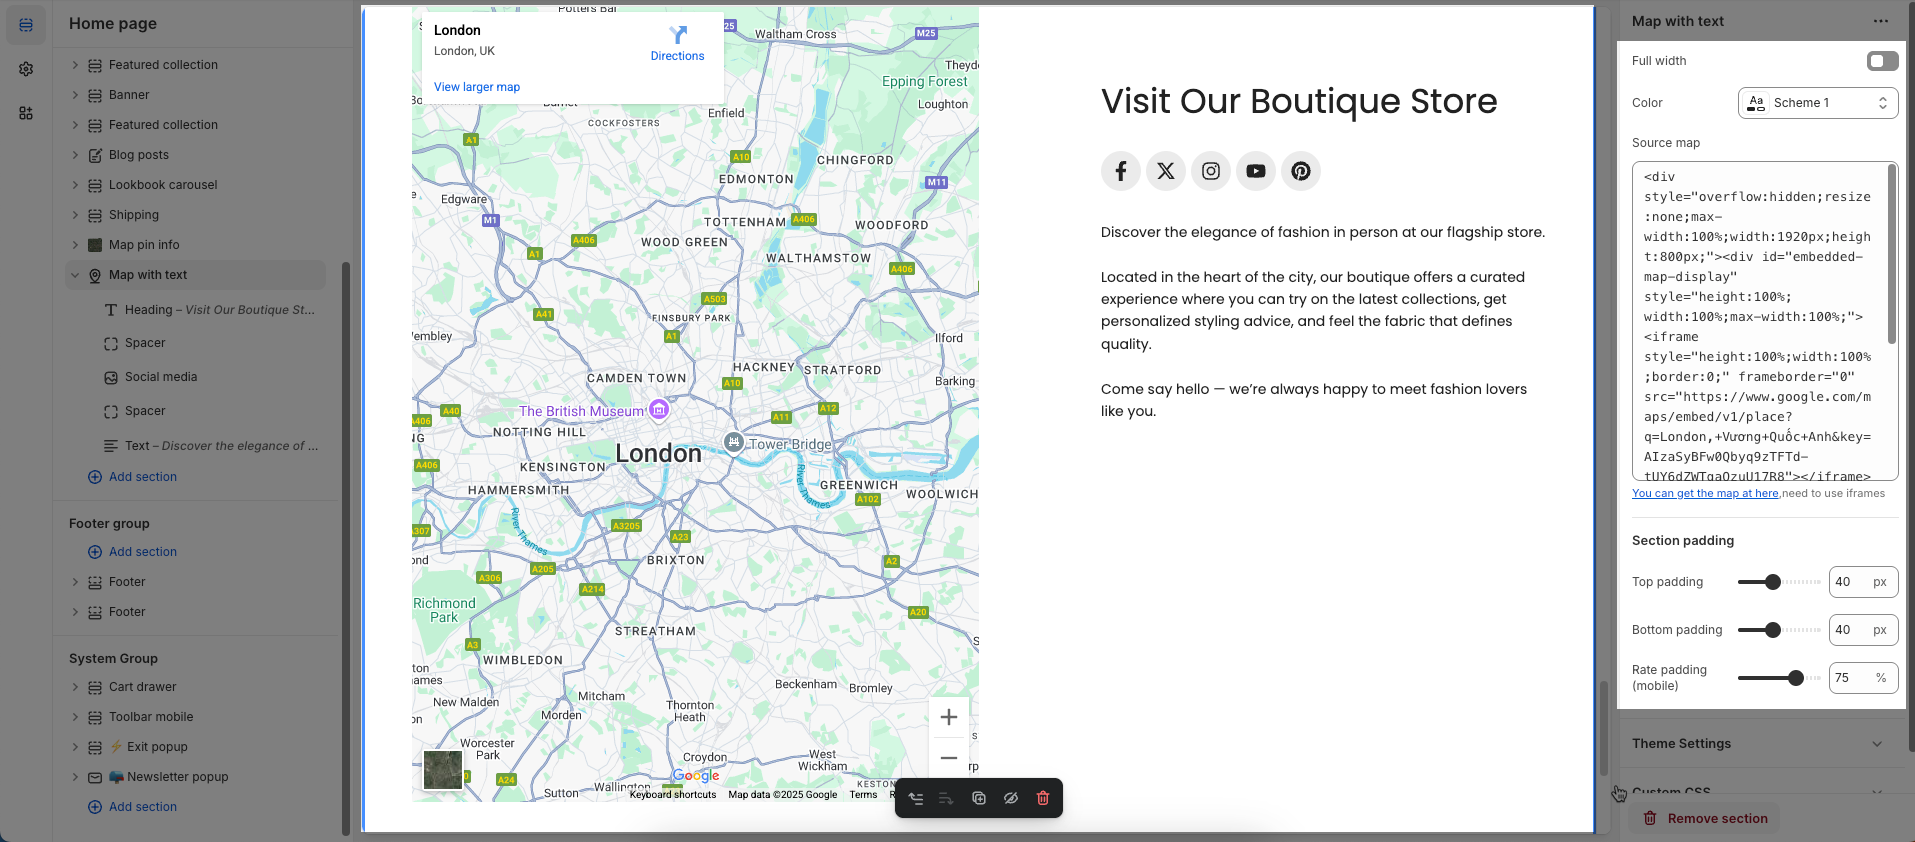
3.1. Map with text section
After adding the Map with text section, you can customize its settings using the sidebar—located on the right or left side of your screen depending on your device.
Full width: Check this if you would like to make the section 100% screen width.
Color: This dropdown menu allows you to select a predefined color scheme for the section. Clicking the dropdown will likely reveal other color palettes that you can apply to the background, text, and other elements within this section for a consistent look.
Source map: Paste the code embedding from Google Maps here
Section padding
Top padding: This option allows you to set the amount of space (padding) at the top of the slider section. You can drag the slider or directly enter a numerical value to adjust this spacing
Bottom padding: This option allows you to set the amount of space (padding) at the bottom of the slider section. You can drag the slider or directly enter a numerical value to adjust this spacing
Rate padding (mobile): This option allows you to set the aspect ratio-based padding for mobile view (in percentage). For example, 75% means the height will be 75% of the width.
Theme Settings
Follow this guide
Custom CSS
Allows users to customize by adding CSS rules beyond the limitations of default settings. This allows for fine-tuning the design to every detail, to suit specific needs.
Add custom styles to this section only.
To add custom styles to your entire online store, go to theme settings for detailed instructions.

3.2. Content
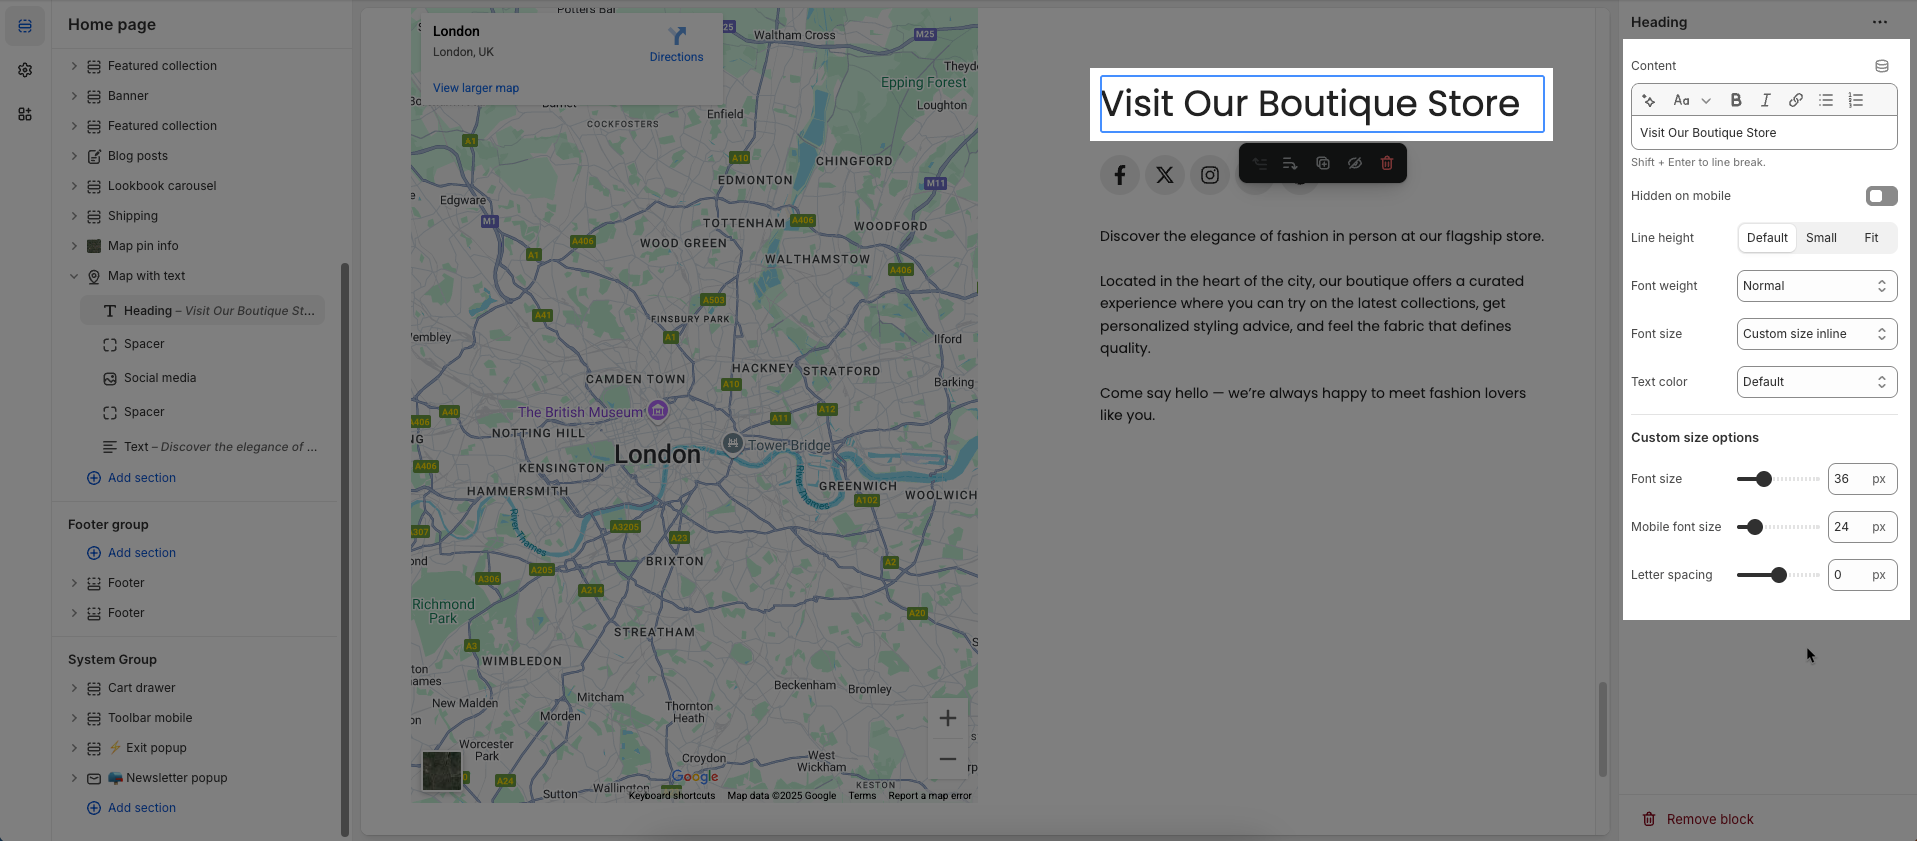
3.2.1. Heading block
To add Heading block to the Map with text, click the Add block button (plus icon ➕) under the Map with text.
Once the Heading block is added, you can customize its settings in the right-hand sidebar:
Heading: Define the main title that represents your content or section. Make it engaging and relevant.
Hidden on mobile: Choose whether to hide the heading completely on mobile devices for a streamlined display.
Choose "Custom size inline" to freely adjust the size in the Custom Size Options section.
Size: Adjust the overall heading size to fit the design aesthetics of your store.
Text Color: Customize the heading color to align with your brand identity and improve readability.
Font size (Desktop/Tablet/Mobile): Set different font sizes for each device type to ensure a responsive and visually appealing layout.
Font weight: Control the thickness of the heading text
Letter spacing (in pixel): Adjust the space between letters to enhance readability and design precision.
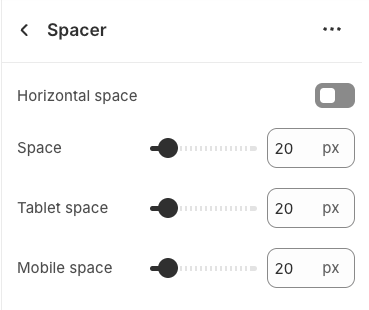
3.2.2. Spacer block
To add Spacer block to the Map with text, click the Add block button (plus icon ➕) under the Map with text.
Once the Spacer block is added, you can customize its settings in the right-hand sidebar:
The Spacer block is used to add empty space between blocks. It helps improve the layout, create visual separation, and ensure a balanced design. This block is particularly useful for adjusting spacing in different screen sizes (desktop, tablet, and mobile) to enhance readability and aesthetics.
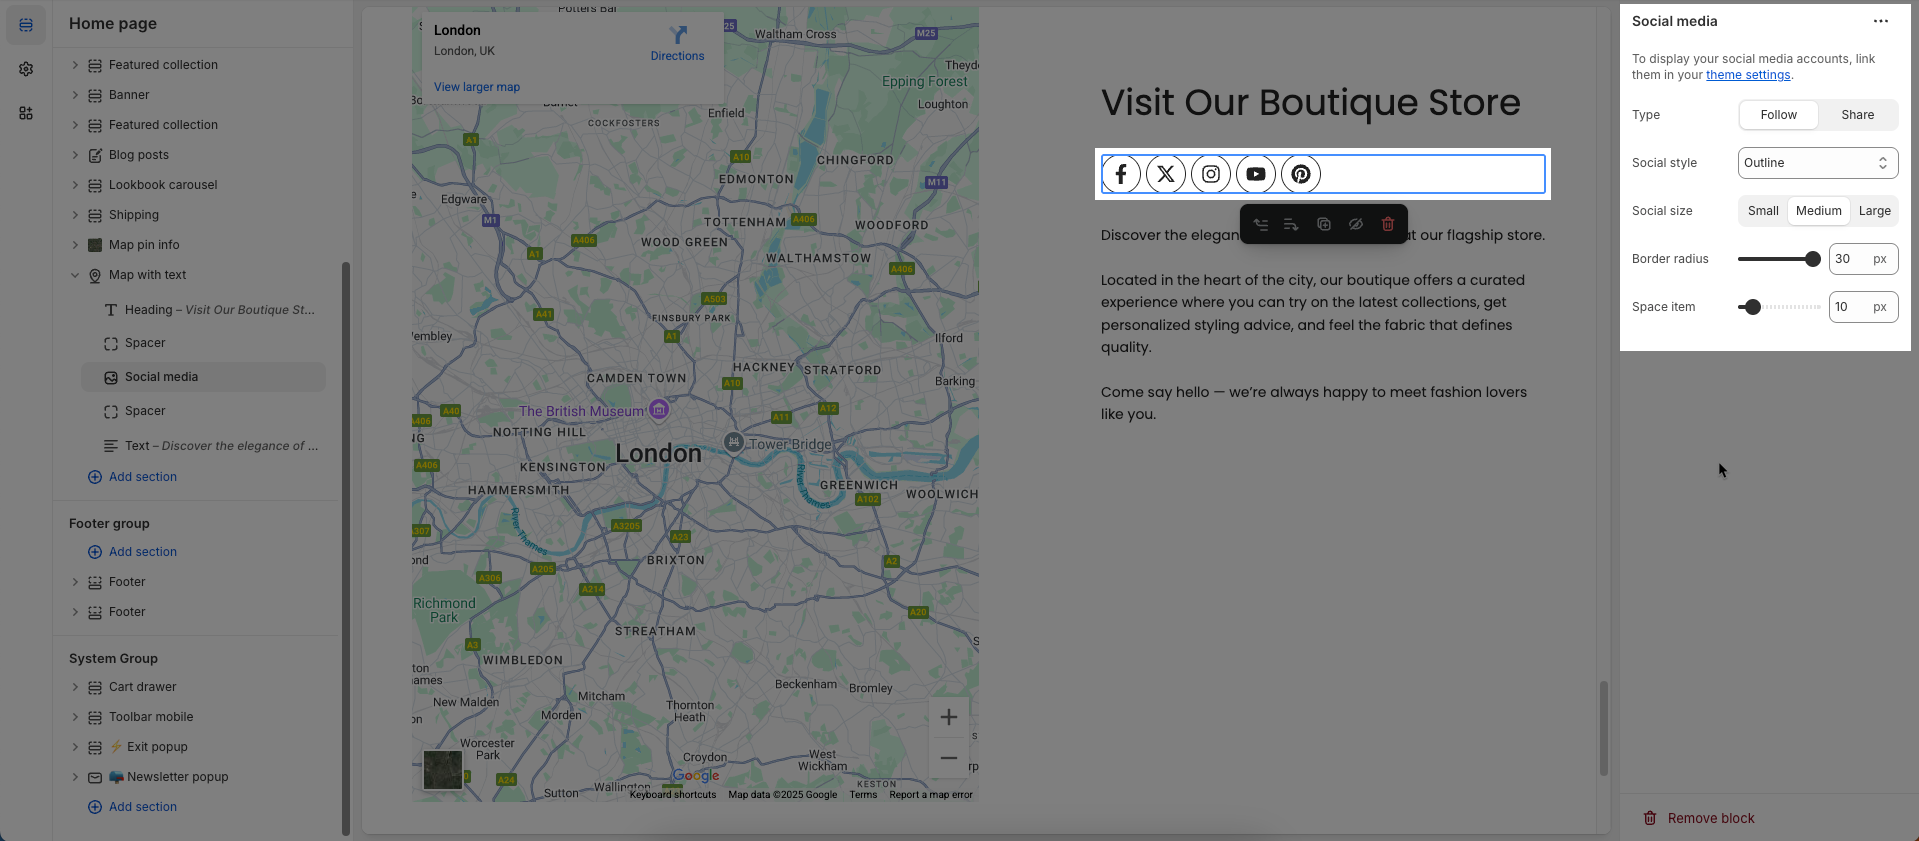
3.2.3. Social block
To add Social block to the Map with text, click the Add block button (plus icon ➕) under the Map with text.
Once the Social block is added, you can customize its settings in the right-hand sidebar:
Type: Select the desired interaction type for the social button.
Follow: The button will direct users to your social media profile page, encouraging them to become followers.
Share: The button will allow users to share the current content (e.g., product page, blog post) to their social media platforms.
Social style: Select the visual style for social media icons/buttons.
Social size: Set the size of the social media icons/buttons (e.g., small, medium, large).
Border radius: Set the roundness of the corners for social buttons or their containers. A higher value will create more rounded corners.
Space item: Set the space between social items (icons/buttons) when they are displayed side-by-side.
3.2.4. Text block
To add Text block to the Map with text, click the Add block button (plus icon ➕) under the Map with text.
Once the Text block is added, you can customize its settings in the right-hand sidebar:
Use shortocdes: [countdown]. Countdown to the end sale date will be shown
Content: Allows you to enter and format the text (bold, italic, underline, lists, links, etc.). Press Shift + Enter to line break.
Hidden on mobile: Enable this option to hide the heading on mobile screens.
Font family: Select the font family to be applied to the text.
Font Size: Let you select sizes for the text. You can choose the options included Extra small, Small, Medium, Large, Extra Large, 2 Extra Large, 4 Extra Large, and Custom size inline.
Line height: Set the line height (spacing between lines of text). A higher value will create more white space between lines, improving readability.
Font weight: Controls the thickness of the text. Common font weight values range from 100 to 900.
Text color: Allows you to set the text color.
Date countdown: Select the end date and time for the countdown. The countdown will display the time remaining until this date.
Text day countdown: Enter the text to display alongside the countdown (e.g., "Offer ends in:", "Remaining:").
Custom Size Options:
The options below are only active when you select Custom size inline in the Size option.
Font size: Adjusts the font size of the heading in pixels (px) for desktop screens.
Mobile font size: Adjusts the font size of the heading in pixels (px) for mobile devices.
Letter spacing: Adjust the horizontal space between the letters in the heading text, measured in pixels (px).


