


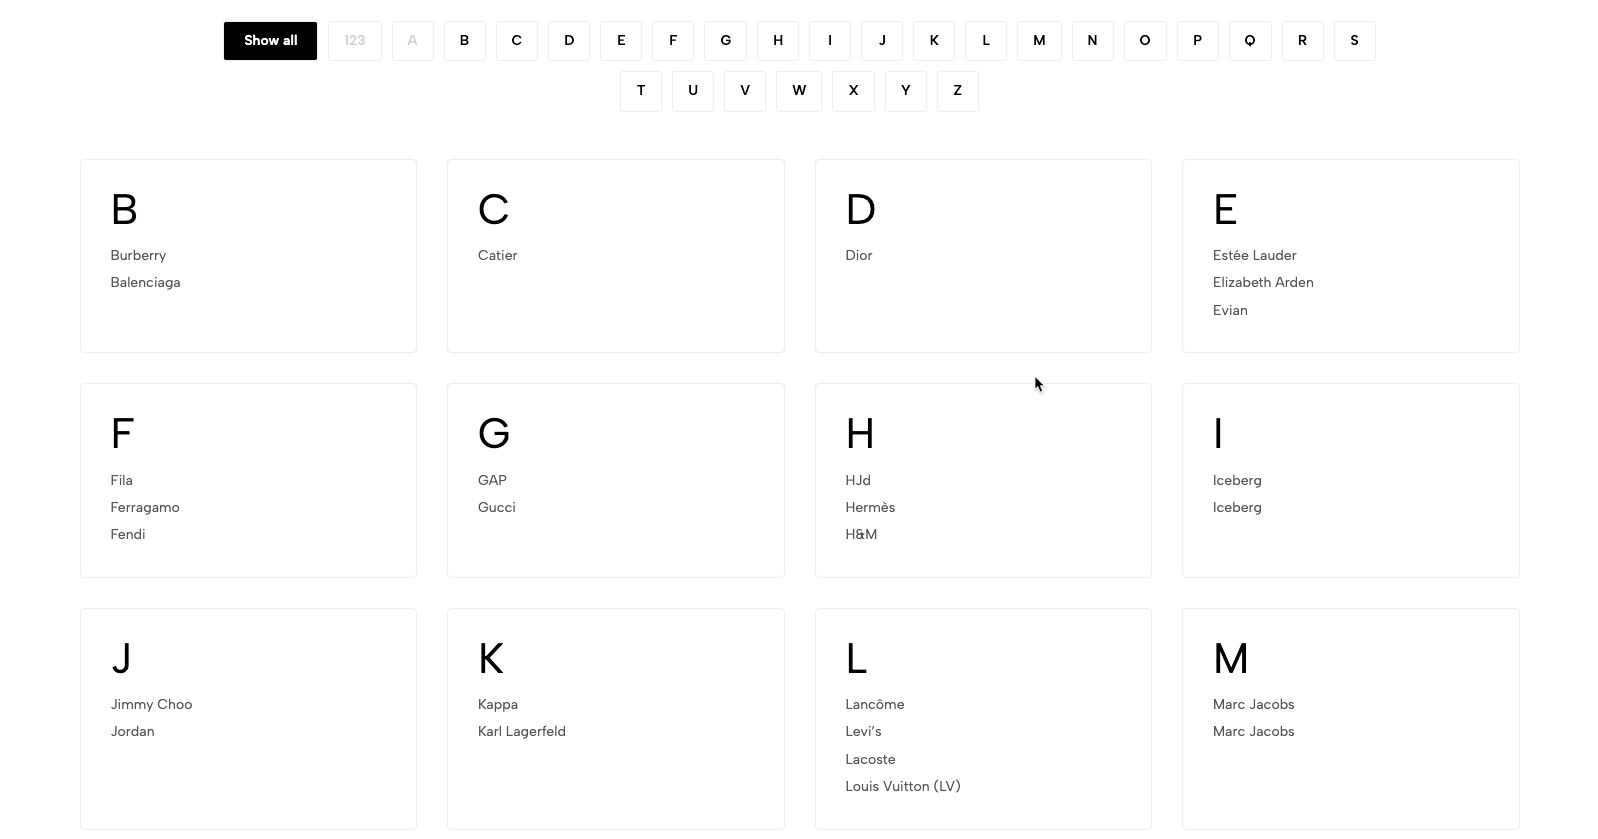
Flexible "Brands" Section: Enables the display of a list of brands that your store offers. Supports various display styles (e.g., logo grid, name list). Easily link brand logos or names to their respective brand collection pages, allowing customers to easily explore products by their favorite brands.
1. How to access the Page Brands?
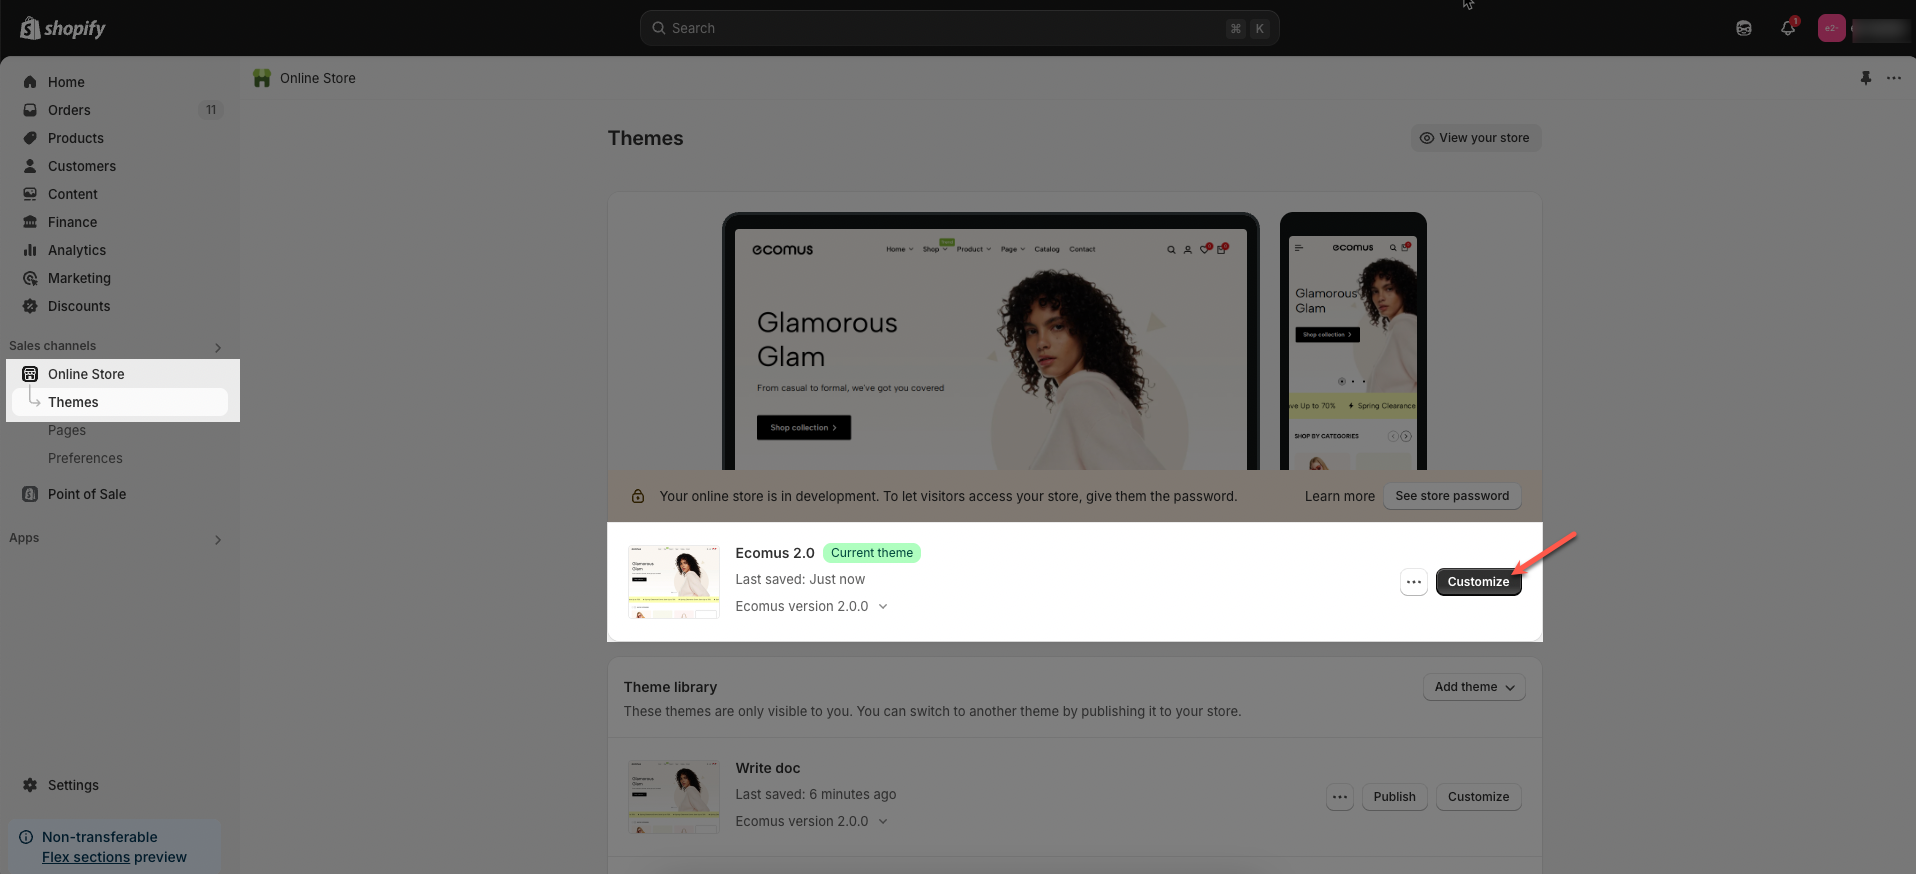
Step 01: From Shopify Admin, click on Online Store > Select Themes > In the Current theme section, click the Customize button.
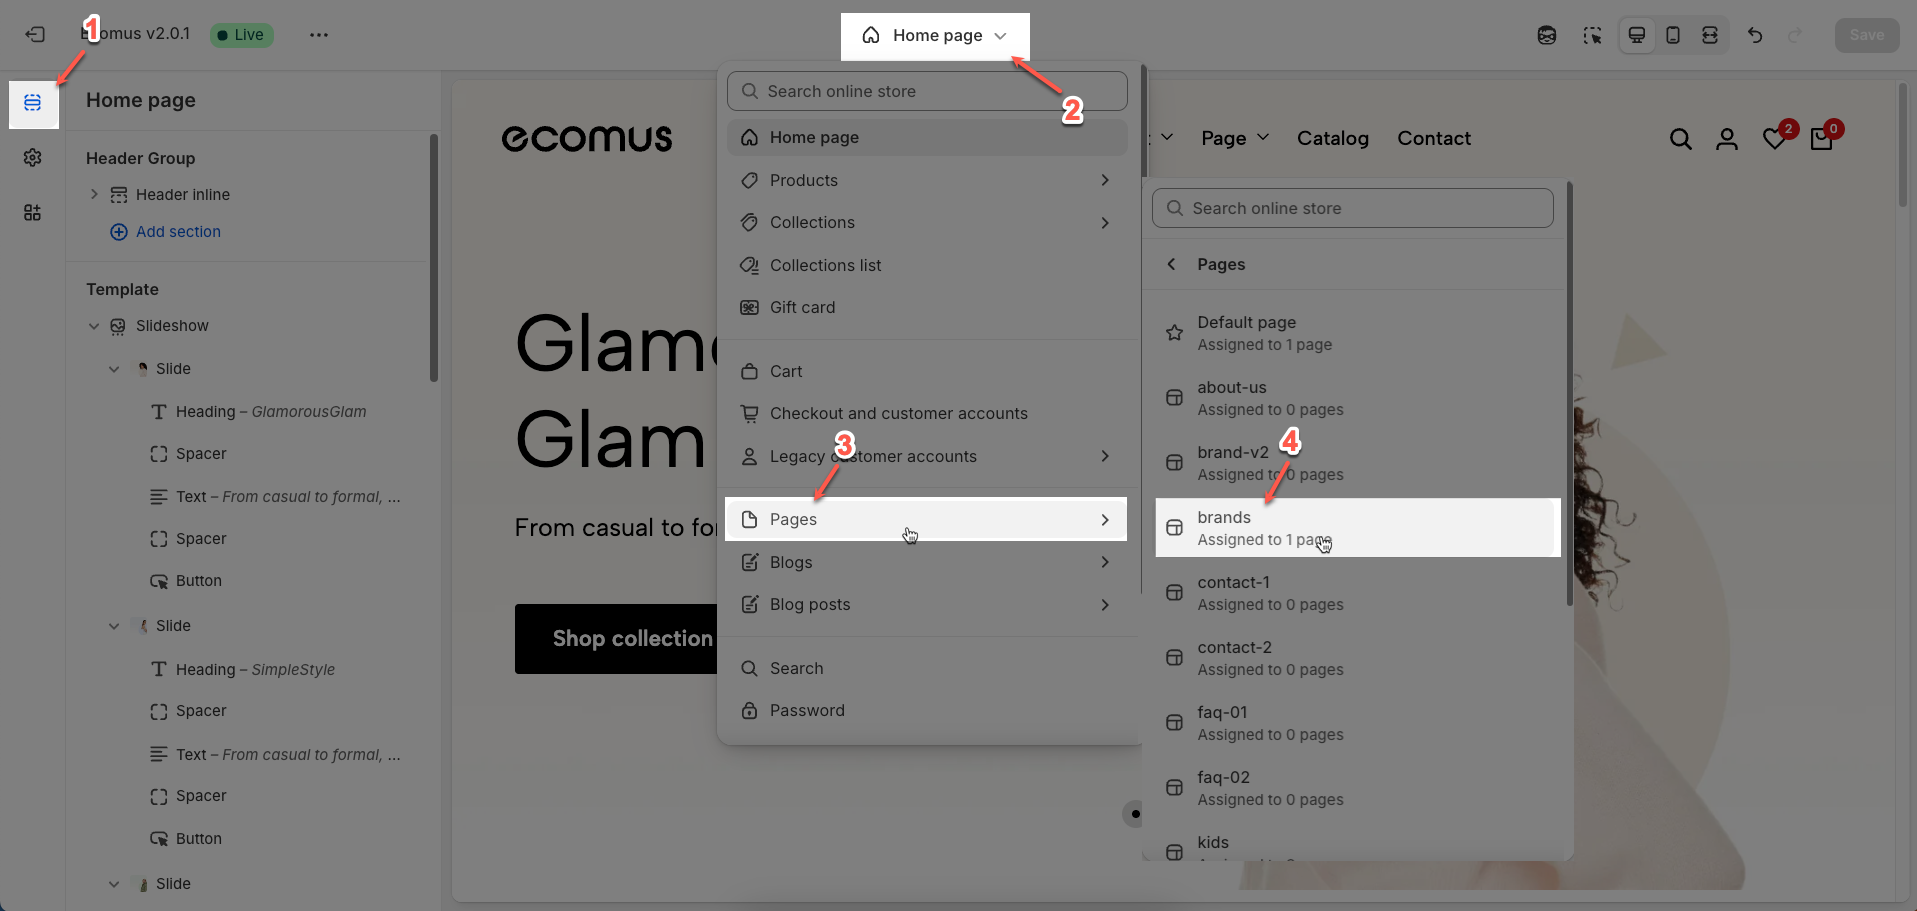
Step 02: In the theme editor (Customize), click to open dropdown pages in the topbar > select Pages > select Brands
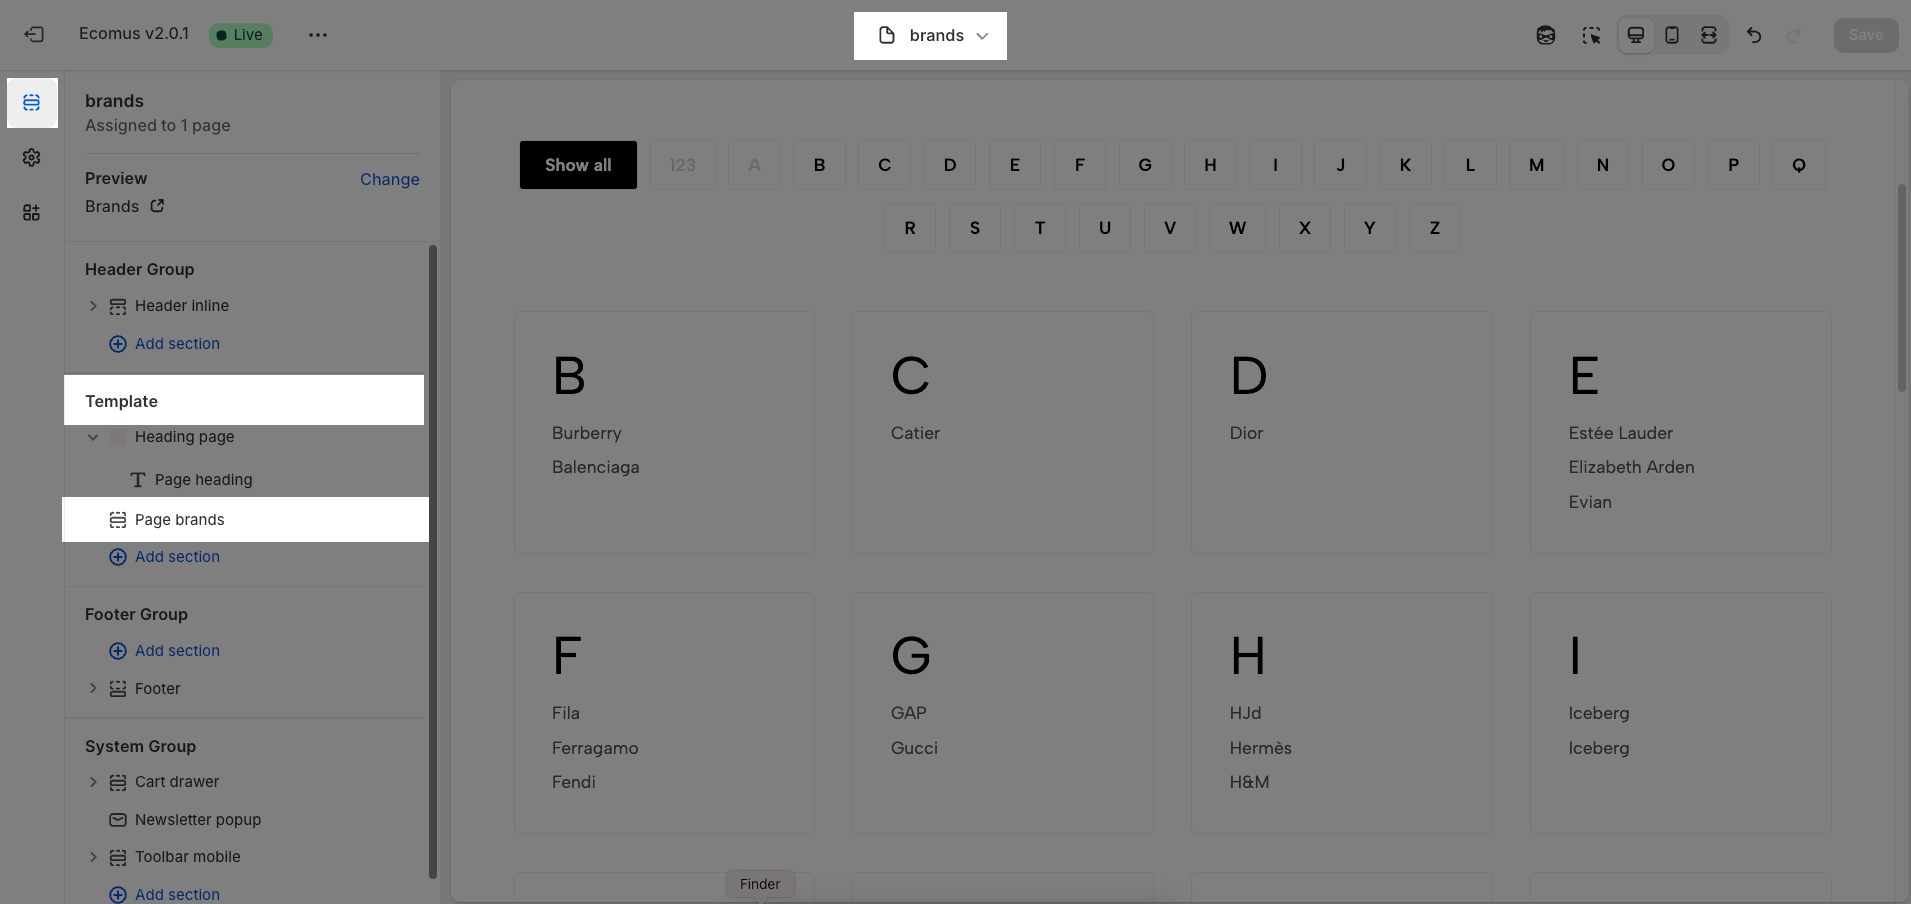
Step 03: In the Sections tab, scroll and find Page Brands in Template
If you want to create Brands Page creative similar demo; you will use Metafield.
2. How to create Brands page creative similar demo
2.1. Create Metaobject
Step 1: From the Shopify store home screen > click open Settings tab > open Custom data tab > click Add definition button
Step 2: Enter name = Vendor > add Fields
With Name field: click Add field button > find and select Single line text type > set name = Name (you can set it as required field or not) > click Add button
With Image field: click Add field button > find and select File type > set name = Image (you can set it as required field or not) > click Add button
With Link field: click Add field button > find and select URL type > set name = Link (Don't select Required) > click Add button
With Collection field: click Add field button > find and select Collection type > set name = Collection (Don't select Required) > click Add button
Step 3: After adding all the necessary fields > click Save button
Watch our video below...
2.2. Add entry
Step 1: From the Shopify store home screen > click open Content tab > open Metaobjects tab > find & open Vendor data field > click Add entry button
Step 2: Here, you can enter the brand name, upload photos, add links, and assign the brand to a specific collection > click Save button
2.3. Create Metafield for Page
Step 1: From the Shopify store home screen > click open Settings tab > open Custom data tab > open Pages > click Add definition button
Step 2: Enter name = vendor > Namespace and key is theme.vendor > select type = Metaobject > then Reference will appear > click dropdown to select Entry > click choose Vendor > click Save button
2.4. Create Page and config metafield
You will create page: Brands; then assign it for Brands template you created in the theme. Please note Theme template only show for Published theme not Draft theme.
When complete creating the page, you will add a metafield with metaobject you configured.
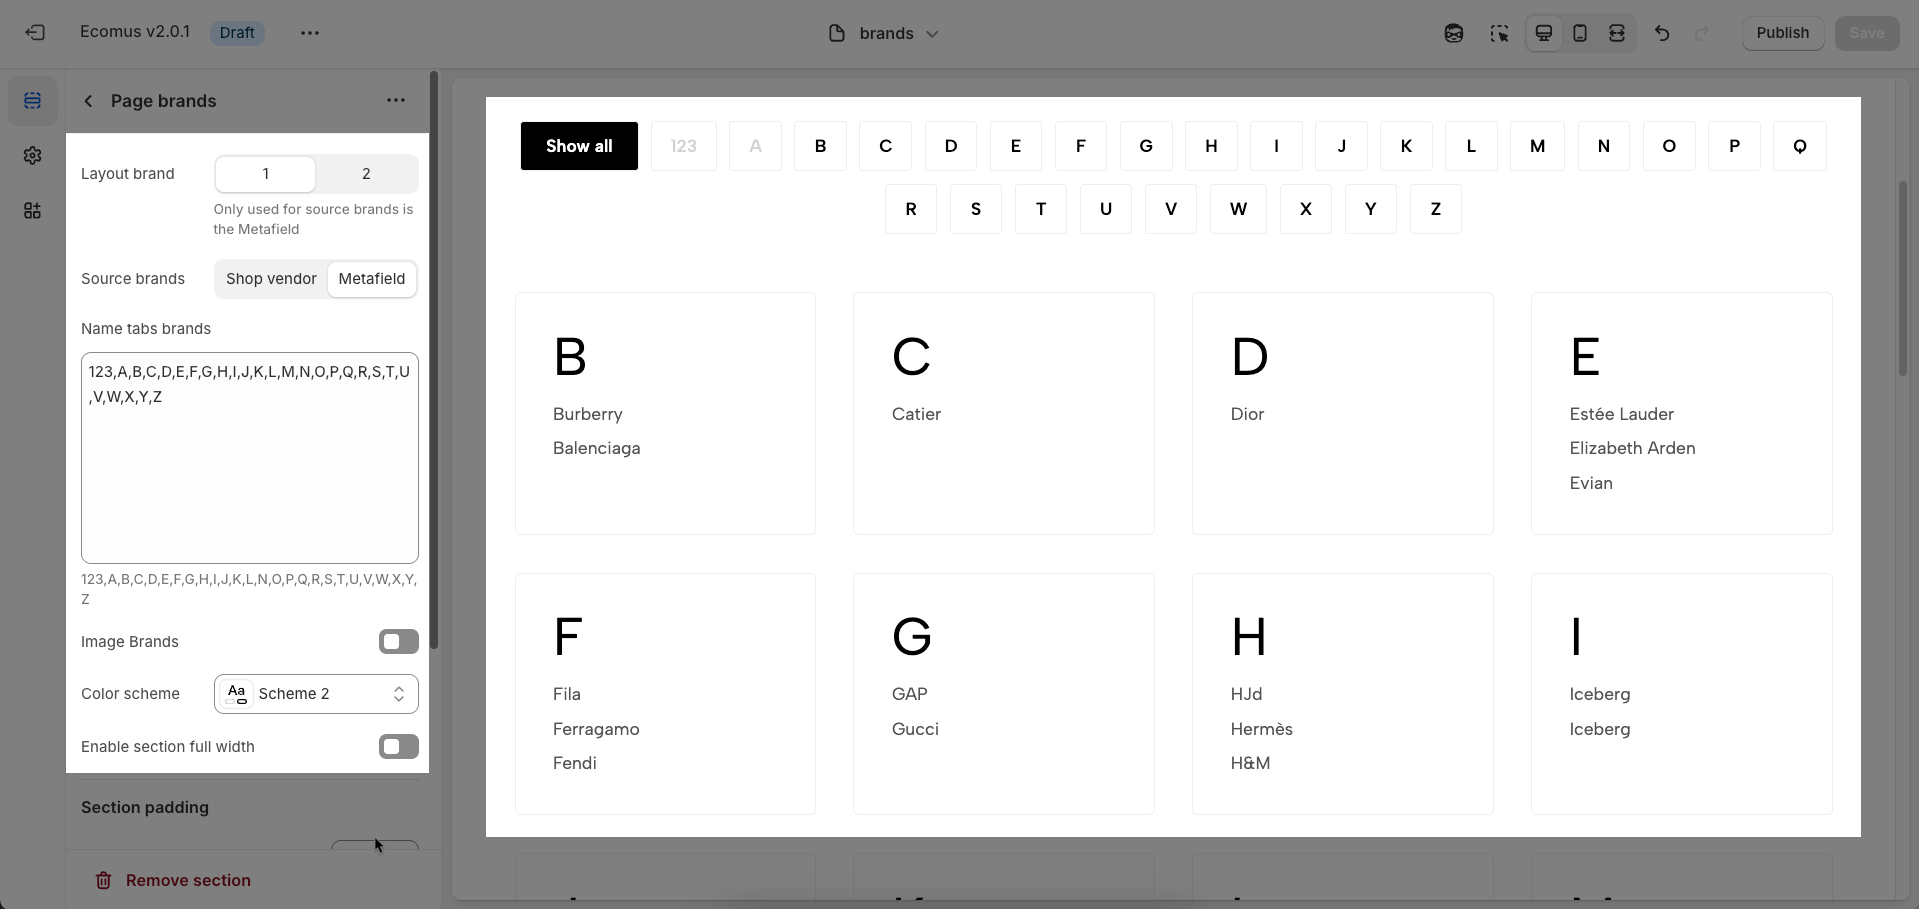
3. How to customize Page Brands?
After finding the Page Brands section, you can customize its settings using the sidebar, which is located on the right or left side of your screen, depending on your device.
Layout brands: Select the display layout style for the list of brands. Different layouts can arrange brand logos and names in various visually appealing ways
Only used for source brands is the Metafield
Source brands: Define the data source for retrieving the list of brands.
Shop vendor: Uses the vendor information associated with products in your Shopify store.
Metafield: Allows you to specify a particular metafield containing the list of brands you want to display. This option offers more flexibility when you want to manage the brand list independently.
Name tabs brands: Enable and customize alphabetical or numerical filter tabs for the brand list. When enabled, customers can click on a tab to quickly filter and view brands starting with that letter or number.
Image Brands: Enable this option to display brand images (logos) instead of just text names. You will need to ensure that logo images are linked to the vendor information (either via metafields or another custom method).
Color Scheme: This option is used in all section, to learn more about this, refer to this document
Enable section full width: make your testimonial section 100% of the screen width.
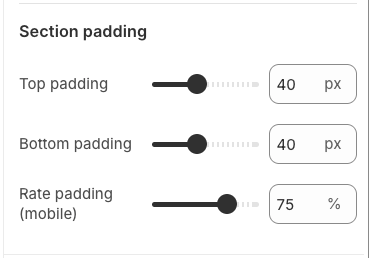
Section padding
Top padding: Creates space above the content within an element, separating it from elements above and improving visual layout.
Bottom padding: Creates space below the content within an element, separating it from elements below and improving visual layout.
Rate padding (mobile): Adjust spacing around mobile top elements, optimizing user experience and ensuring easy interaction on smaller screens.
Custom CSS
Allows users to customize by adding CSS rules, beyond the limitations of default settings. This allows for fine-tuning the design to every detail, to suit specific needs.
Add custom styles to this section only.
To add custom styles to your entire online store, go to theme settings.


