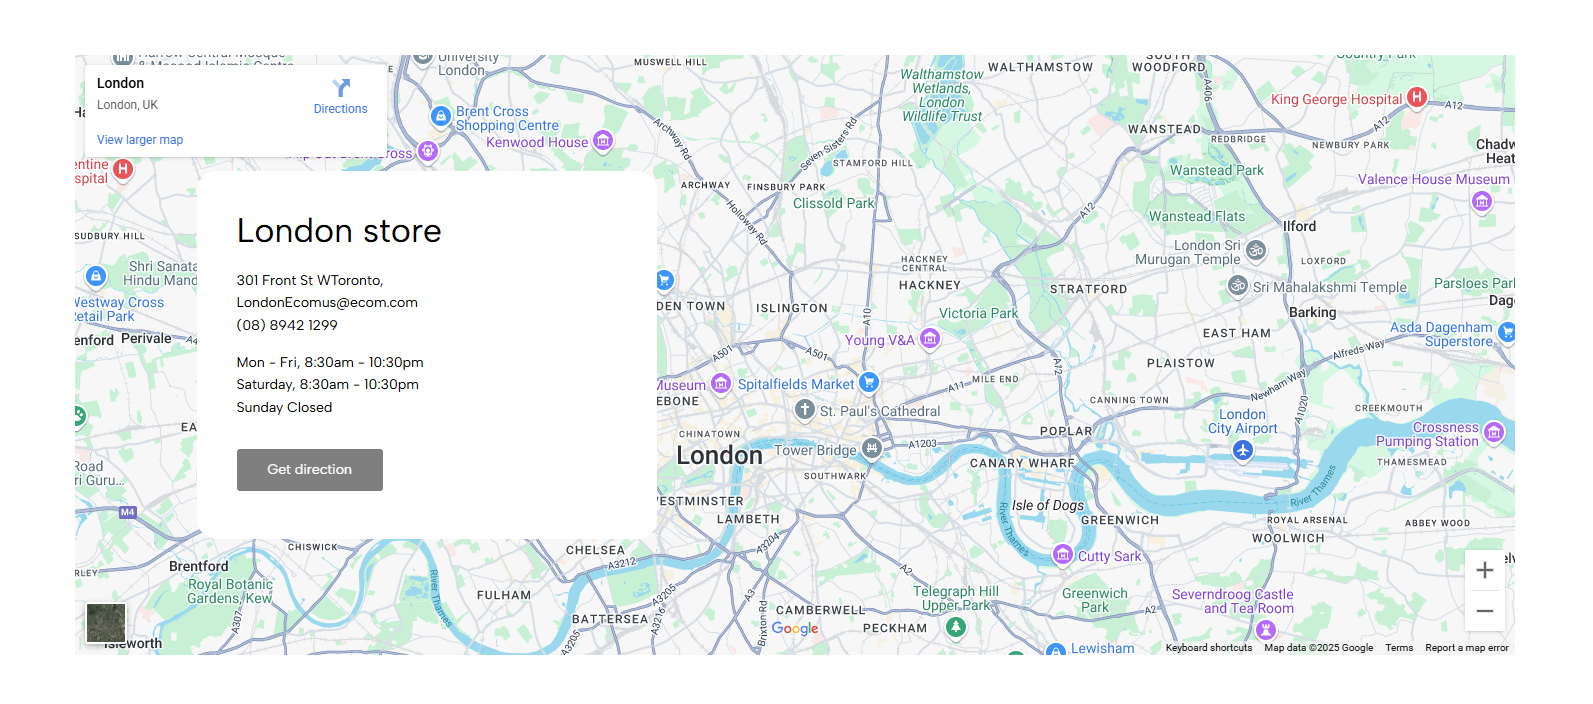
Map pin info allows you to place a map of your local store on the website, an easy way for customers to head to your shop. Let's dive into how to configure one.
1. How to access the Map pin info section?
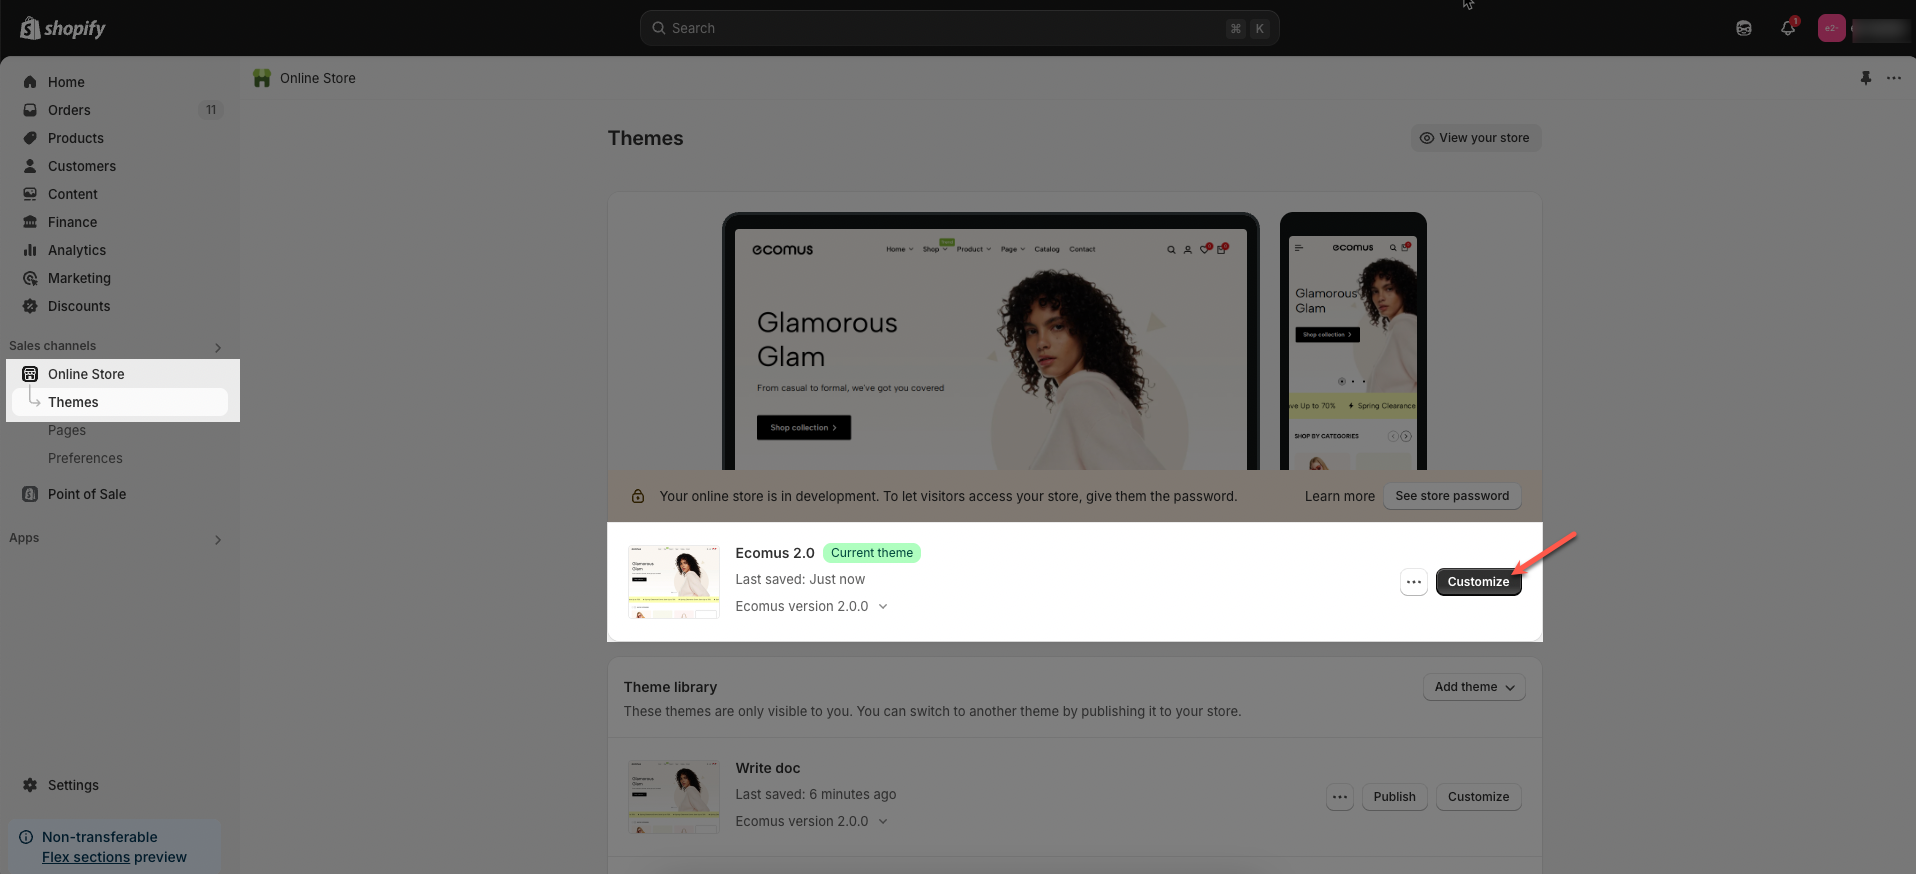
Step 01: From Shopify Admin, click on Online Store > Select Themes > In the Current theme section, click the Customize button.
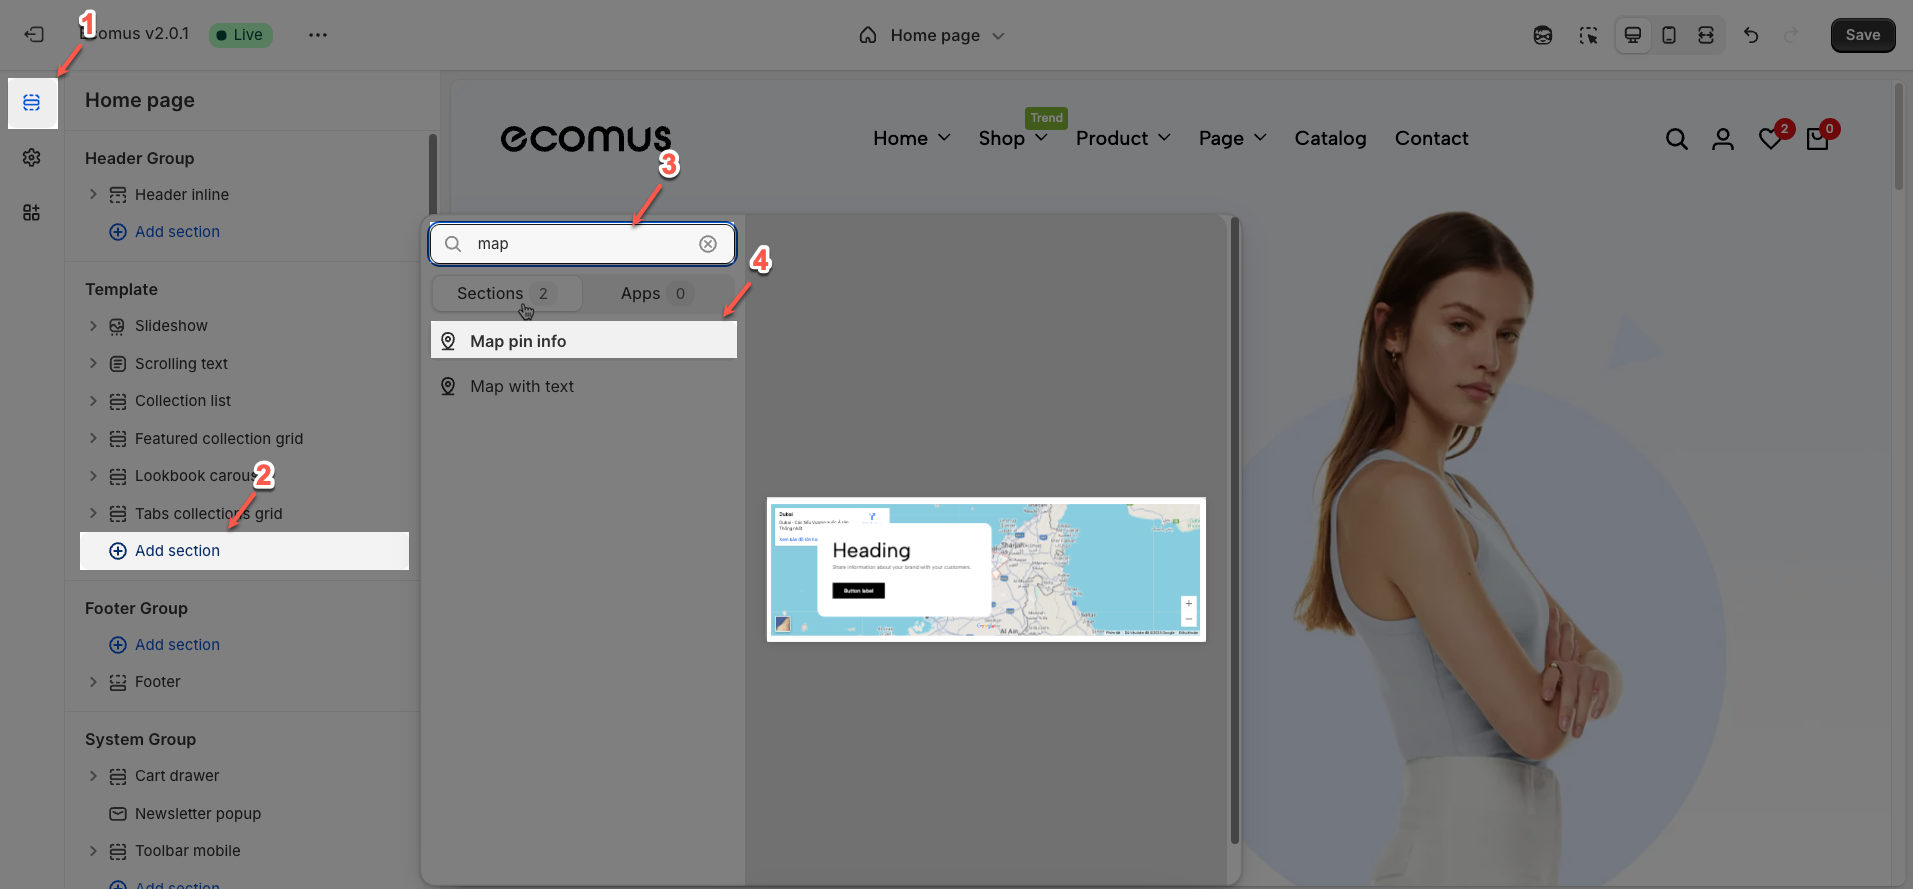
Step 02: In the theme editor (Customize), click the Sections button > Click the Add section button > In the Sections tab, scroll through the list or use the search bar to find and select the Map pin info.
2. How to get a source map
Go to https://www.google.com/maps and copy the embed code. See the video to know how.
3. How to customize the Map pin info section?
3.1. Map pin info section
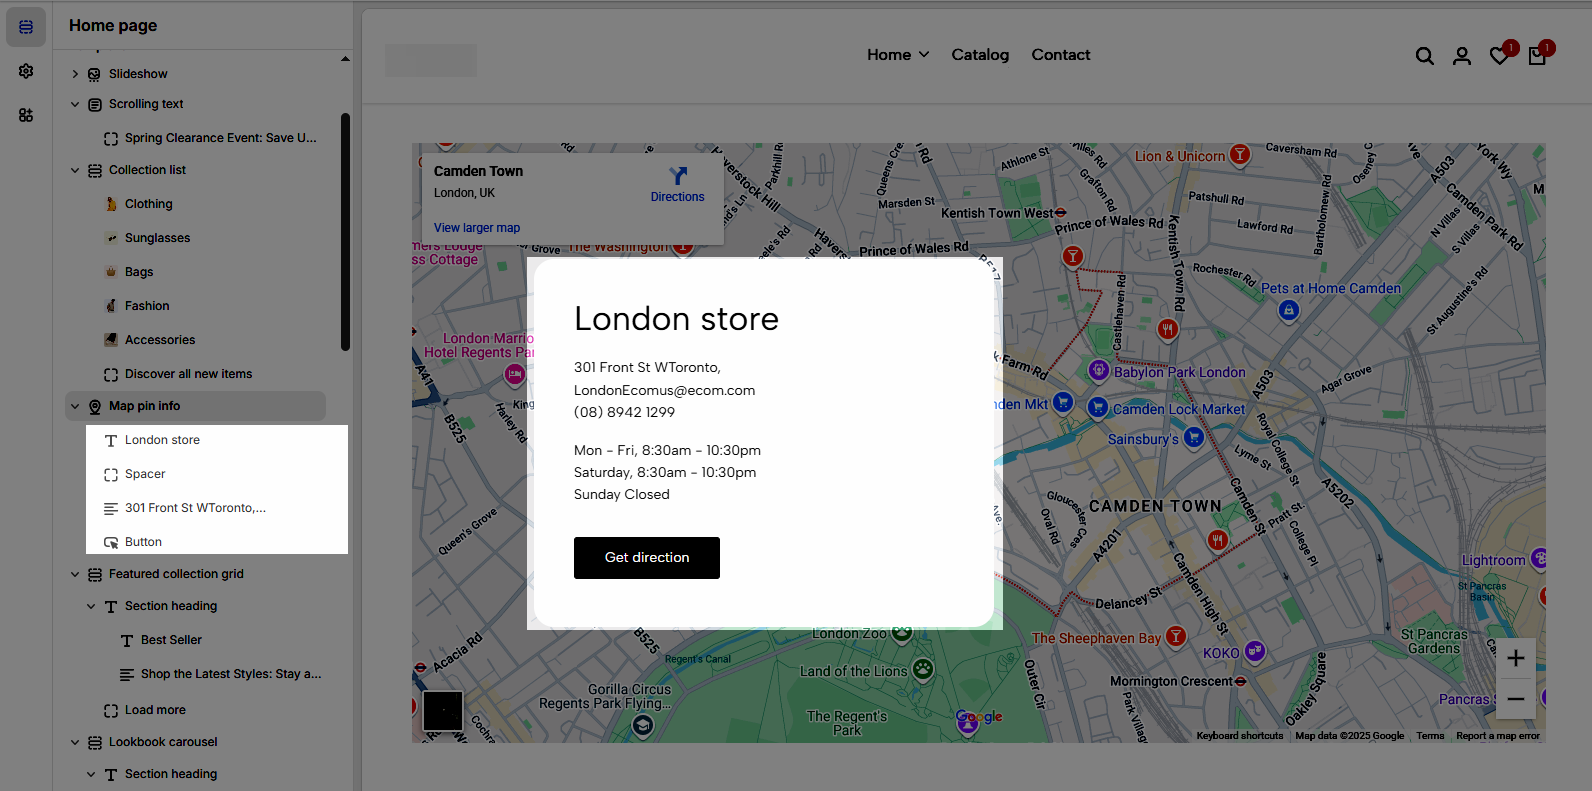
After adding the Map pin info section, you can customize its settings using the sidebar—located on the right or left side of your screen depending on your device.
3.1.1. General settings
Full width: Check this if you would like to make the section 100% screen width.
Color: This dropdown menu allows you to select a predefined color scheme for the section. Clicking the dropdown will likely reveal other color palettes that you can apply to the background, text, and other elements within this section for a consistent look.
Use map: Check this if you would like to use a source map.
Source map: Paste the code embedding from Google Maps here.
Filter grayscale source map: Change the map color to gray.
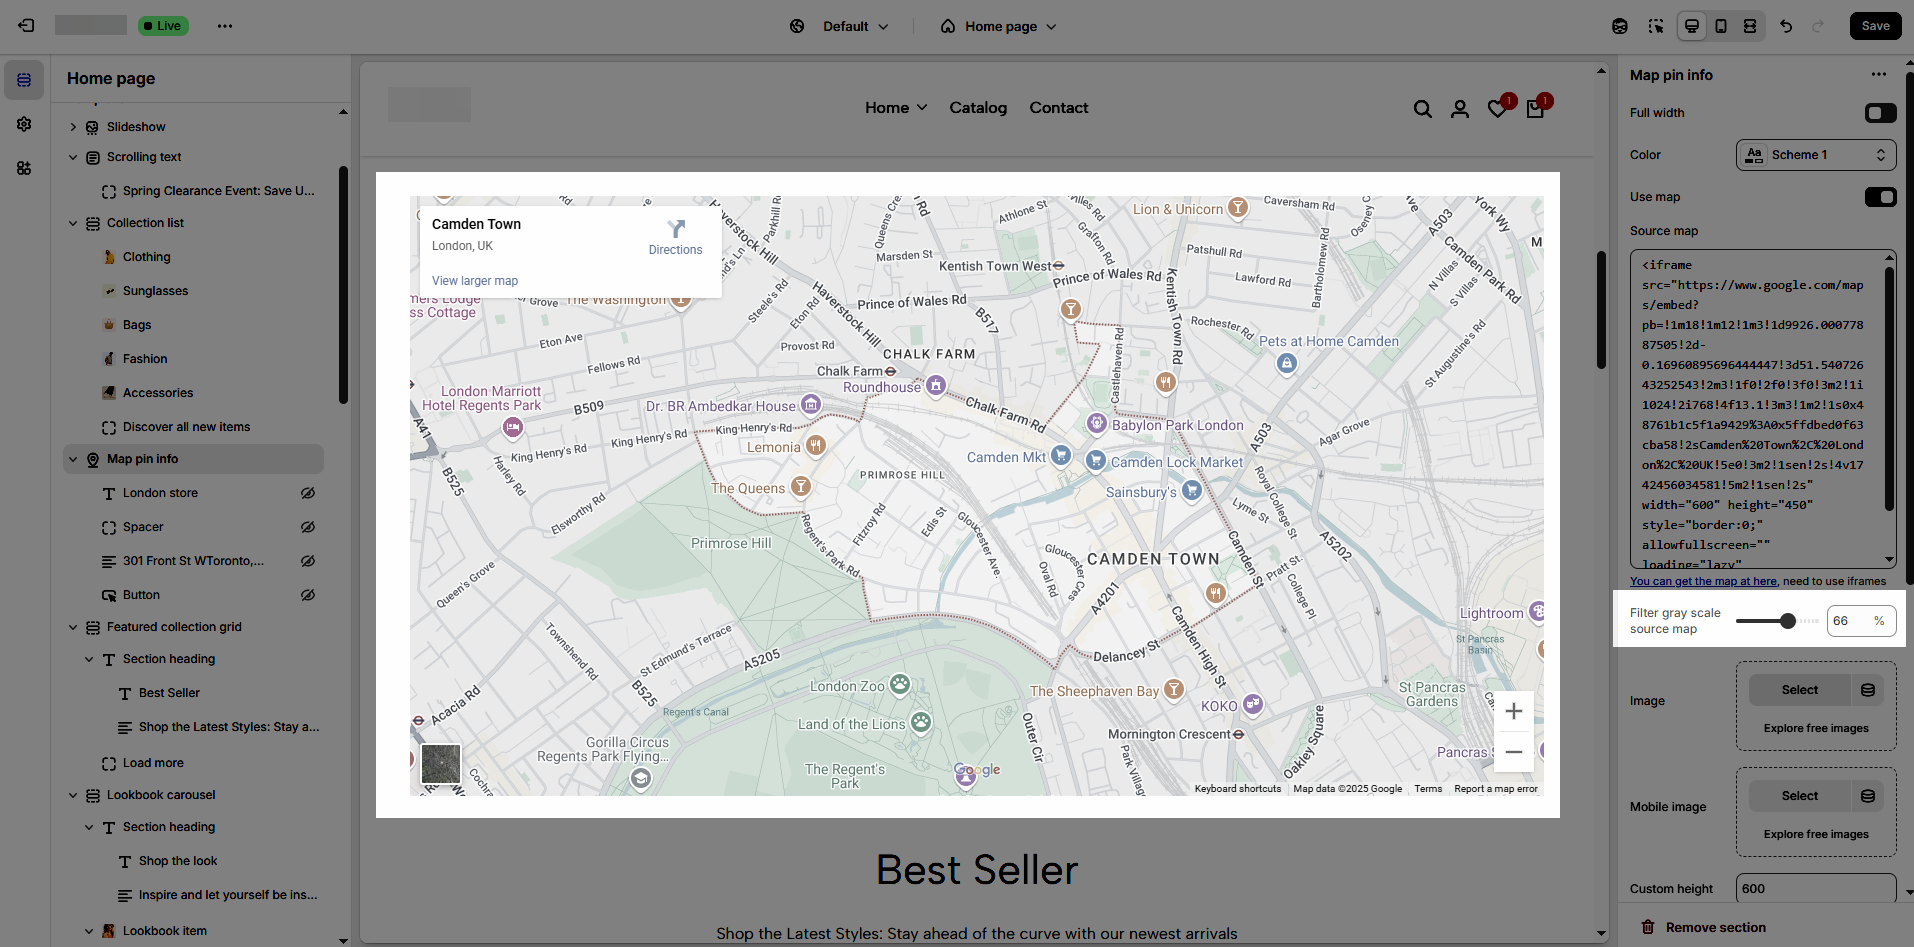
Image: To use this option instead of the source map, you need to uncheck the use map
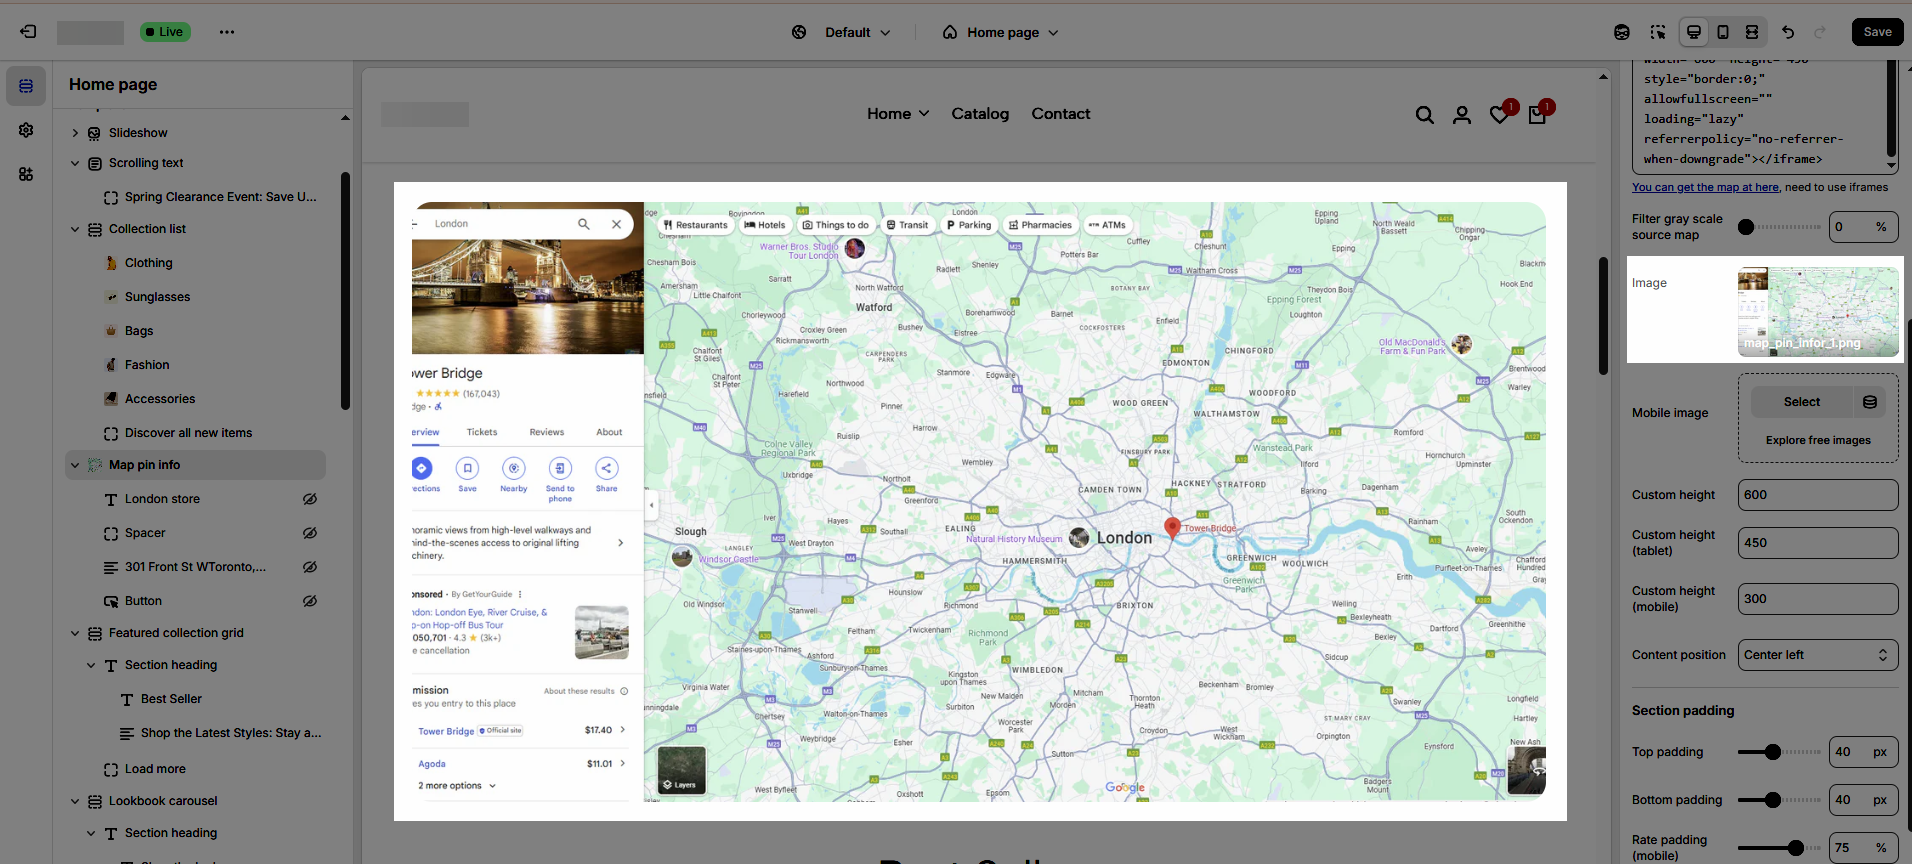
Custom height: Change the height of the map, available on desktop, tablet, and mobile.
3.1.2. Section padding
Top padding: This option allows you to set the amount of space (padding) at the top of the slider section. You can drag the slider or directly enter a numerical value to adjust this spacing
Bottom padding: This option allows you to set the amount of space (padding) at the bottom of the slider section. You can drag the slider or directly enter a numerical value to adjust this spacing
Rate padding (mobile): This option allows you to set the aspect ratio-based padding for mobile view (in percentage). For example, 75% means the height will be 75% of the width.

3.1.3. Custom section
Allows users to customize by adding CSS rules, beyond the limitations of default settings. This allows for fine-tuning the design to every detail, to suit specific needs.
Add custom styles to this section only.
To add custom styles to your entire online store, go to theme settings.
3.2. Map pin info content
3.2.1. Heading block
To add Heading block to the Map pin info, click the Add block button (plus icon ➕) under the Map pin info.
Once the Heading block is added, you can customize its settings in the right-hand sidebar:
Heading: Define the main title that represents your content or section. Make it engaging and relevant.
Hidden <br> on mobile: Remove unnecessary line breaks on mobile devices
Hidden on mobile: Choose whether to hide the heading completely on mobile devices for a streamlined display.
Choose "Custom size inline" to freely adjust the size in the Custom Size Options section.
Size: Adjust the overall heading size to fit the design aesthetics of your store.
Text Color: Customize the heading color to align with your brand identity and improve readability.
Font size (Desktop/Tablet/Mobile): Set different font sizes for each device type to ensure a responsive and visually appealing layout.
Font weight: Control the thickness of the heading text
Letter spacing (in pixel): Adjust the space between letters to enhance readability and design precision.
3.2.2. Text block
To add Text block to the Map pin info, click the Add block button (plus icon ➕) under the Map pin info.
Once the Text block is added, you can customize its settings in the right-hand sidebar:
Text (Shift + Enter to line break): Allows users to add textual content, providing information, descriptions, or explanations.
Hidden <br> on mobile: Remove unnecessary line breaks on mobile devices
Hidden on mobile: Choose whether to hide the heading completely on mobile devices for a streamlined display.
Choose "Custom size inline" to freely adjust the size in the Custom Size Options section.
Size: Adjust the overall heading size to fit the design aesthetics of your store.
Text Color: Customize the heading color to align with your brand identity and improve readability.
Font size (Desktop/Tablet/Mobile): Set different font sizes for each device type to ensure a responsive and visually appealing layout.
Font weight: Controls the thickness of the heading text
Letter spacing (in pixel): Adjust the space between letters to enhance readability and design precision.
3.2.3. Spacer block
To add Spacer block to the Map pin info, click the Add block button (plus icon ➕) under the Column block.
Once the Spacer block is added, you can customize its settings in the right-hand sidebar:
Horizontal space: Enable to adjust the horizontal space between elements, creating a balanced and easy-to-read layout
Space: Setting space between elements creates clear separation.
Tablet space: Optimizes the spacing between elements on tablet screens, ensuring content is displayed balanced and easy to interact with on medium-sized screen devices.
Mobile space: Adjusts the spacing between elements on mobile phone screens, optimizing the user experience on small screens
3.2.4. Button block
To add Button block to the Map pin info, click the Add block button (plus icon ➕) under the Column block.
Once the Button block is added, you can customize its settings in the right-hand sidebar:
The Button block allows you to create interactive call-to-action elements that guide users to specific links. Customizing the button ensures it matches your design and provides a seamless user experience. Below are the available options for customization:
Label: Defines the text displayed on the button.
Link: Specifies the destination URL when the button is clicked.
Open this link in a new tab: Opens the link in a new browser tab when enabled.
Make button full width: Expands the button to take up the full width of its container.
Style: Choose between Solid, Outline, or Link styles for different visual effects.
Size: Adjusts the button size (e.g., Extra Large, Medium, etc.).
Font weight: Controls the thickness of the button text (e.g., Normal, Bold).
Custom Size Options
Font size: Adjusts the heading size for desktop.
Tablet font size: Adjusts the heading size for tablet.
Mobile font size: Adjusts the heading size for mobile.
Font weight: Controls the thickness of the text (e.g., 600 is semi-bold).
Letter spacing: Adjusts the space between characters.
Icon
Icon: Select the icon to display on the button (e.g., arrow, plus, etc.).
Icon position: Choose whether the icon appears Before or After the button text.
Icon size: Adjust the size of the icon in pixels.
Icon spacing: Set the spacing between the icon and the text to ensure proper alignment and readability.