


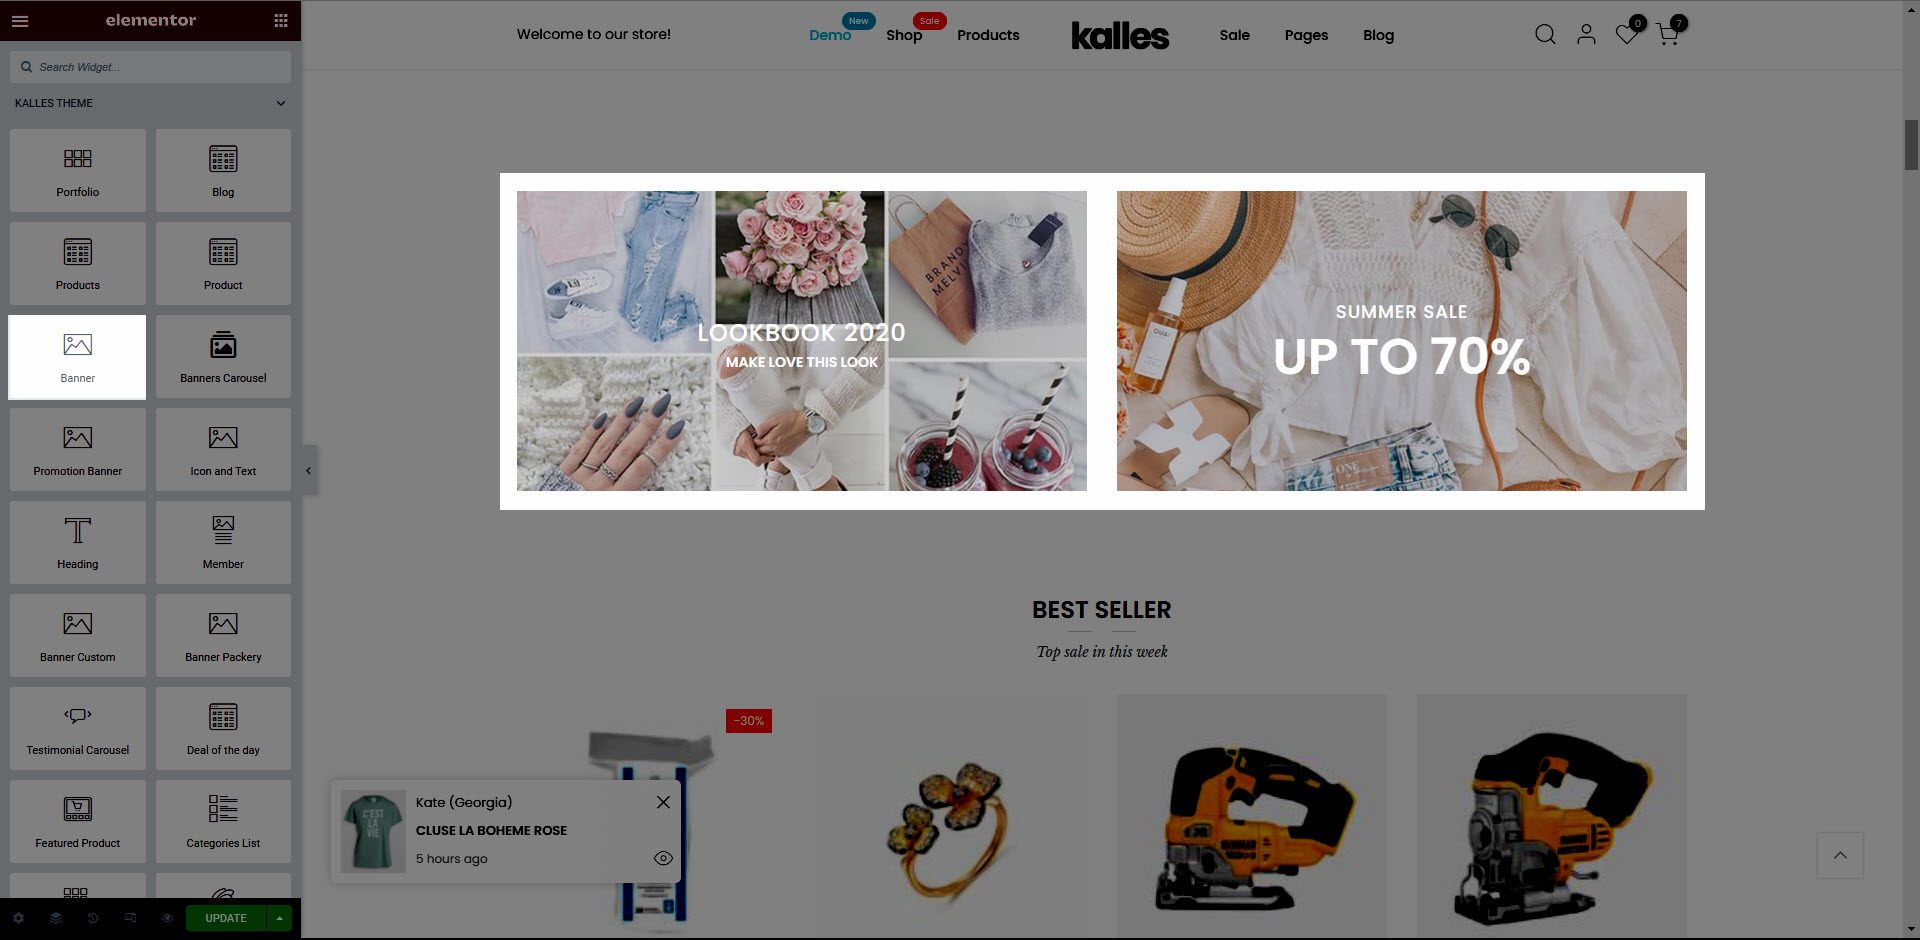
This is a single banner which allow you to config title and content in banner. By using this section, you can combine with Elementor layout to create your own banner layout.
1. Add Banner
From Dashboard > Pages > All pages > select the home page you want to add Banner carousel > Edit with elementor.
Scroll down to Kalles Theme > drag and drop the Banner into the page.
2. Configure Banner’ Content
2.1. Image
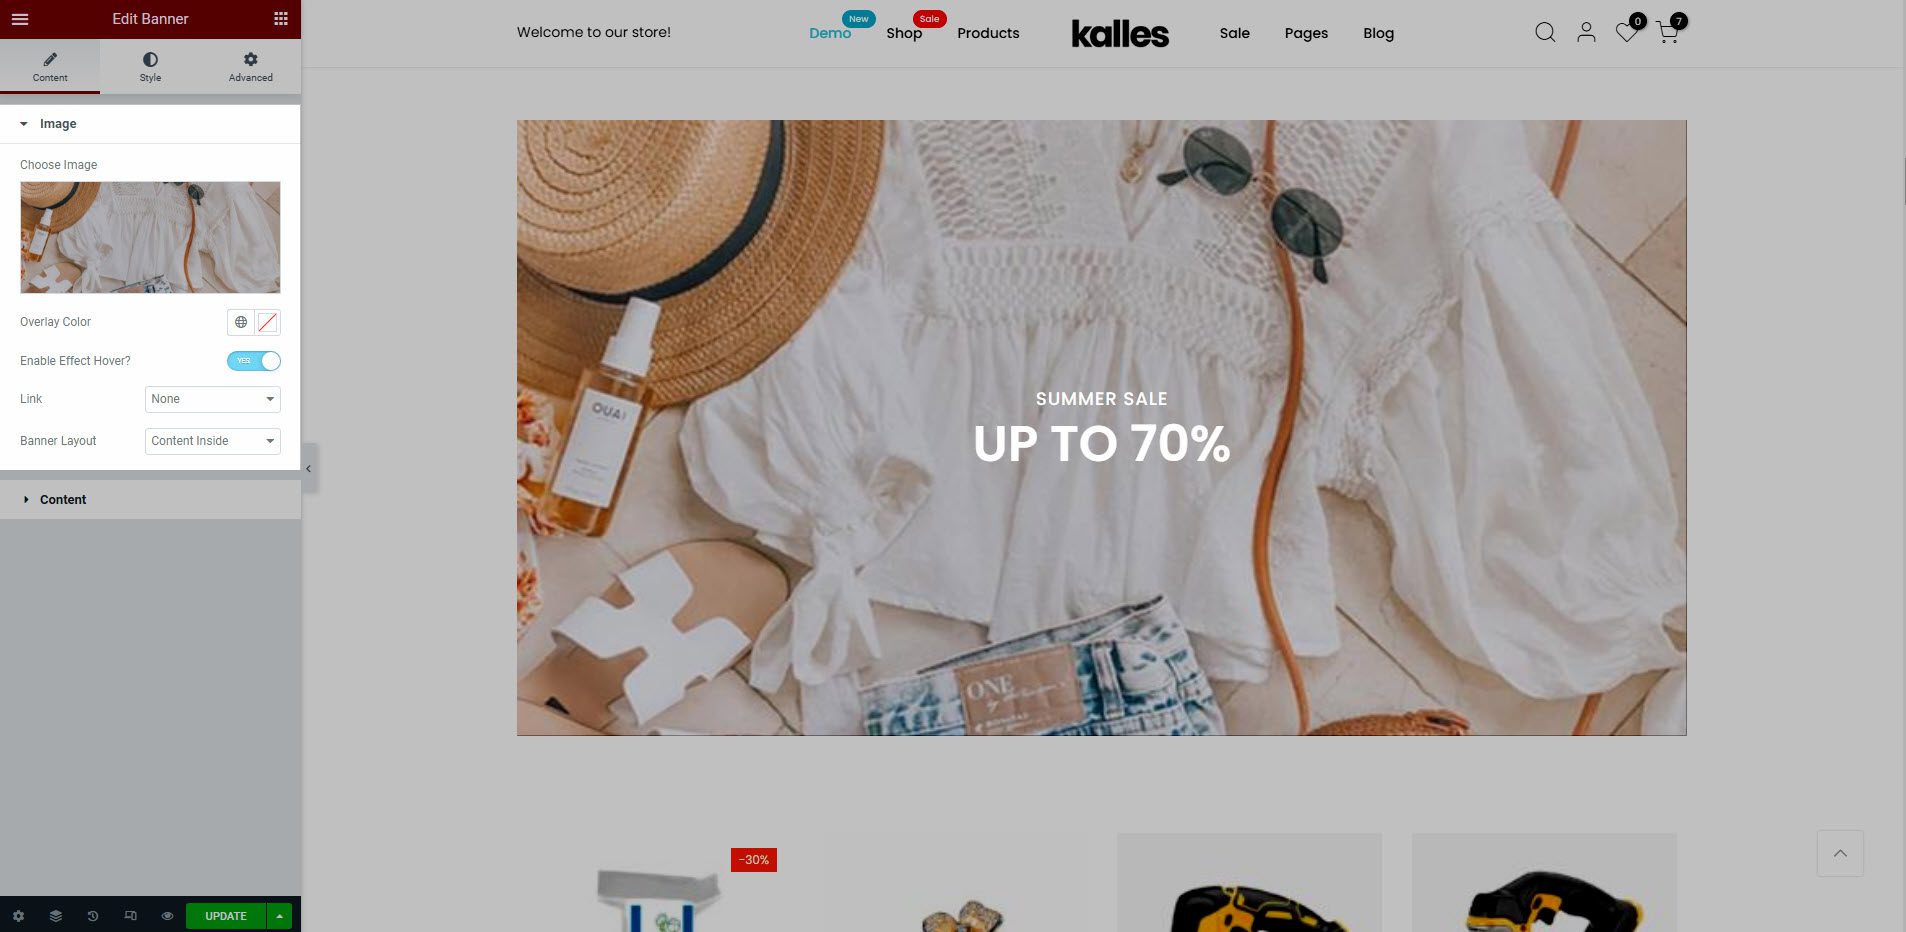
Choose image: Uploads the image that you want to show.
Overlay Color: Adds overlay background to image.
Enable Effect Hover: Allows zoom when hover to image.
Link: Allows to add link to the banner.
Banner Layout: There are 2 types. They are Content inside and Content outside.
2.2. Content

Sub title: Enter the sub title for the banner.
Title: Enter the title for the banner.
Short description: Create a brief description of the banner’s content.
Button Link, Button Link text : Choose Custom URL and paste a link here.
Enable divider: This option allows you to add divider of banner. If you enable it, you can set the icon and color for the divider.
CSS Animation: There are 5 style animation. They are Top to bottom, Bottom to top, Left to right, Right to left, Appear from center.
Extra class name: You also can add an extra class name in this option. (Style particular content element differently – add a class name and refer to it in custom CSS).
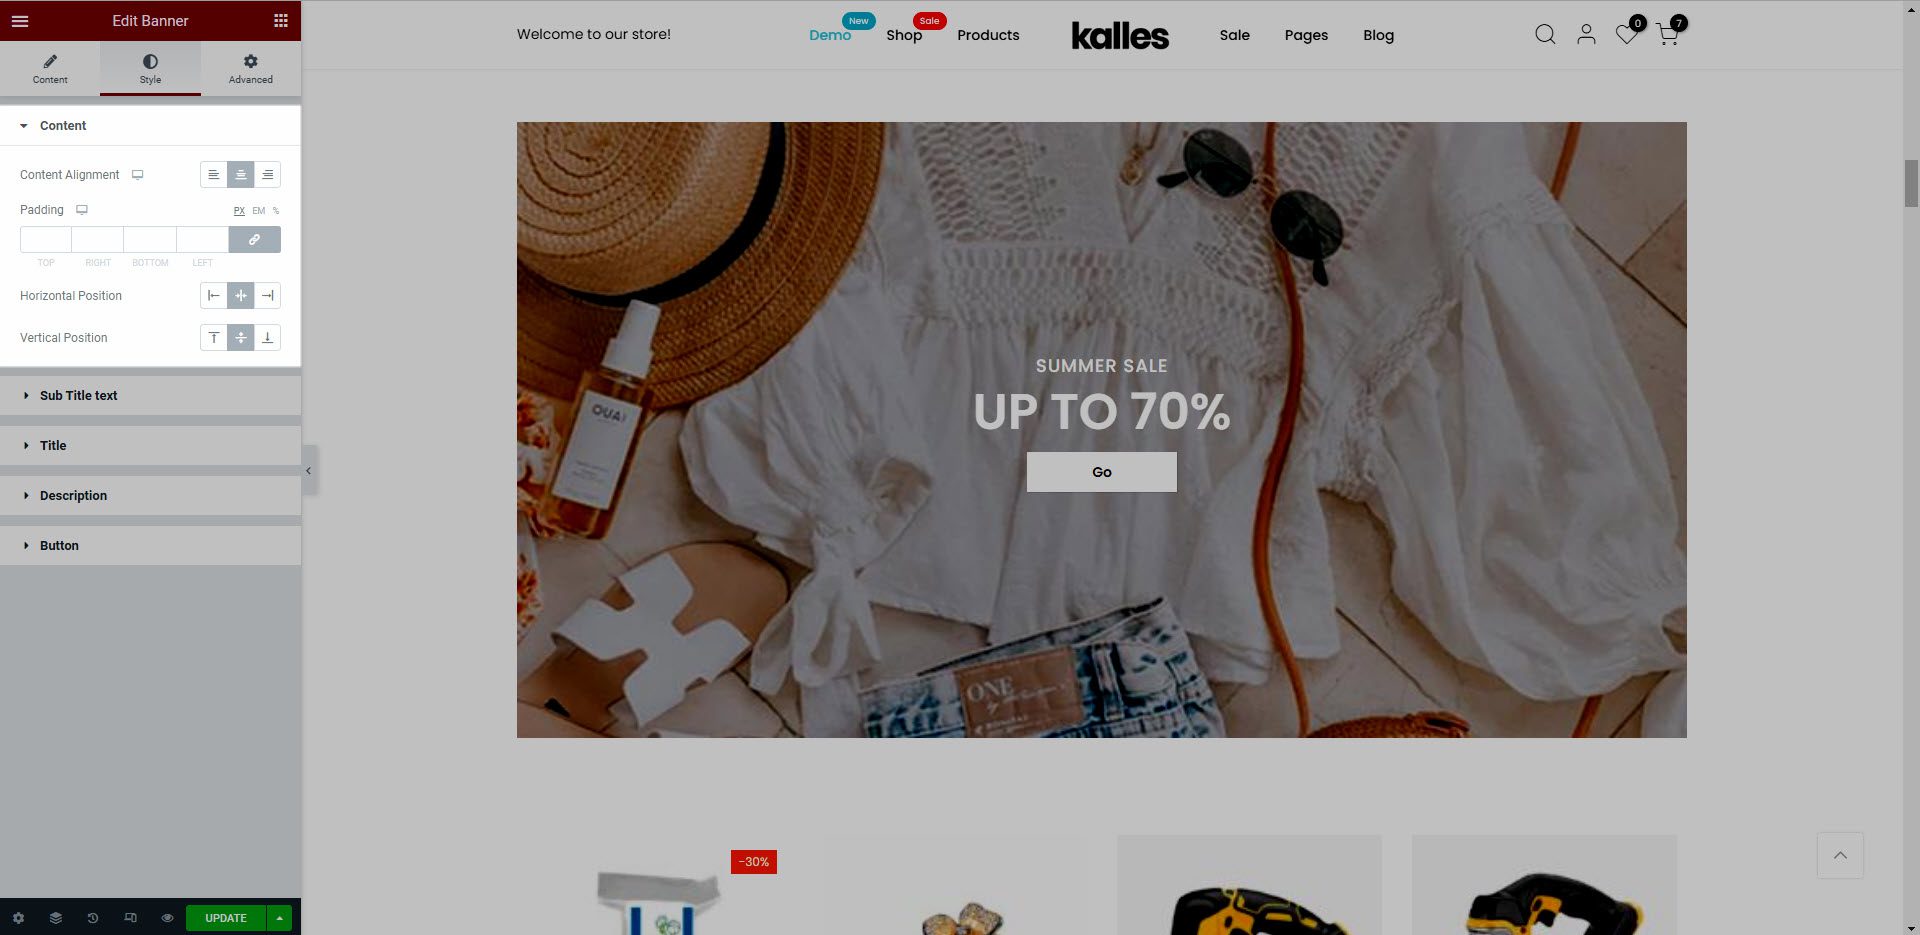
3. Configure Banner’ Style
Content: With these options, you can change the Content Alignment, Padding, Horizontal Position, Vertical Position.
Sub title text, Title, Description: With these options, you can change the Spacing, Text color, and Title typography.
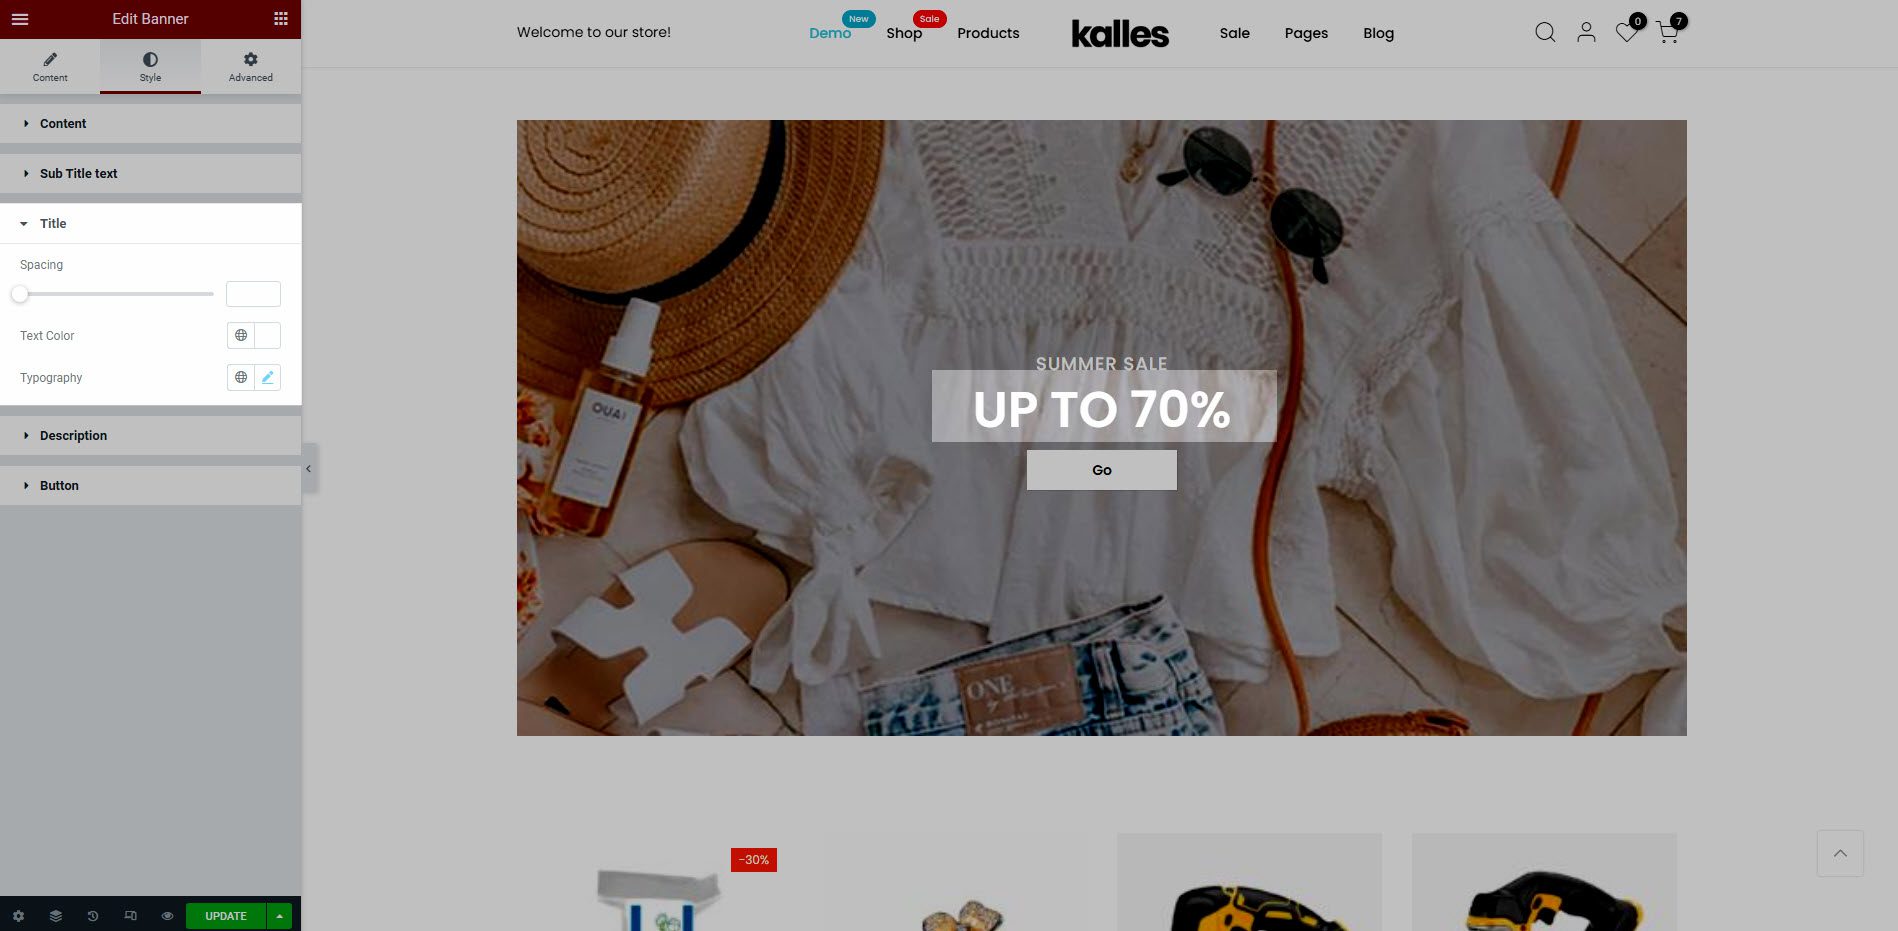
Button (only appear when you activate the Custom URL in Button Link): Design styles of button such as Button type, Text color, Border color, Background color, Border radius, Padding, and Typography.

4. How to use this section?
As you see, this section only allows you to add a single image with content inside, so how does it apply on your website?
You can use a layout from Elementor to create your own banner layout, for example. I want to create 3 banner blocks, so I will add a new row with 3 columns, and in each column you will add a single banner section.
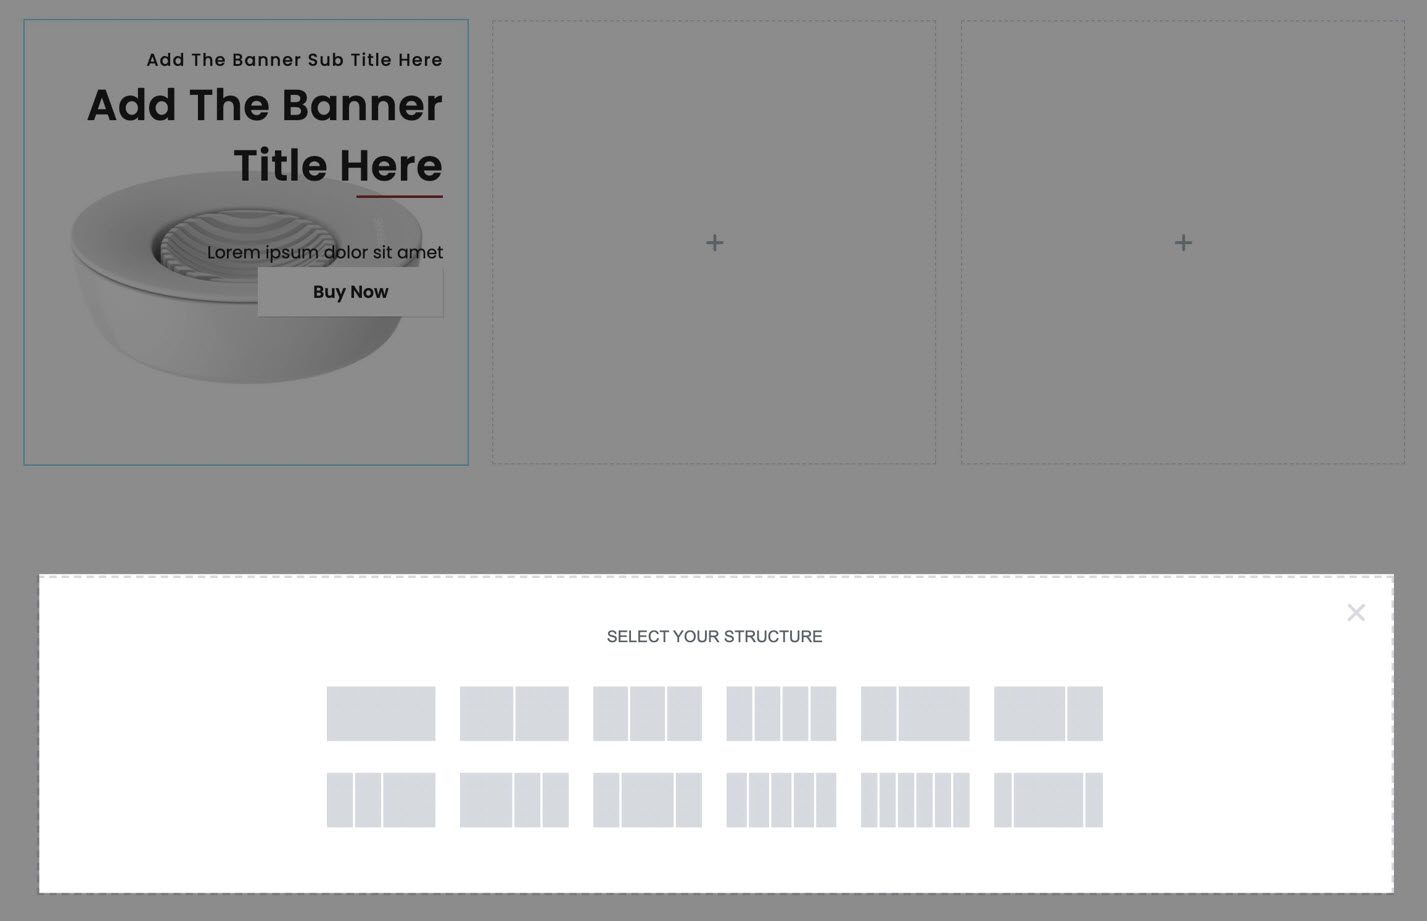
You can see an example from our theme by using it


