


If you want to display a lot of collections in your store, Category List section will help you with this.
1. Add Categories List
From Dashboard > Pages > All pages > select the home page you want to add Categories List > Edit with elementor.
Scroll down to Kalles Theme > drag and drop the Categories List into the page.

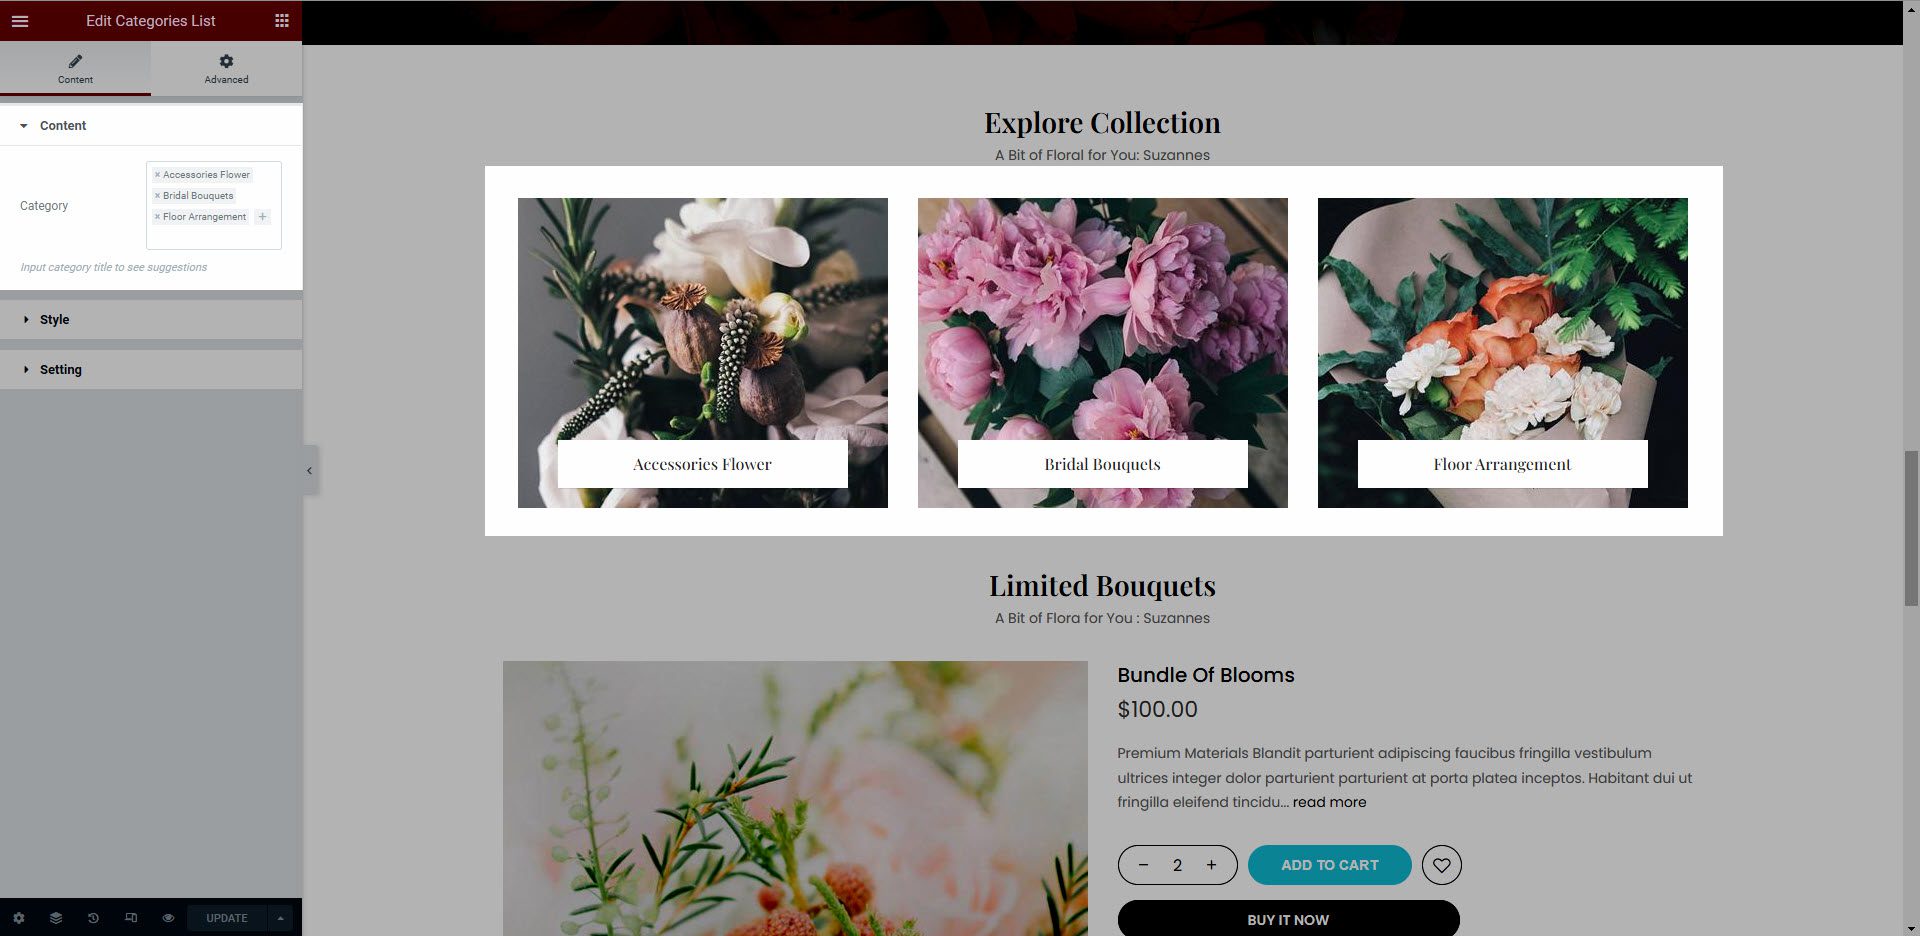
2. Configure Categories List’ Content
Categories: It allows you to select categories. If the category has featured images, the images will be displayed here.
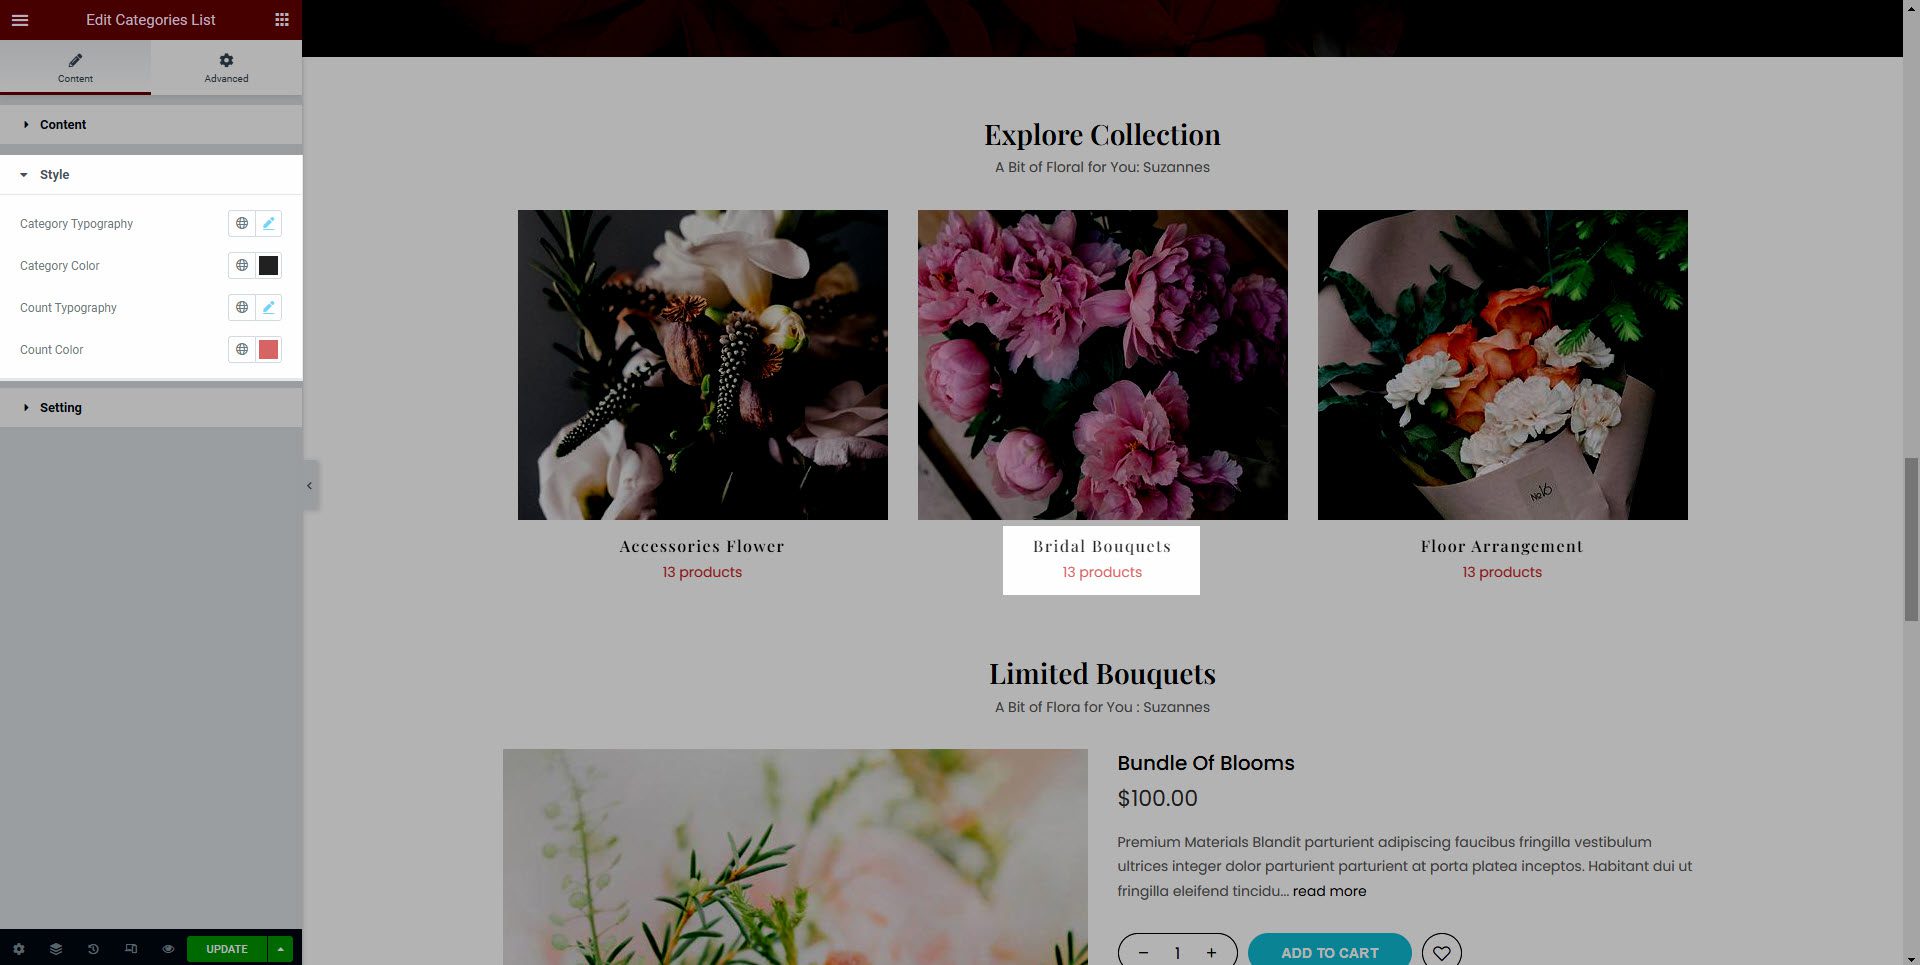
3. Configure Categories List’ Style
You can design typography and change color for Categories & Count.
4. Configure Categories List’ Settings
Layout style: There are 7 styles.
List categories style: There are 3 styles. They are Grid, Masonry, Carousel.
Column: There are 5 types. You can choose 2 columns, 3 columns, 4 columns, 5 columns or 6 columns.
CSS Animation: There are 5 styles animations. They are Top to bottom, Bottom to top, Left to right, Right to left, Appear from center.
Extra class name: You also can add an extra class name in this option. (Style particular content element differently – add a class name and refer to it in custom CSS).


