MailChimp allows customers to subscribe by email. After customers subscribe successfully, it will send the customer’s email information to the email system of the website administrator. Store owners can store emails and use them for marketing purposes.
1. How to create a MailChimp form?
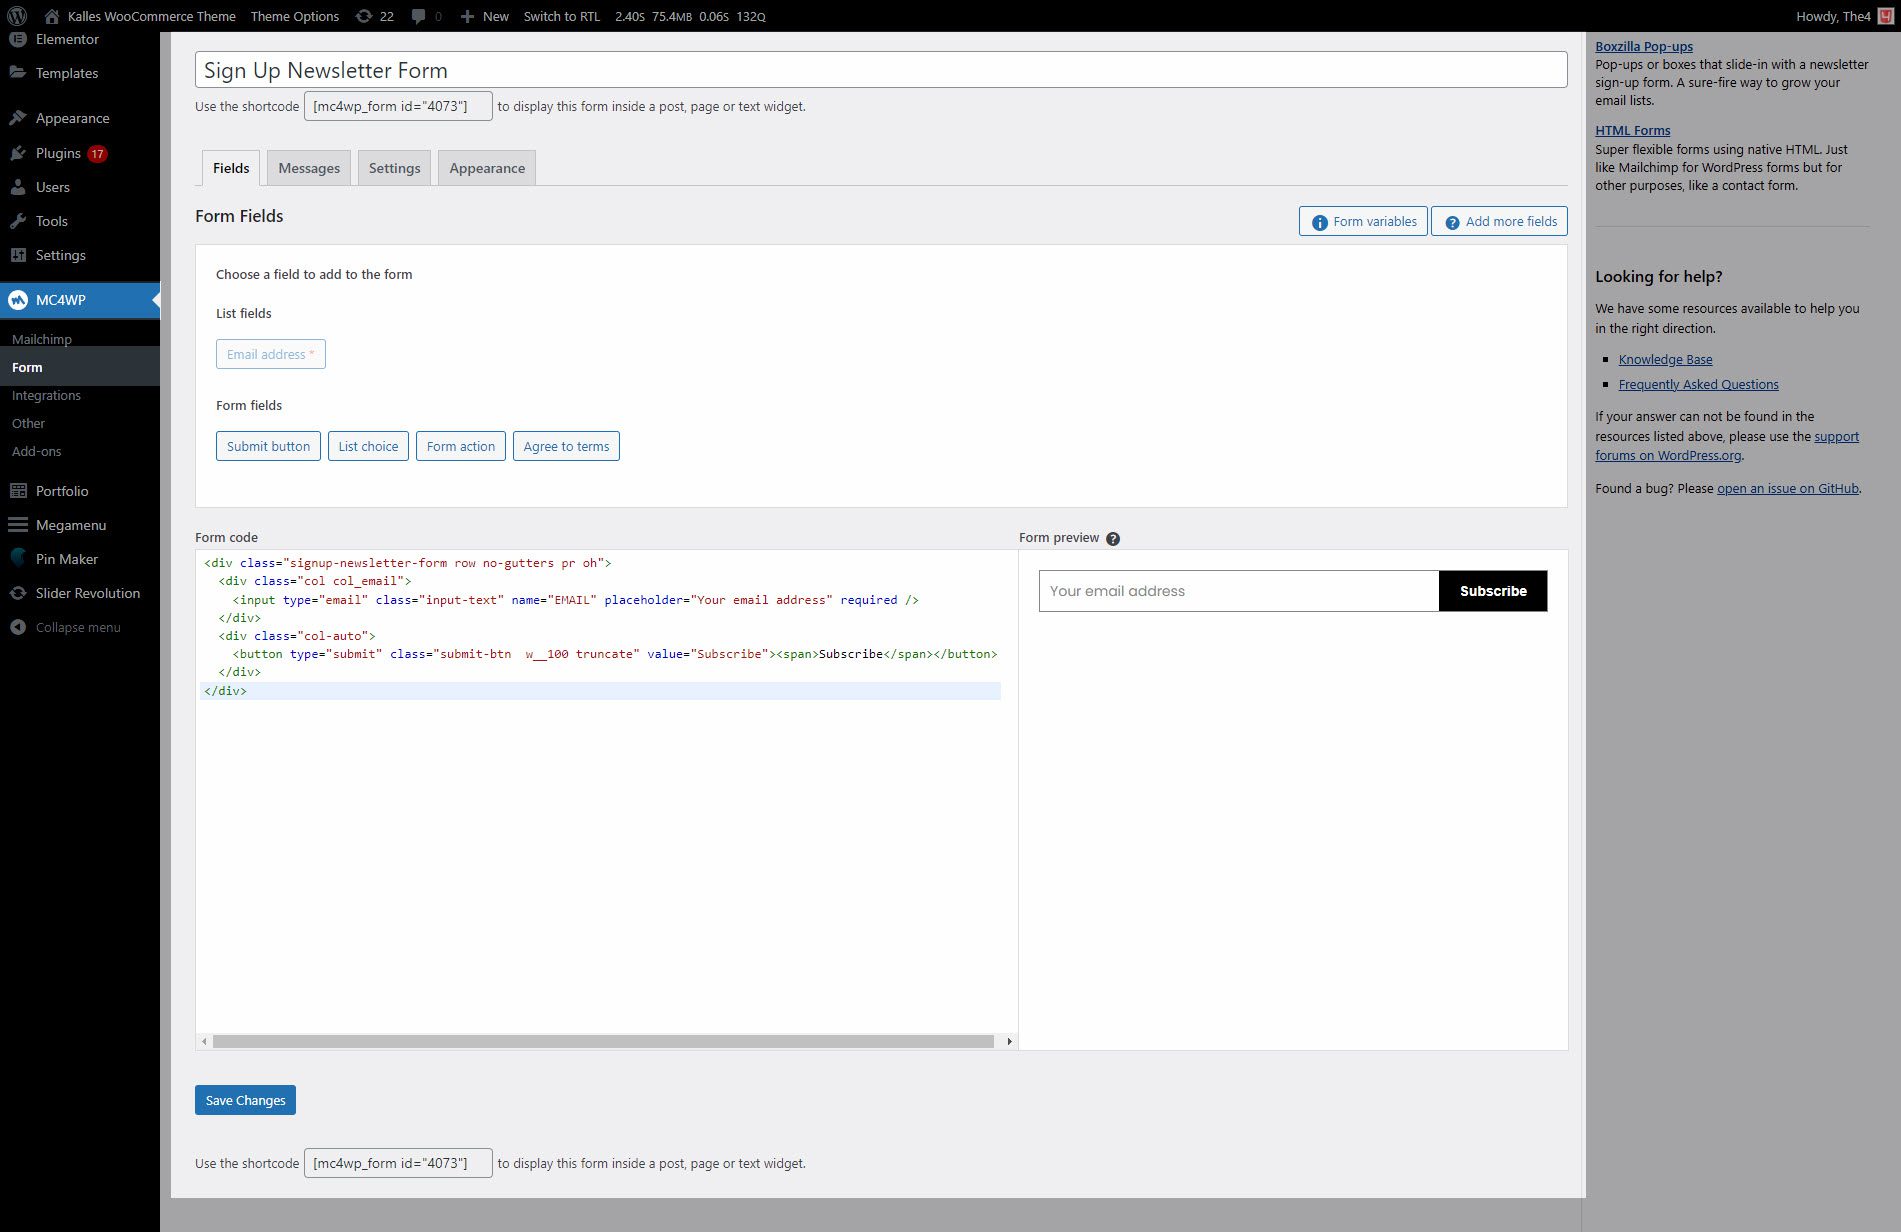
From Dashboard > MC4WP > Form > Add the HTML code that you want to use for MailChimp to the Form code.
2. Add MailChimp
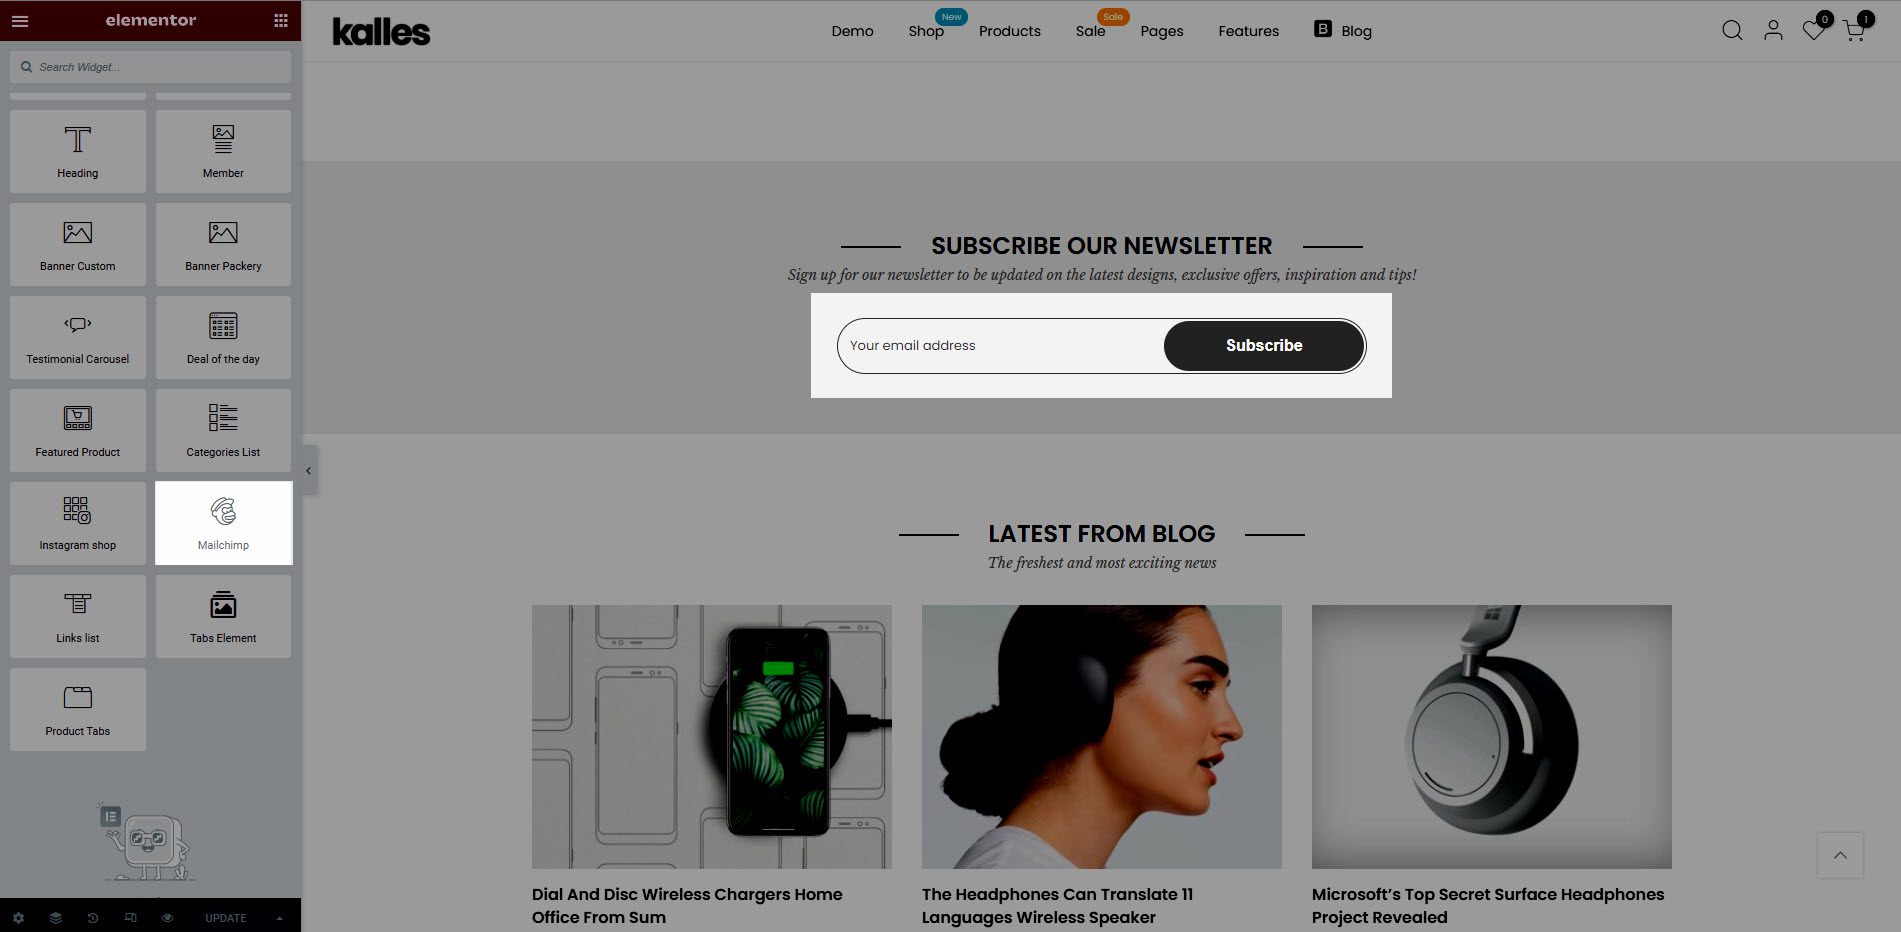
From Dashboard > Pages > All pages > select the home page you want to add MailChimp > Edit with elementor.
Scroll down to Kalles Theme > drag and drop the MailChimp into the page.
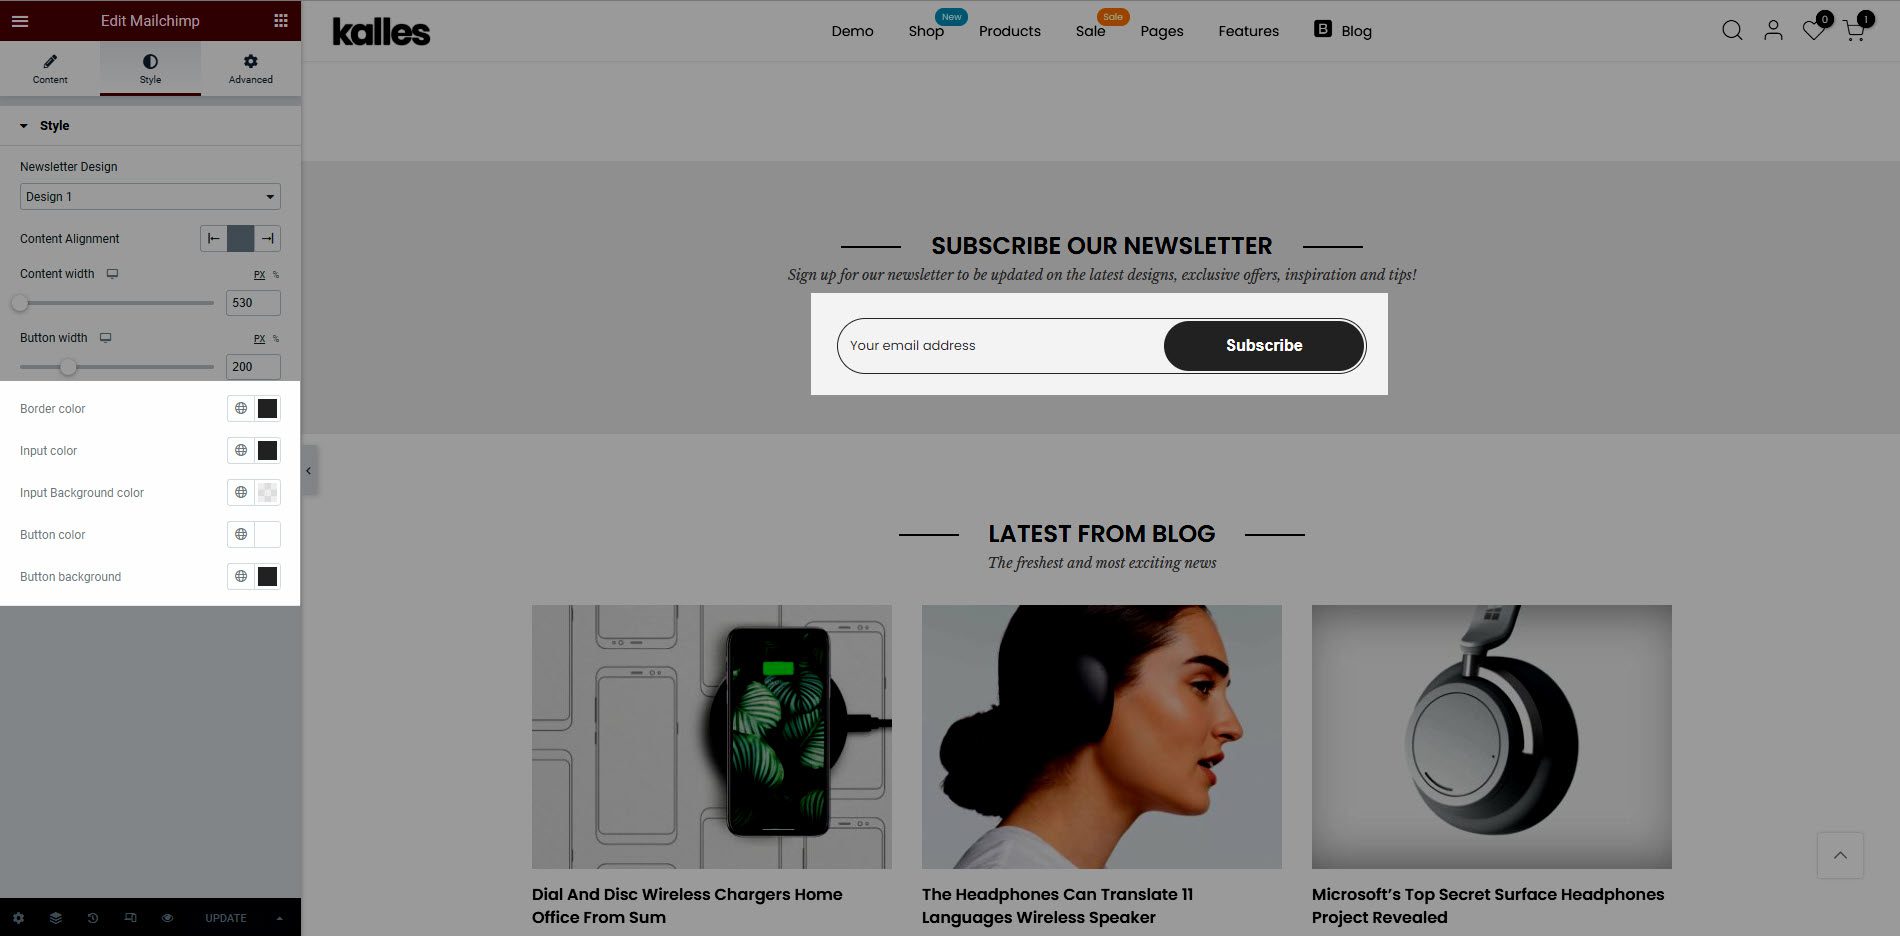
3. Configure MailChimp’ Content
Select MailChimp form: Select the form that you created on MC4WP > Form

4. Configure MailChimp’ Content
Newsletter Design: There are 6 designs.
Content Alignment: Align MailChimp to left, center or right.
Width: Set the width of content, button. It allows to set different width for each device.
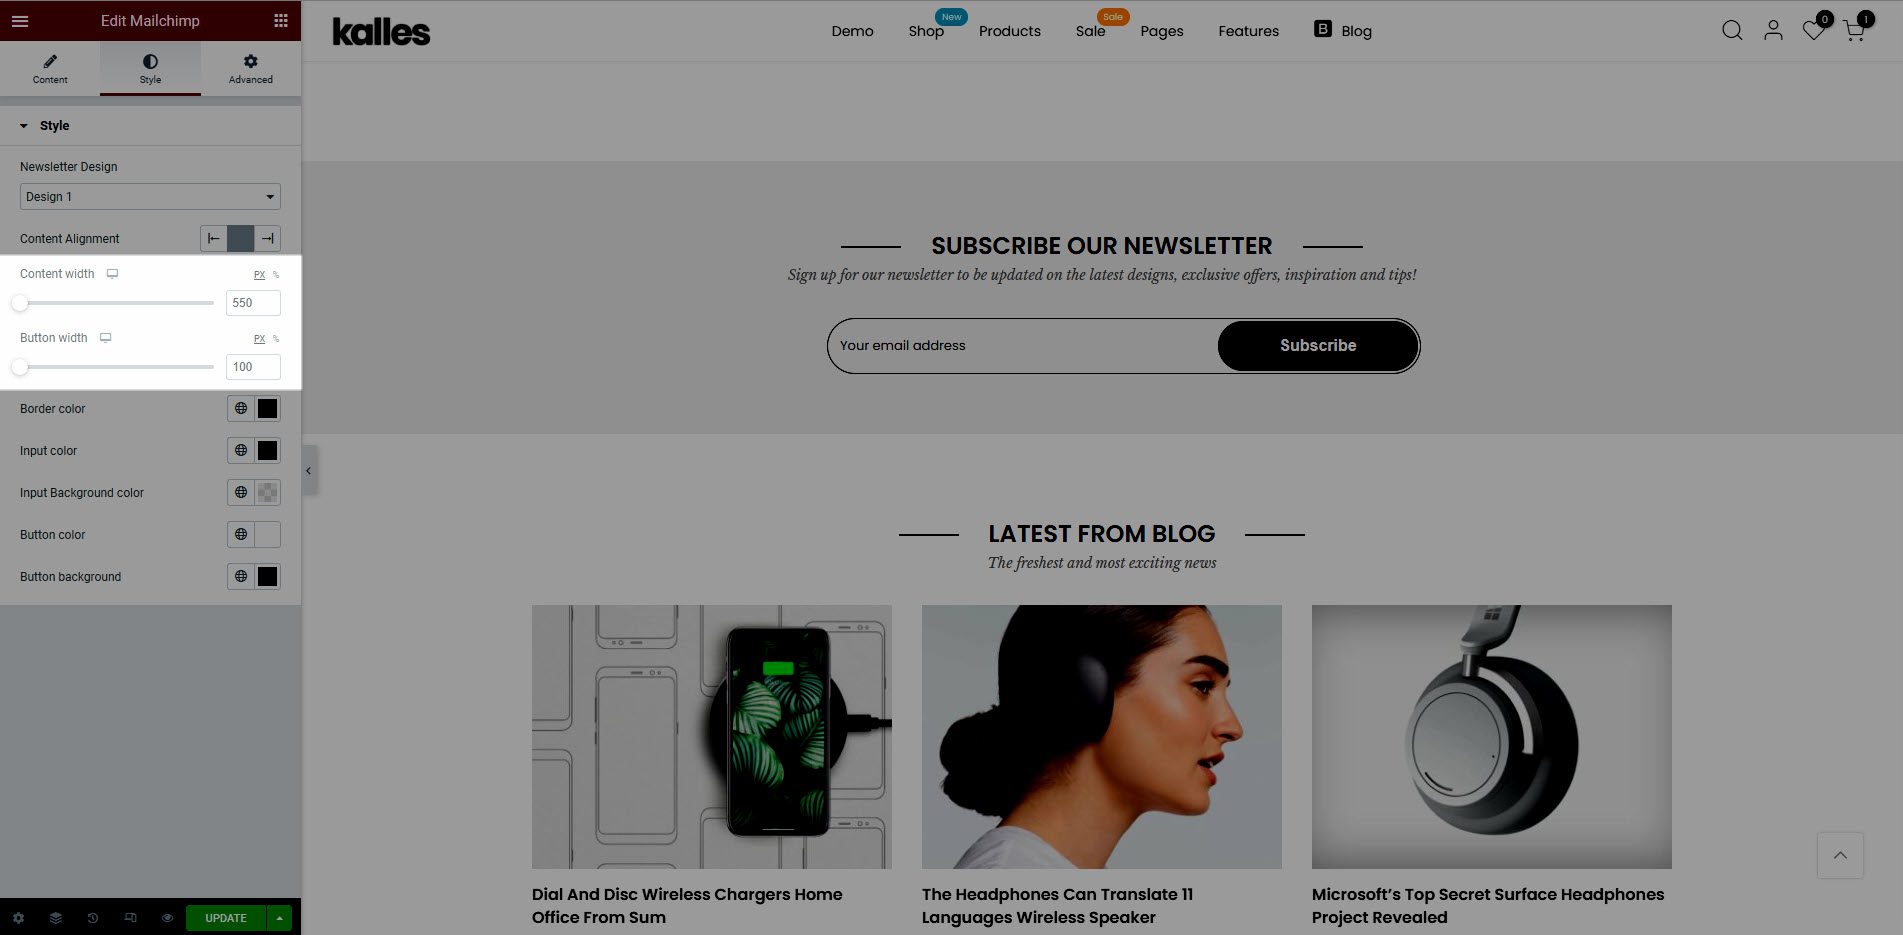
Color: You can change color & background color for Border, Input, Button.
5. How to Use MailChimp?
Step 1: From dashboard > MC4WP > Mailchimp.
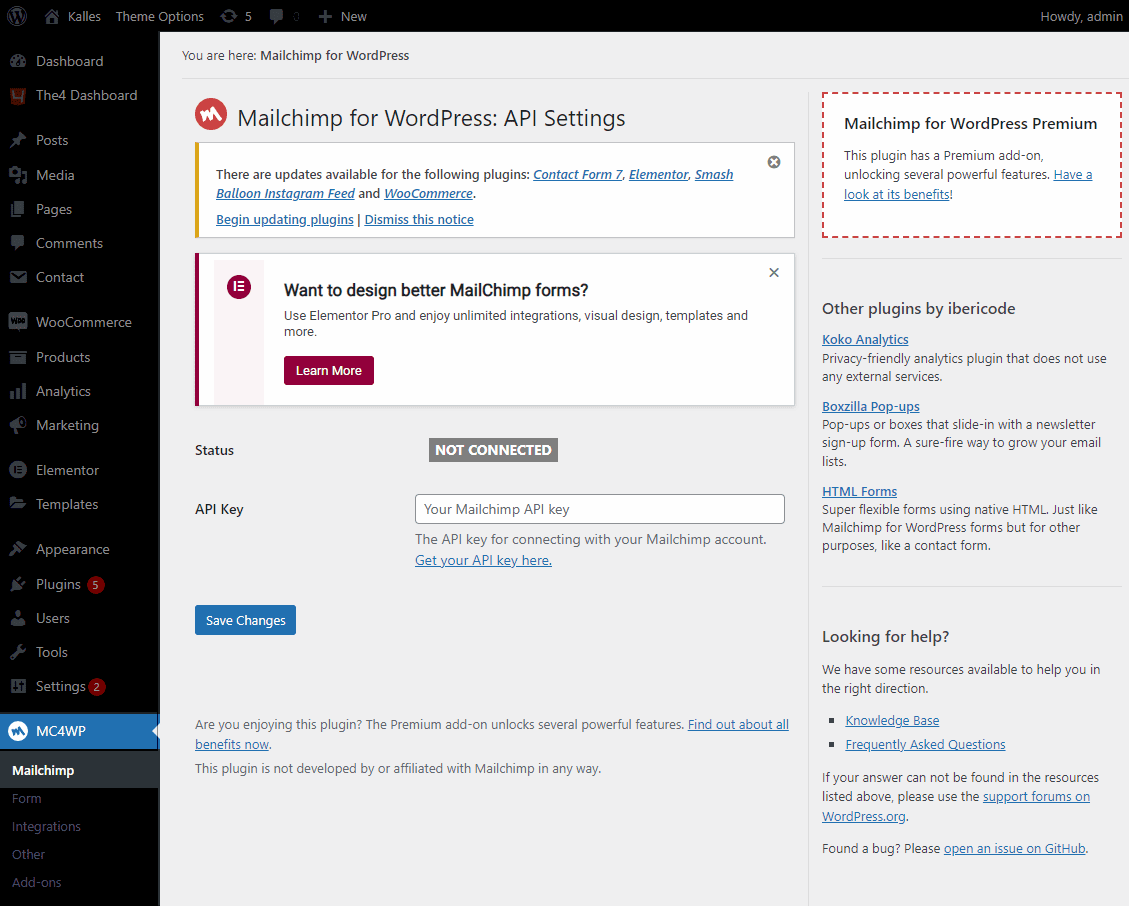
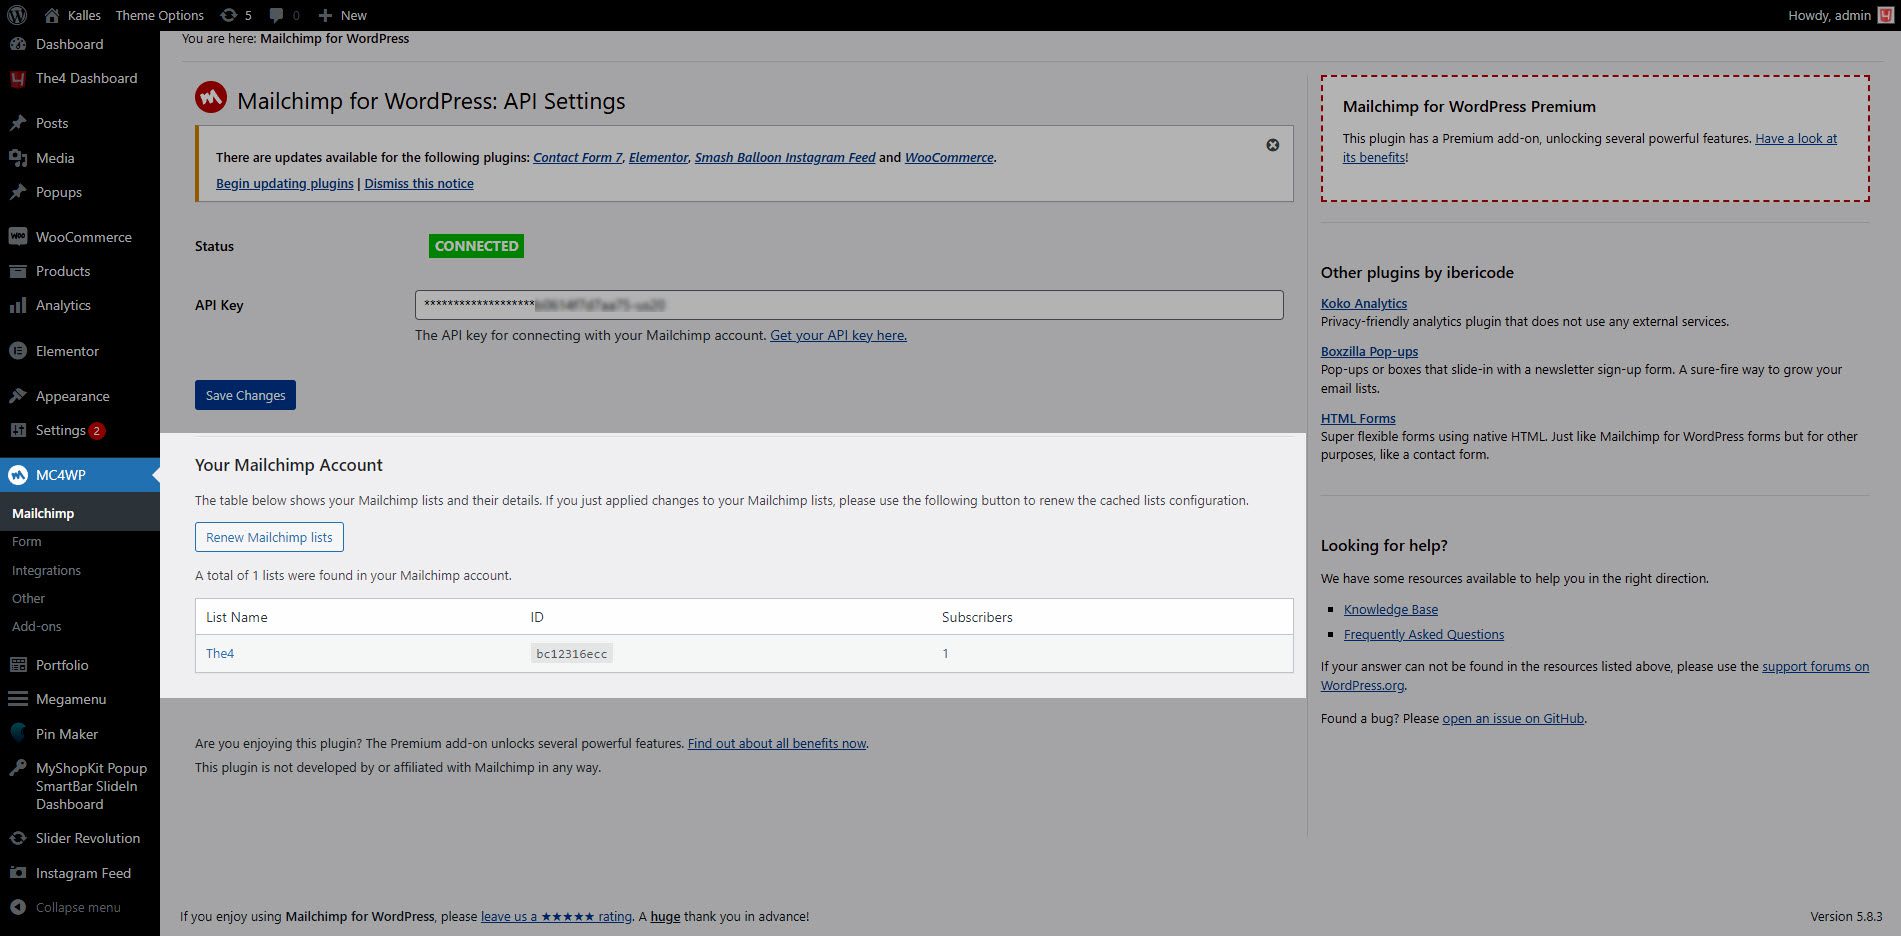
Step 2: You can go link to create an MailChimp account. Then, you have to get the API key to connect with your Mailchimp account. Please watch the video below to get your API key:
Step 3: From MC4WP > Mailchimp > Your MailChimp account. You will see it as the same image below if your API key is true.
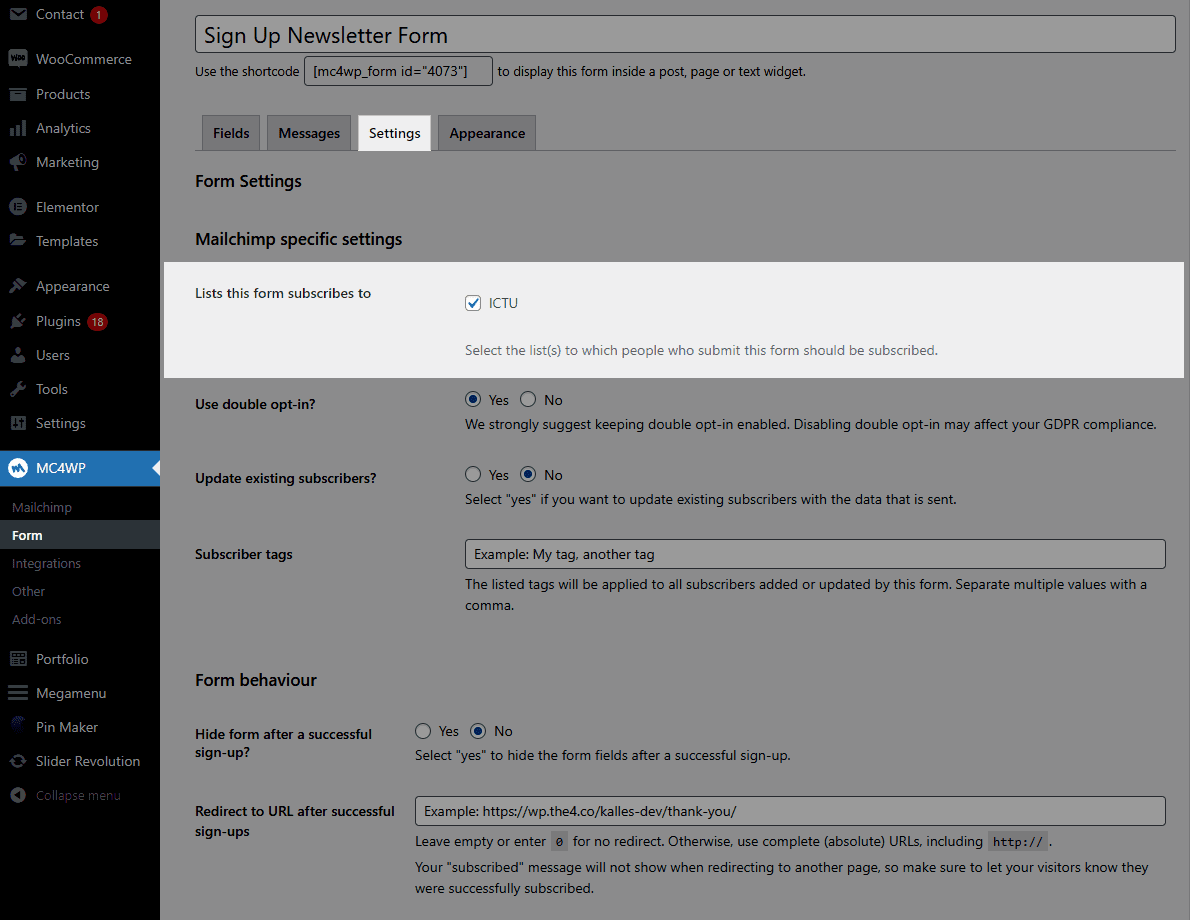
Step 4: After you get your Mailchimp API key, from MC4WP > Form > Settings >Lists this form subscribes to. Select the list (s) to which people who submit this form should be subscribed
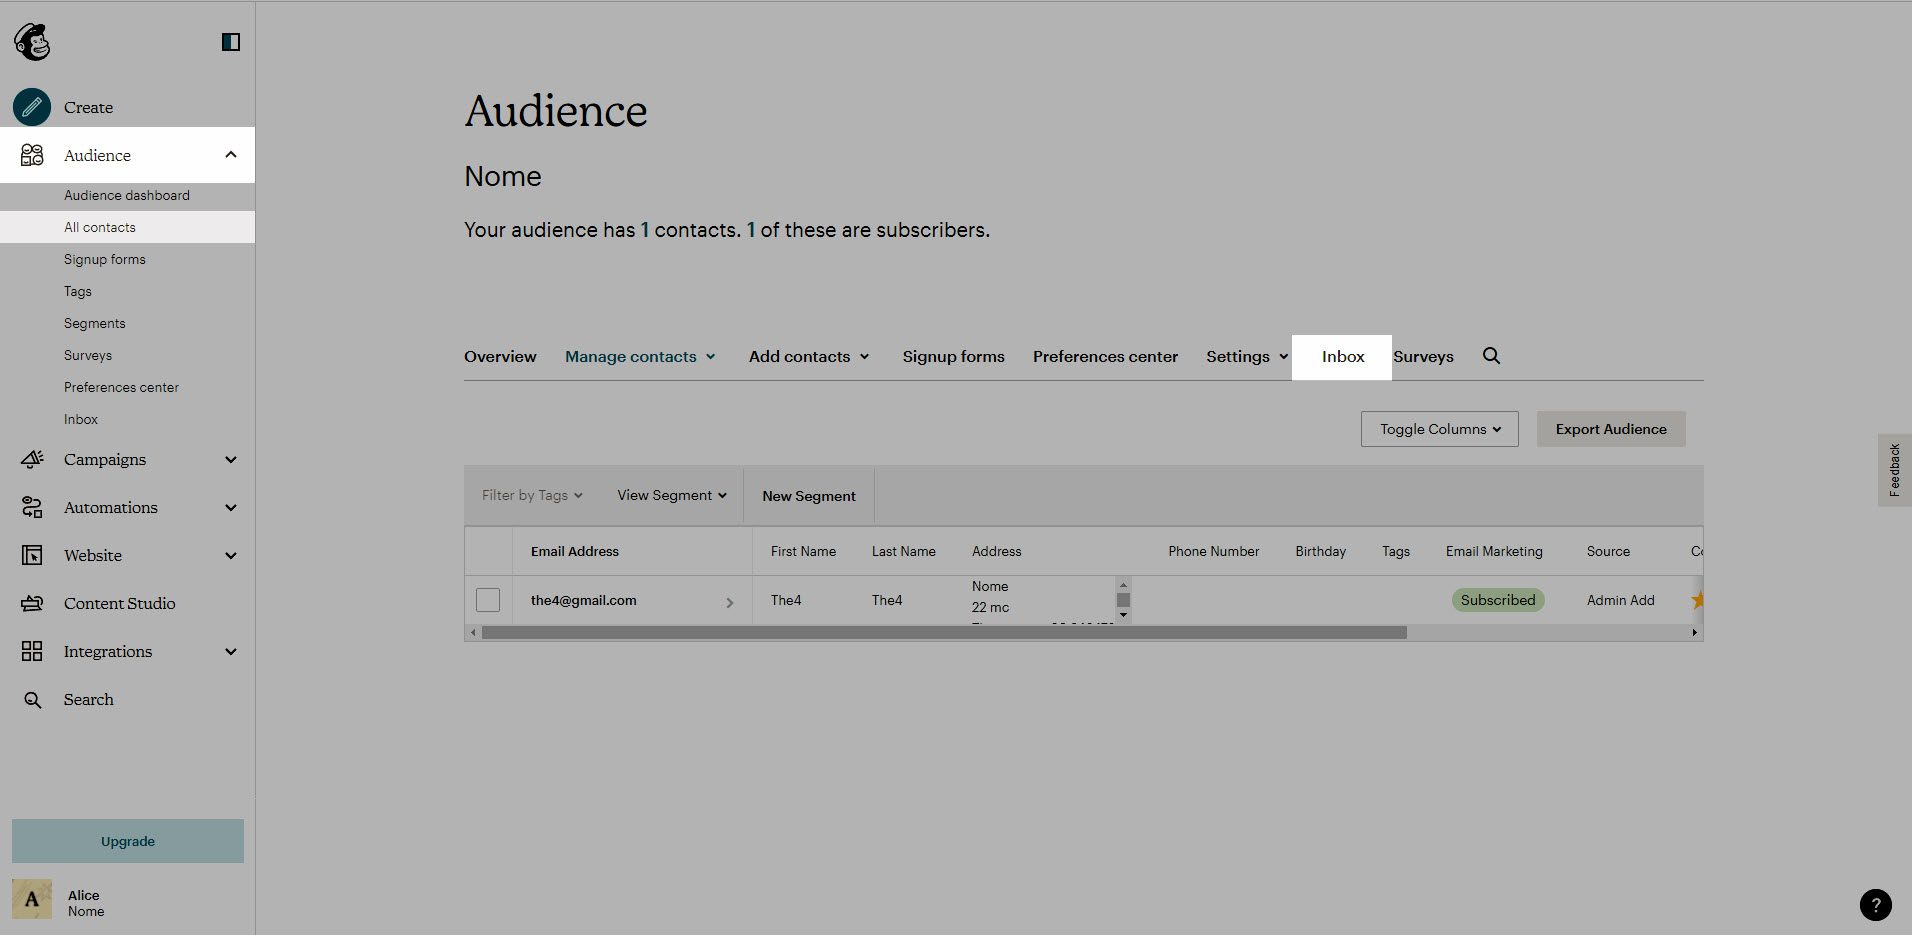
Step 5: After customers input their emails into the MailChimp element, you can get the customers emails into the MailChimp section, and contact them through these emails by signing up for MailChimp > Audience > All contacts > Inbox.
You can contact MailChimp support to understand for details.
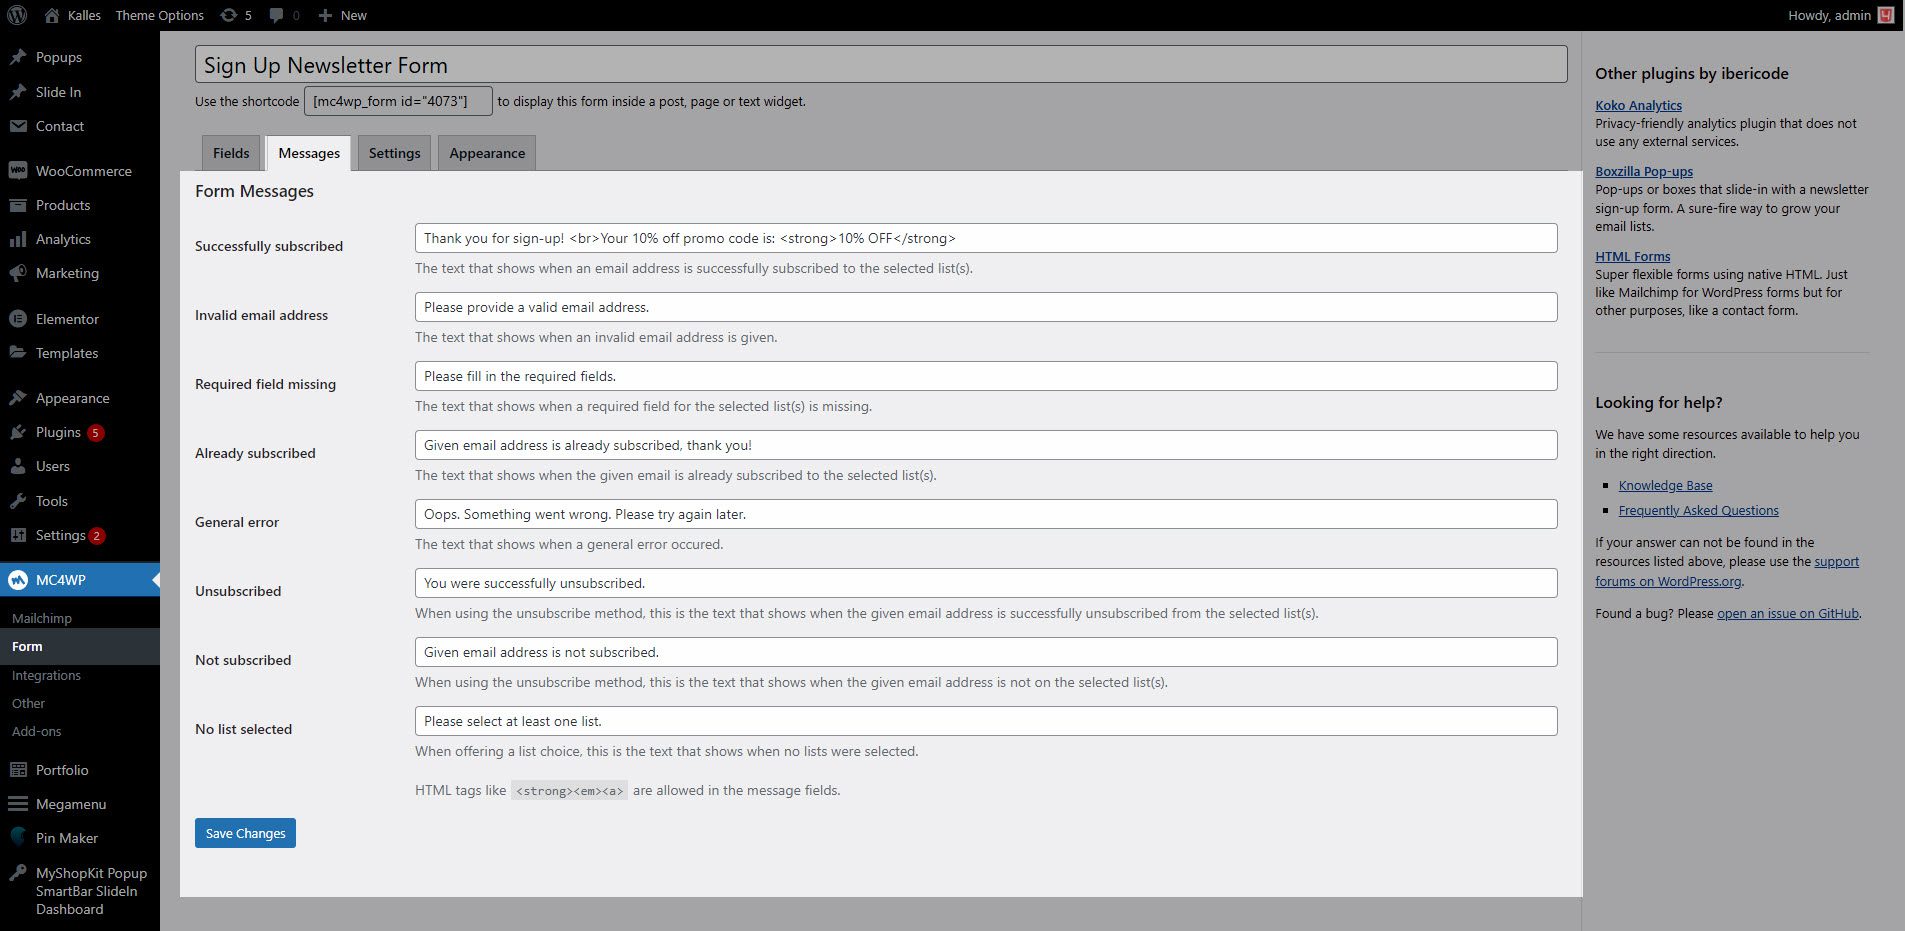
Note: You can edit messages by going to MC4WP > Form > Click on the Messages tab.