1. Config Social Network
Linking your store from different platforms will be easier if you add social networks. This will increase the productivity of brand promotion and increase the ability to reach customers. It can be shown on Header, Footer Top, and Product Page.
Header: Social Network is placed on the Top bar of the Header. Note: There are only some specific Layouts that can display Social Network.

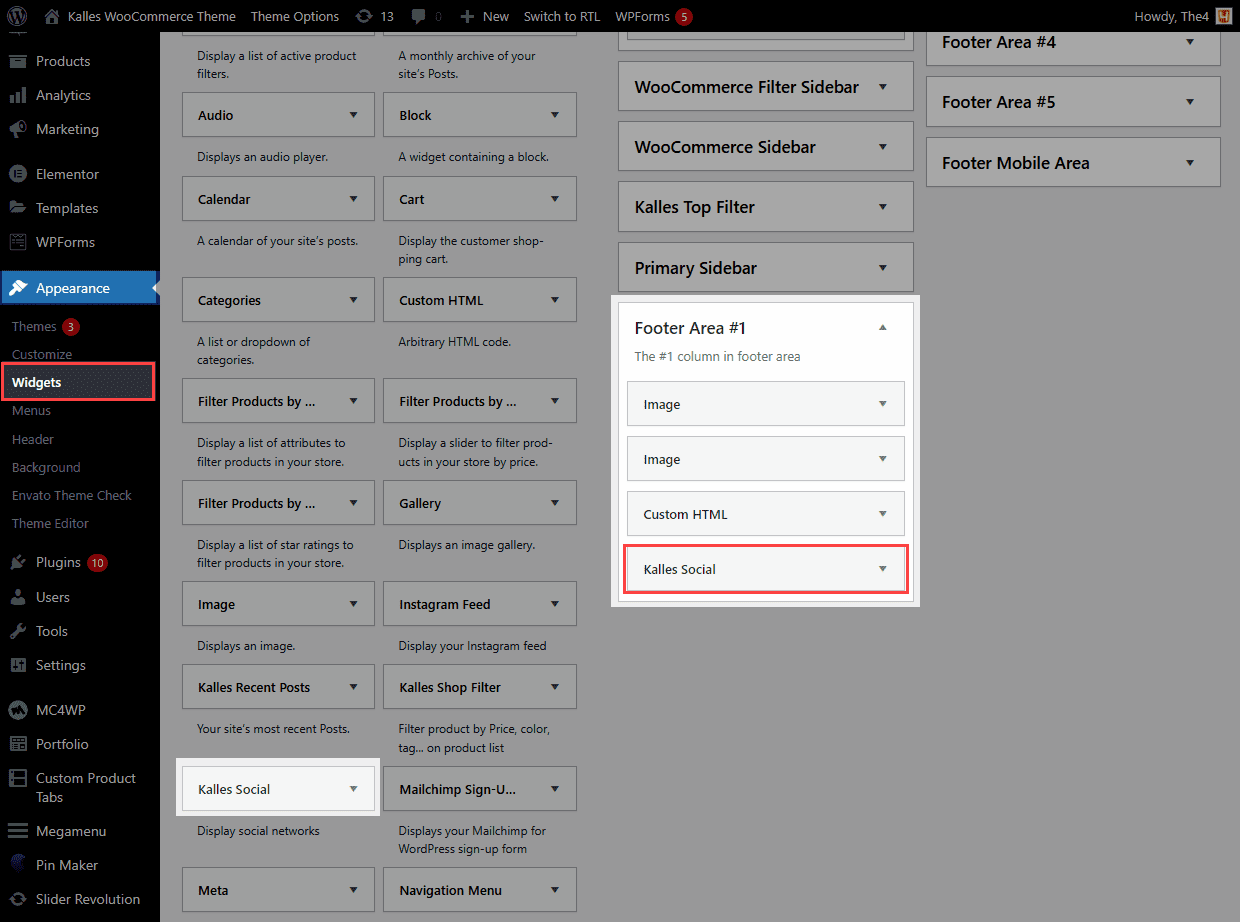
Footer Top: To show Social Network on Footer, from Sidebar > Appearance > Widgets. Then, you can see in Footer Area #1 if it already has Kalles Social. If it doesn’t have, put the Kalles Social into the Footer Area #1.
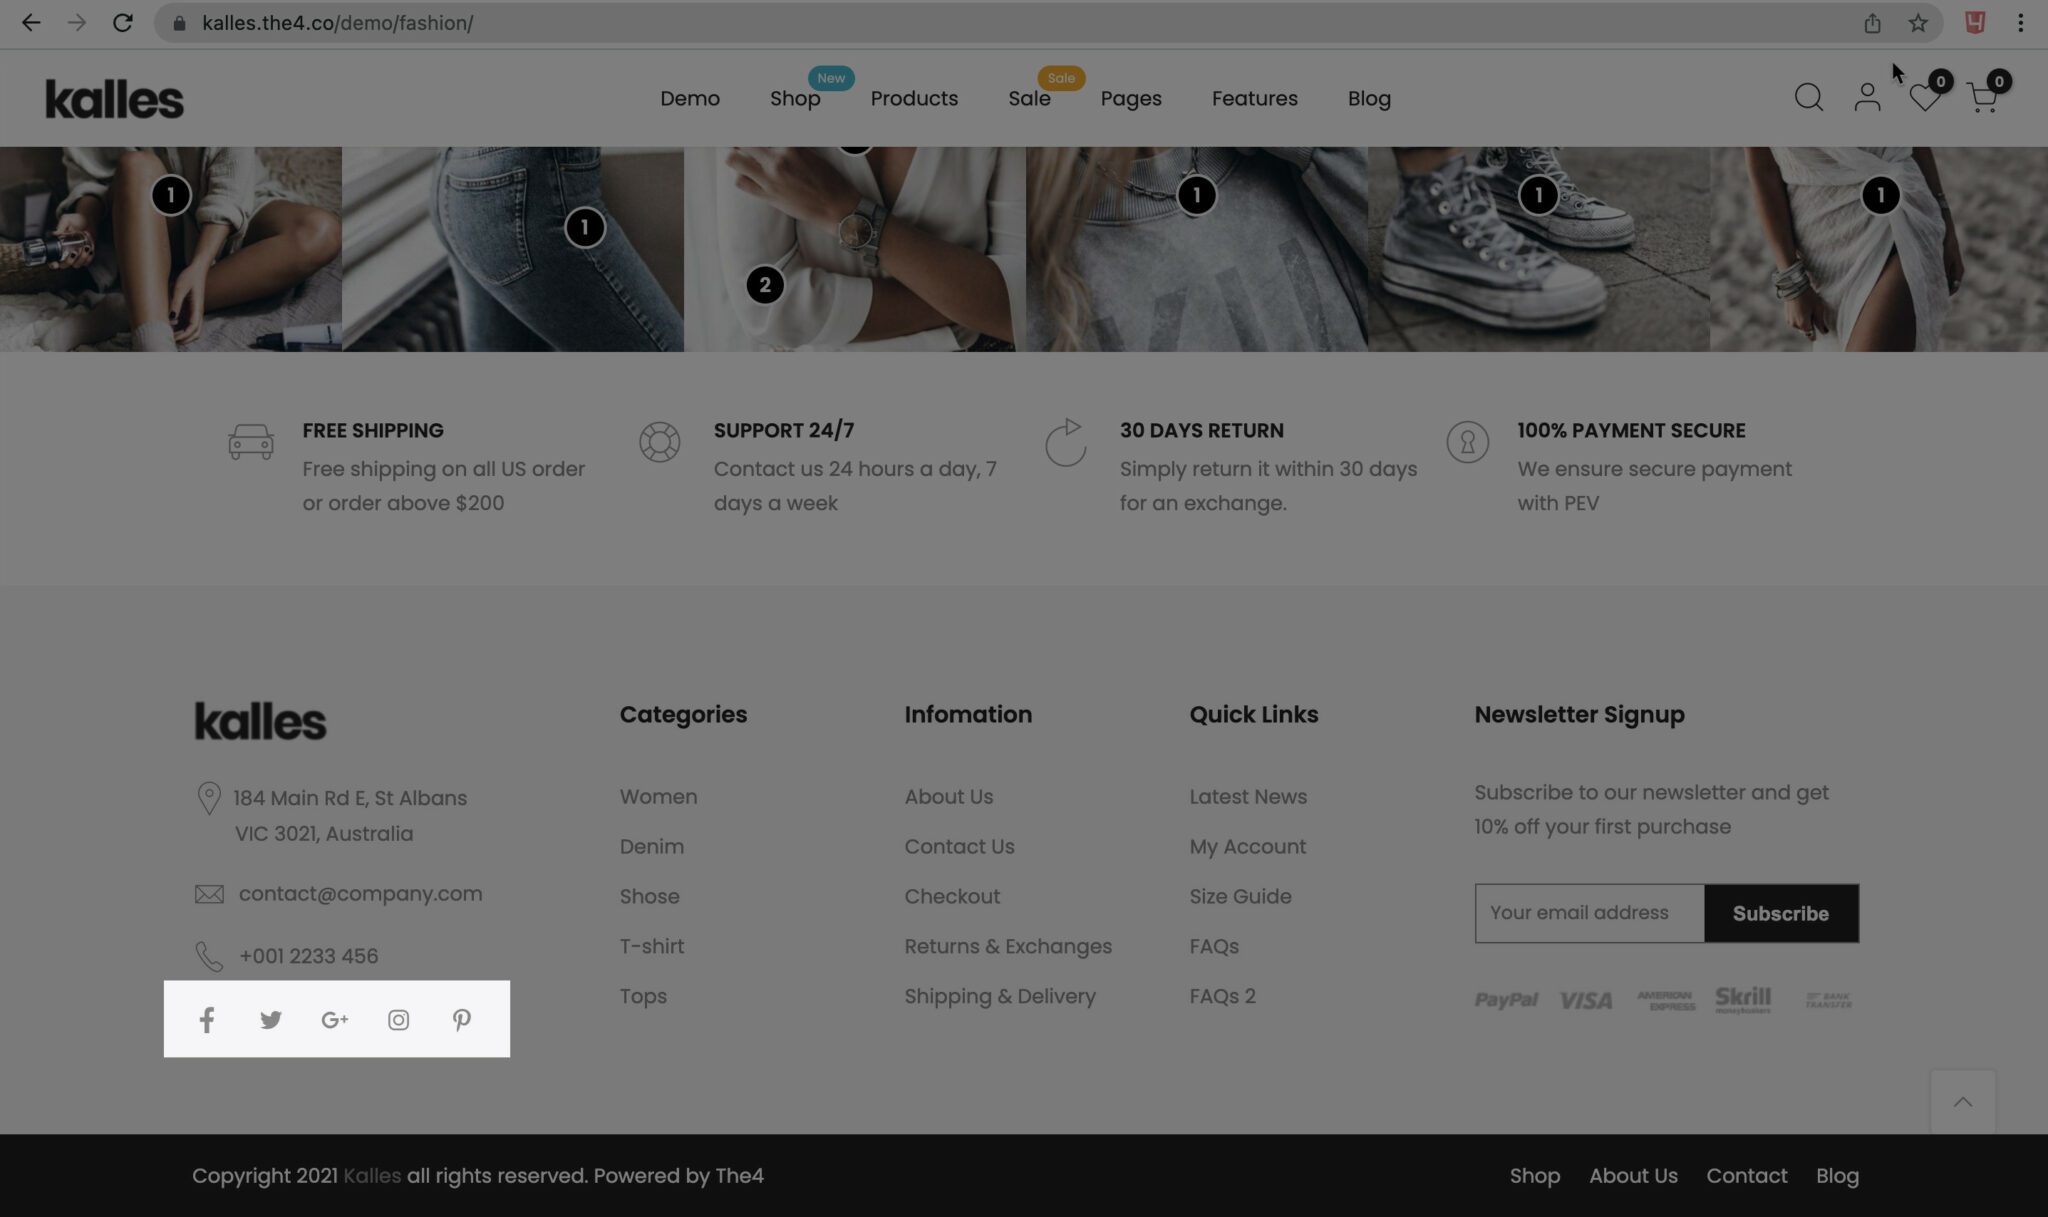
Result:
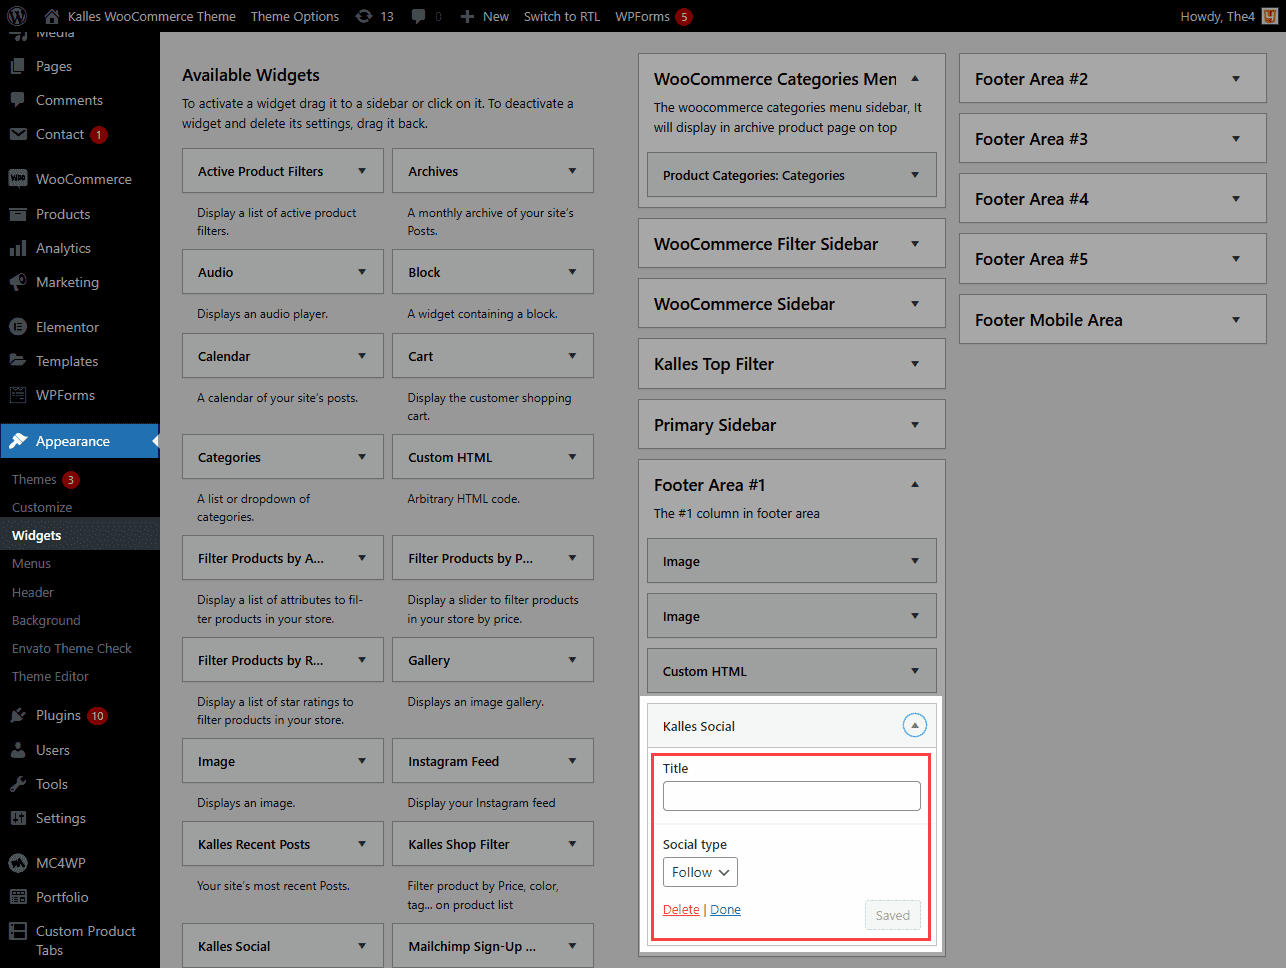
In this block, you can change the Title and Social Type (Follow and Share).
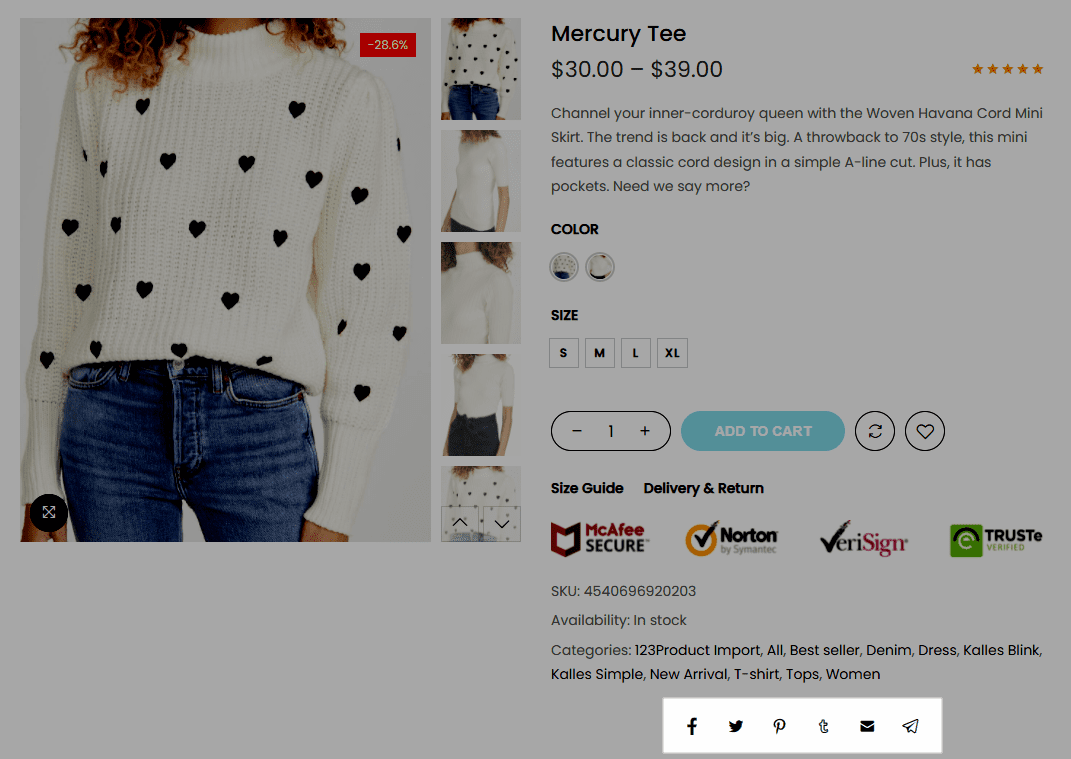
Product Page:
2. Settings
To set social network, go to Theme Options > Social Network.
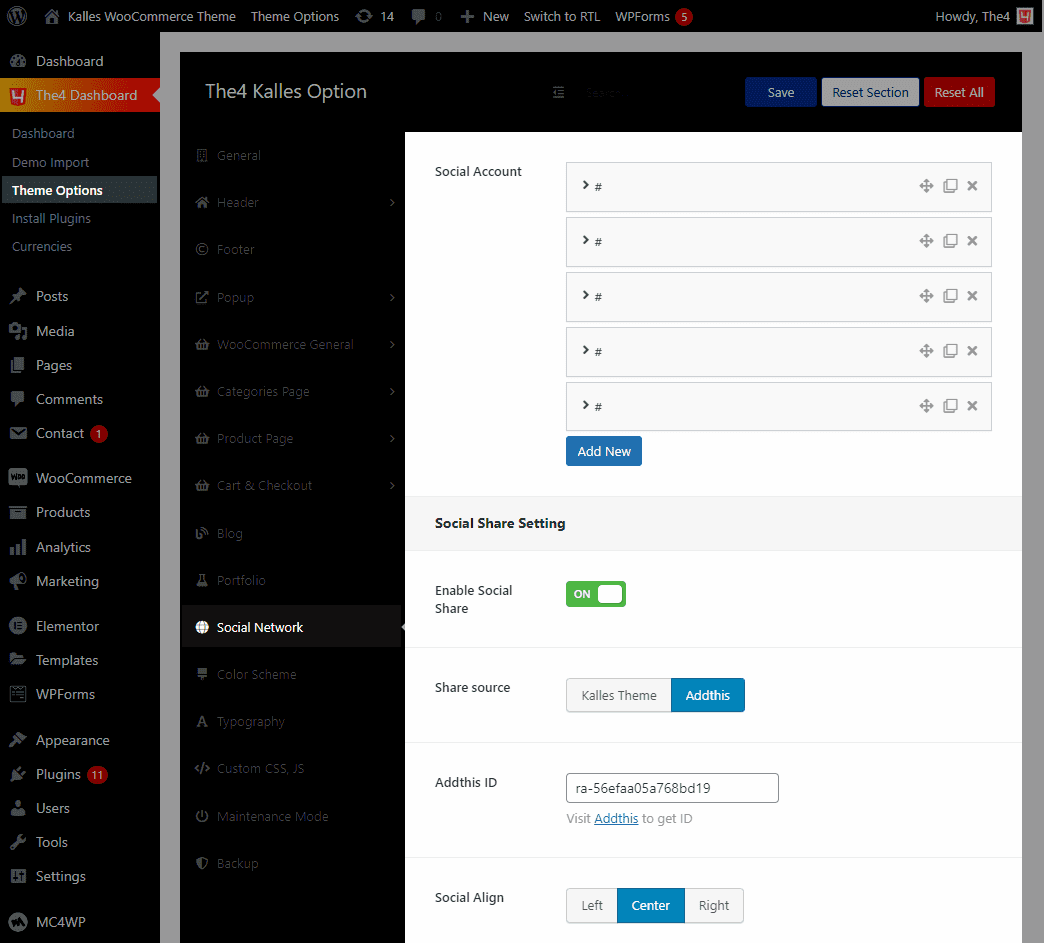
2.1. Social Account
We already set 5 accounts for your store, you can remove or add more if you want. In each account, you are available to change the link, icon, and icon color when hover.
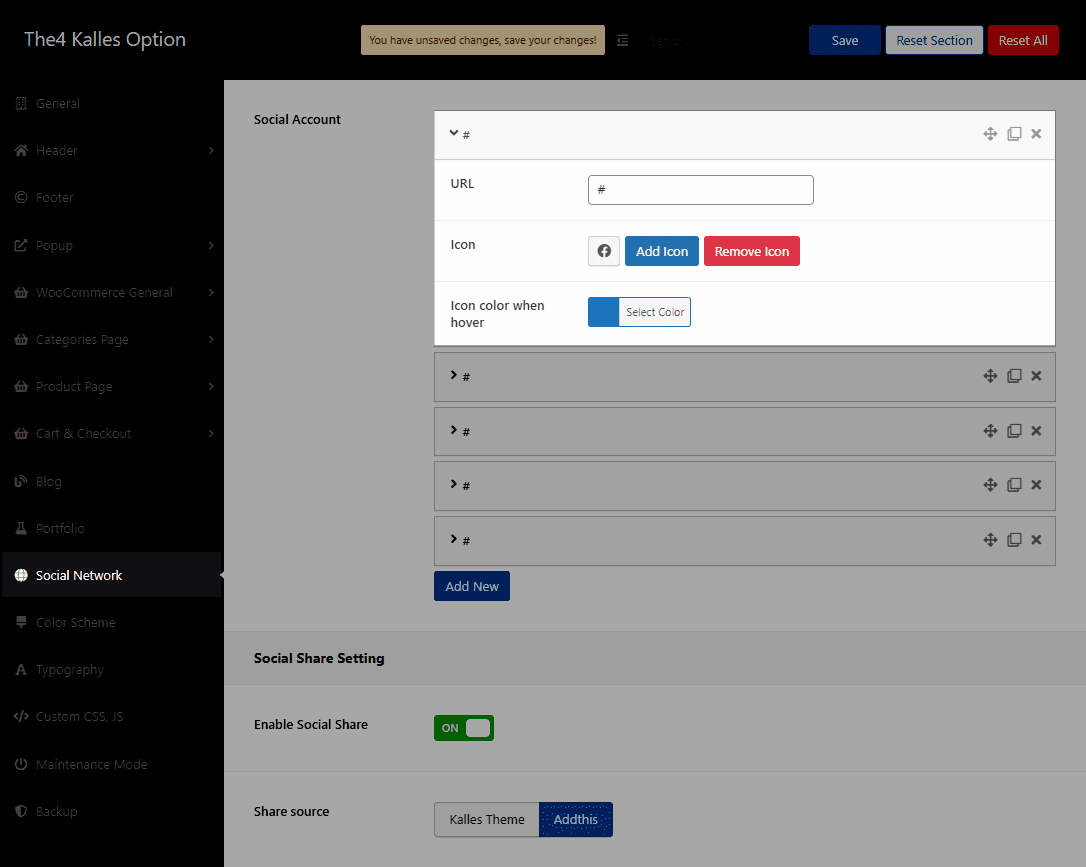
2.2. Social Share Setting
Note: It’s only active when you Enable Social Setting.
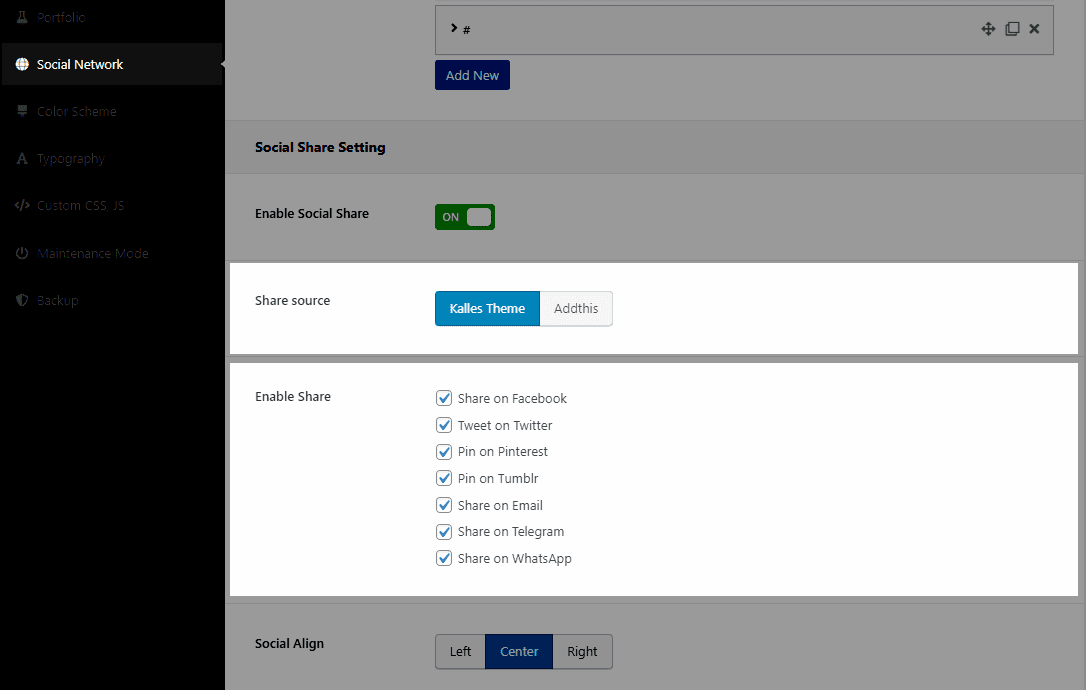
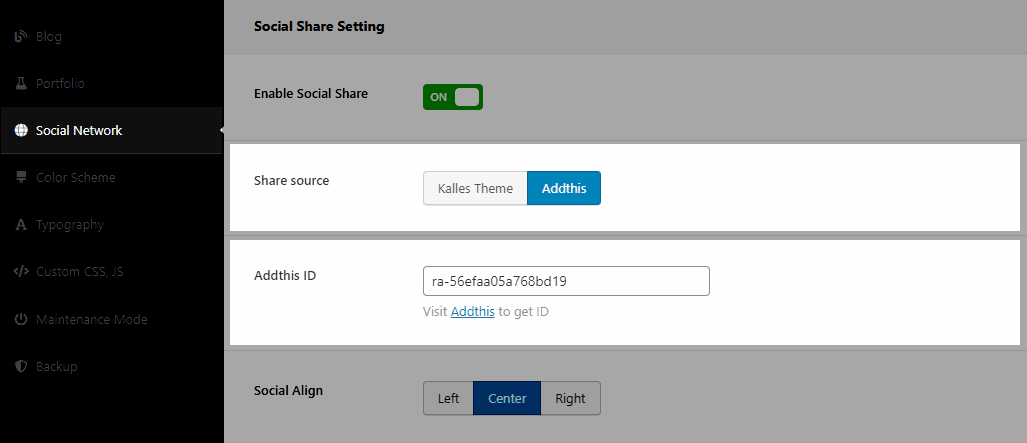
Share Source: There are two options, you can choose Kalles Theme or Addthis.
Kalles Theme: If you choose Kalles Theme, there will show a list of Enable Share, you can add all.
Result:
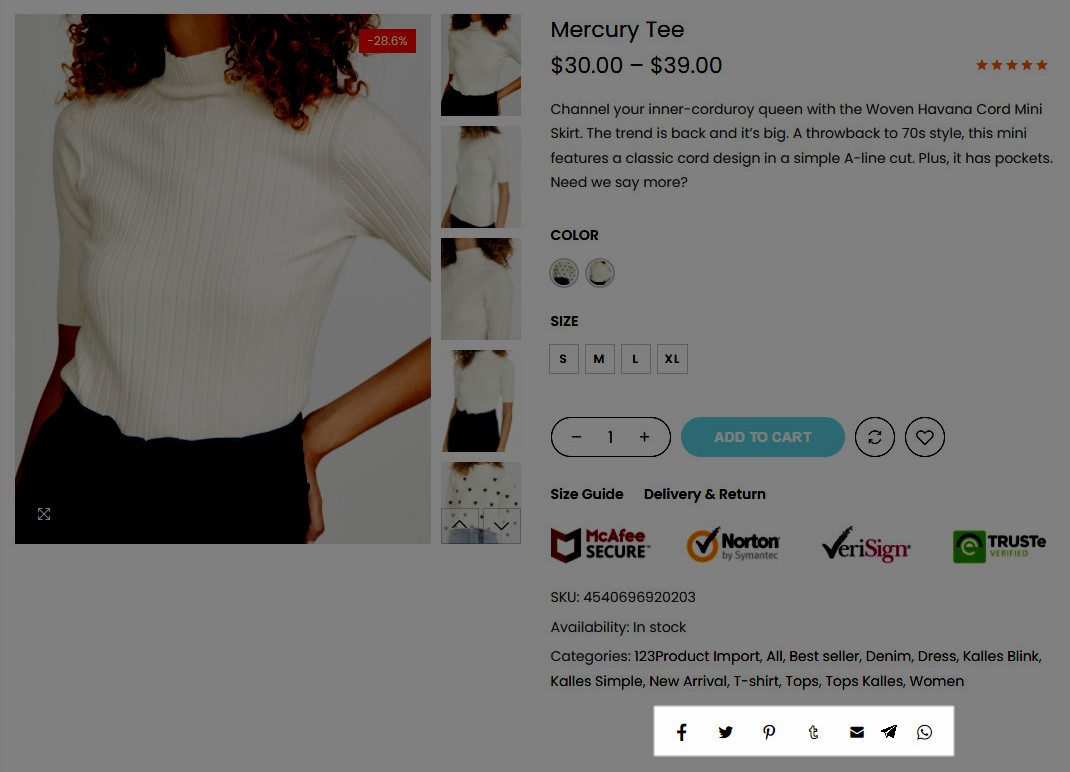
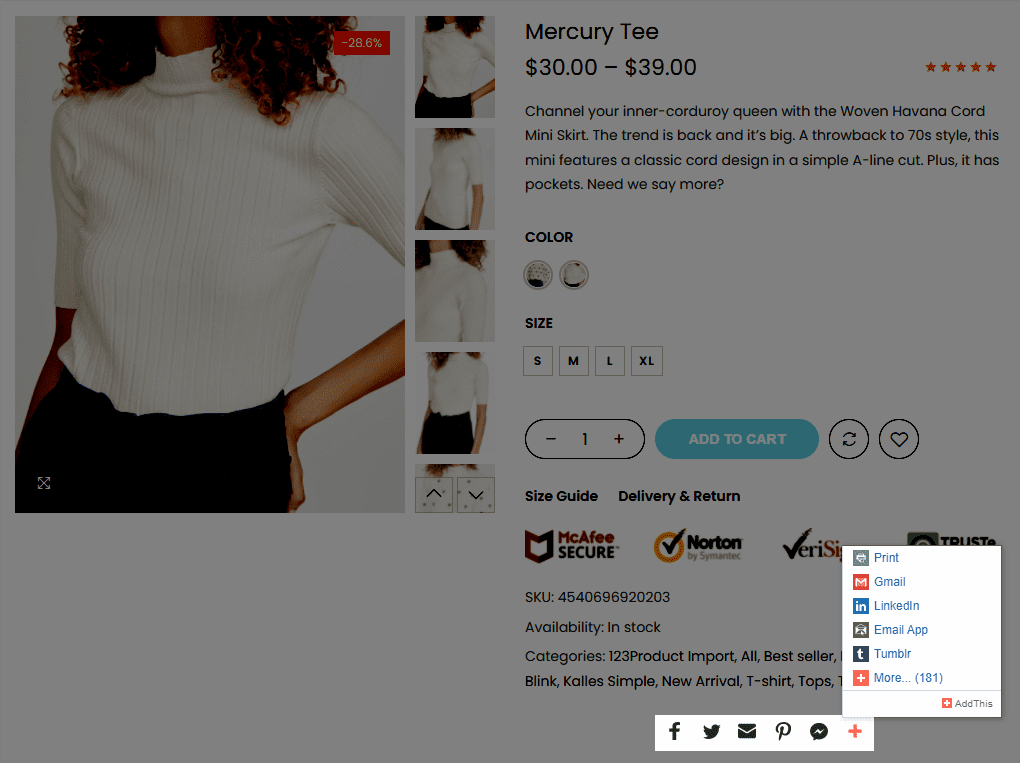
Addthis: If you choose Addthis as the Share source, please fill in Addthis ID, you can visit Addthis to get the ID.
Result:
2.2. Social Align
There are 3 positions: Left, Center, and Right. You can watch the video to see the difference.


