


MyShopKit is a perfect app for creating Popups & Smartbars with a vivid settings editor.
1. Disable Newsletter popup
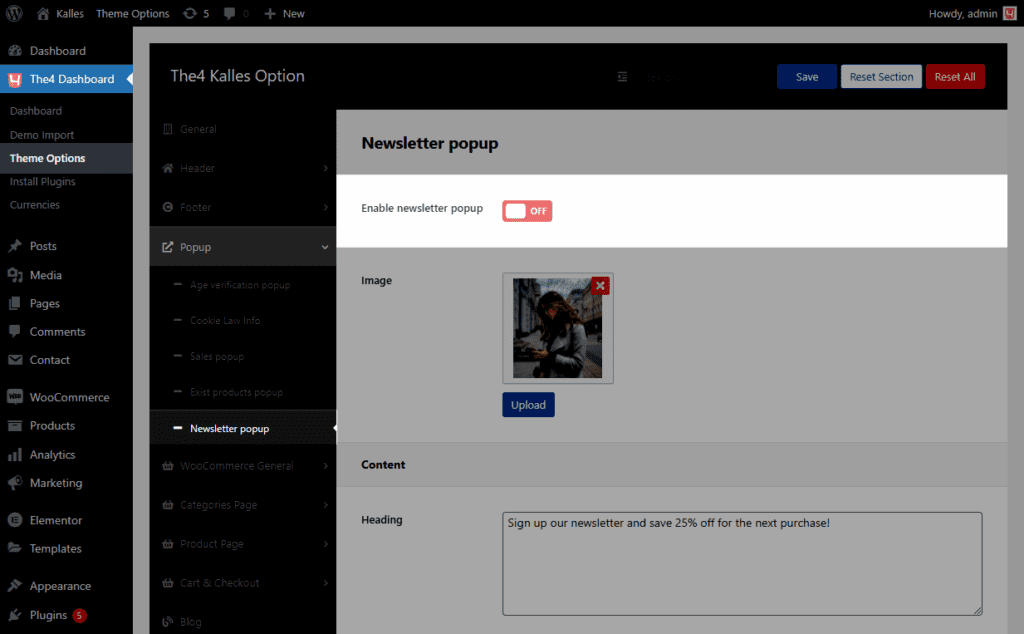
Firstly, to use Myshopkit, you have to disable the Newsletter popup. Please go to The4 Dashboard > Theme options > Popup > Newsletter popup > Turn off Enable Newsletter popup.
2. Install Myshopkit
If you have not installed this plugin, you can follow these steps: From the sidebar > Plugins > Add new.
3. Configure Myshopkit
After activating Myshopkit, it will appear Myshopkit Popup Smartbar Slideln Dashboard, then please select Popups > Create New popup.
3.1. Goal
You can choose between multiple goals based on your purpose.
3.2. Template
There are a huge number of Templates corresponding with each Goal, you can try each and get the best fit.
3.3. Design
Content: In addition to the available contents such as Title, Text, Form Subscribe, you can add new elements like Paragraph, Heading, Divider, etc. and edit their contents.
Edit the Wheel: You can change the appearance and Placement of the wheel. Then, with each slice, you can set the label, win text, discount code, colors, and win ratio.
Background: It allows you to change the background image, color, and backdrop color.
3.4. Settings
When to Popup: Choose when the popup will turn up. You can choose at X seconds delay or at a scrolling trigger.
Display for visitors: Choose a specific sort of visitors to display: All visitors, New visitors only, or Returning visitors only.
Exit-Intent Popups to increase your conversion: Only visible on the desktop.
Allow visitors to hide Popup: If you Enable this option, it will show a close button on the top right of the popup, and vice versa.
Popup animation effect: Select the popup animation here.
Add GDPR compliance Opt-In field: If you enable it, it will show the Term of Service checkbox.
Show Wooklit brand: You can enable/disable the brand here.
Reopen Popup button: Button will show when the Popup is closed.
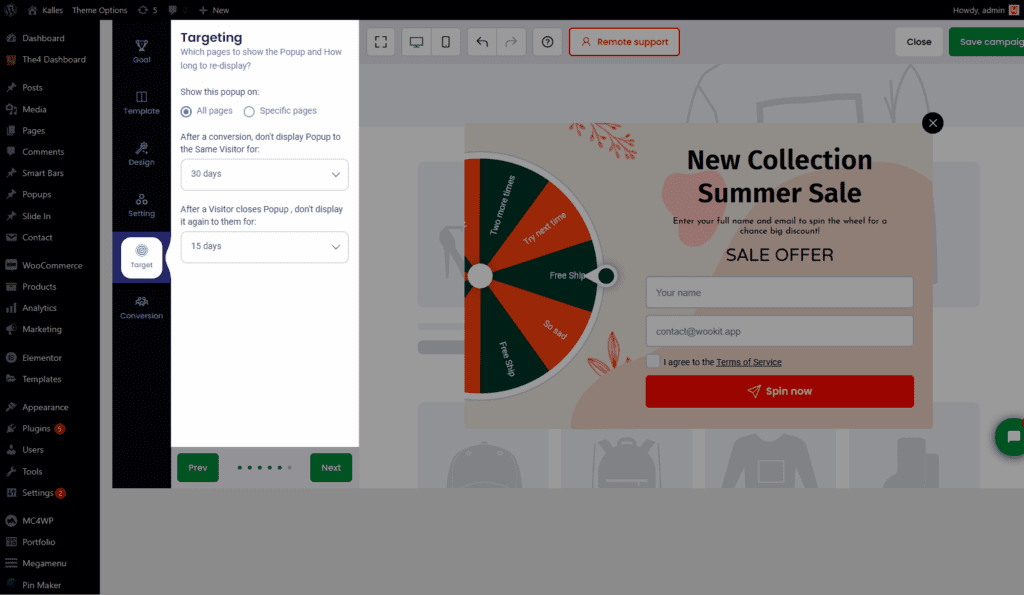
3.5. Target
You can choose which pages to display the popup and set After conversion, don’t display Popup to the Same Visitor for X days, and After a Visitor closes the Popup, don’t display it again to them for X days.
3.6. Conversion
Discount code will be shown to Visitors if they catch the awards. The Message Title can be edited in (it’s named WinText). Please follow the video to add a discount code.
After adding code, you can change the content of Title, Submessage, Button, and Choose magic confetti.
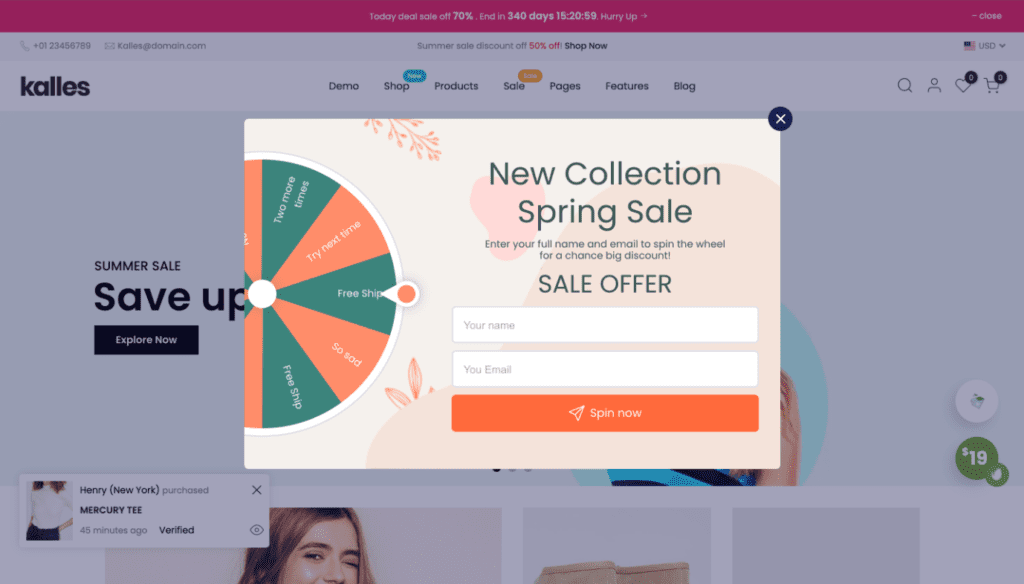
Result:


