


This guide will provide you with all the information you need to implement a new filter layout in your theme.
How to use a New Filter Layout
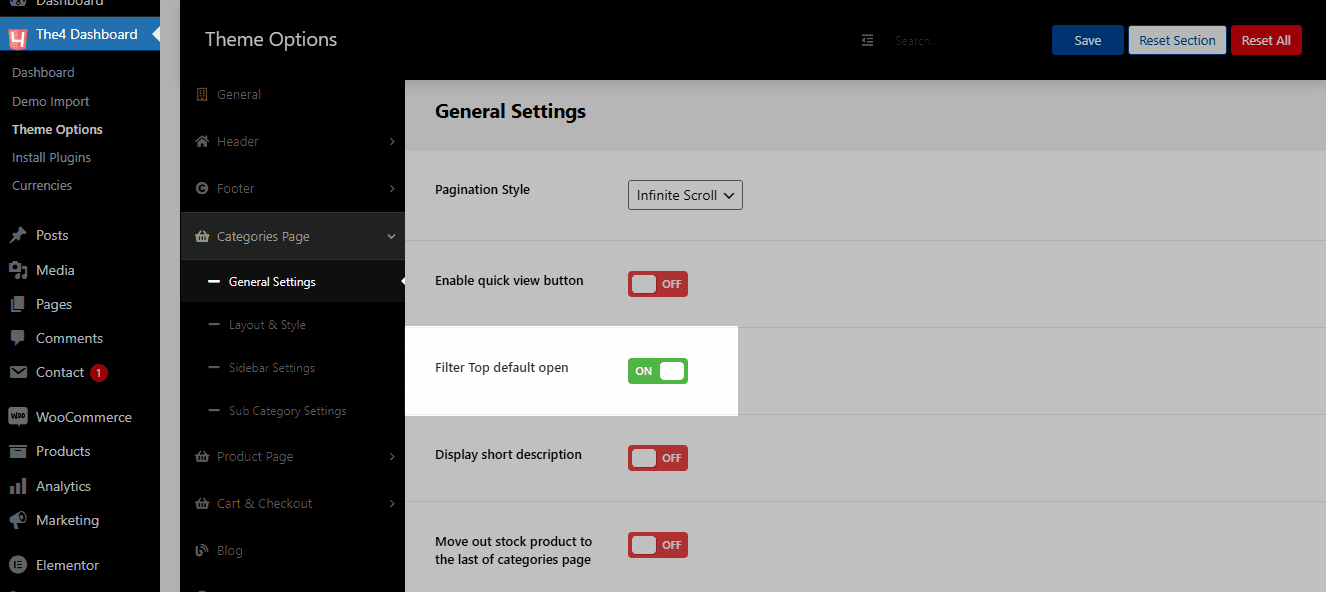
First one, from the WordPress Dashboard, please go to The4 Dashboard > Theme Options > Categories Page > General Settings > Turn on “Filter Top default open”.
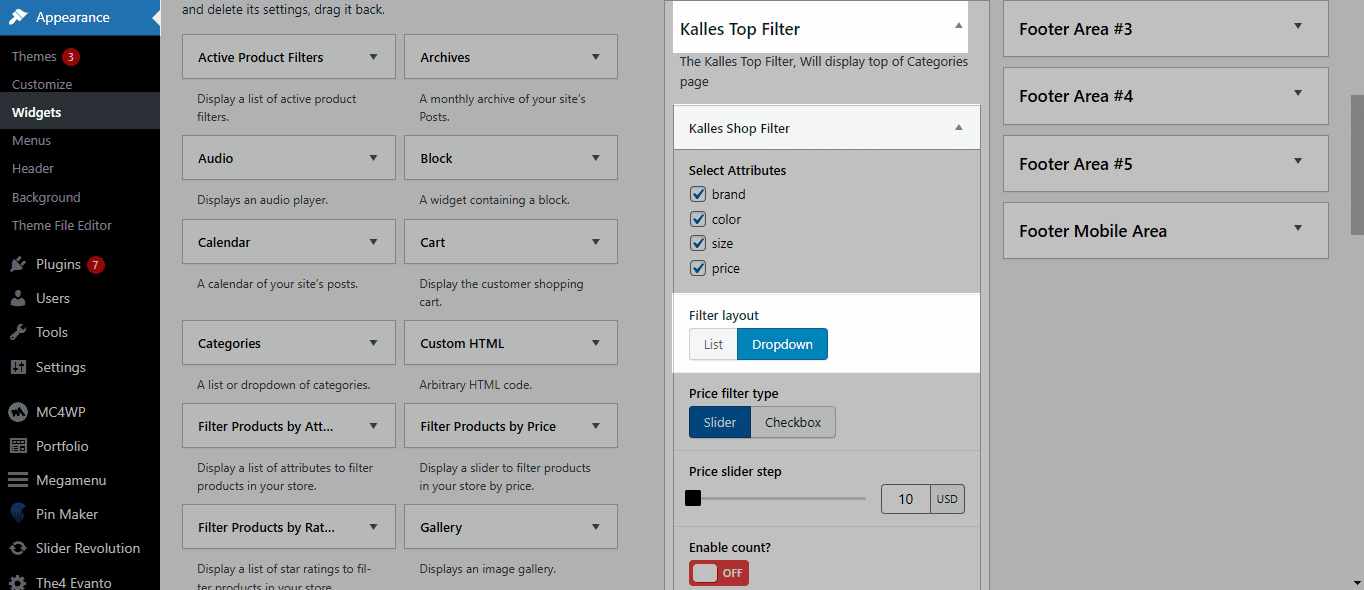
Second, from the WordPress Dashboard, please go to Appearance > Kalles Top Filter > Select Dropdown option in Filter Layout.
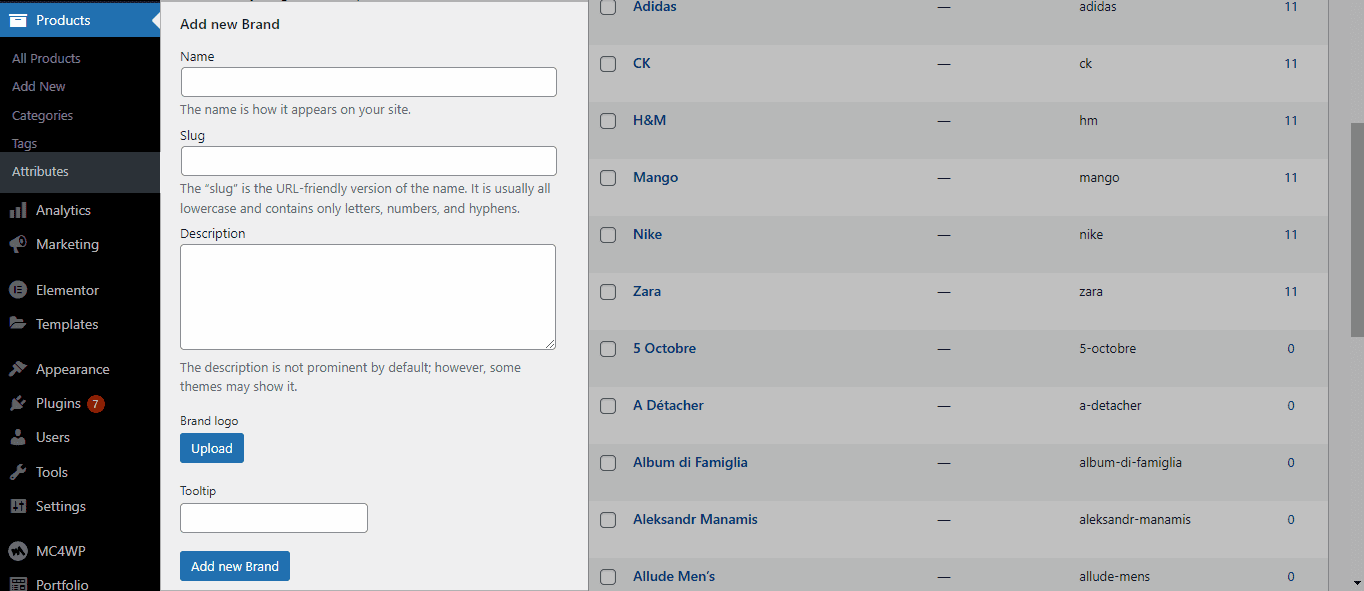
Three, you can also add logo image to brand. From the WordPress Dashboard, please go to Products > Attributes > From Brand attribute > click to Configure terms

Four, you can create a new brand and upload logo image for it.
This video below is an example of how it works after you’ve made all of the necessary changes.


